-
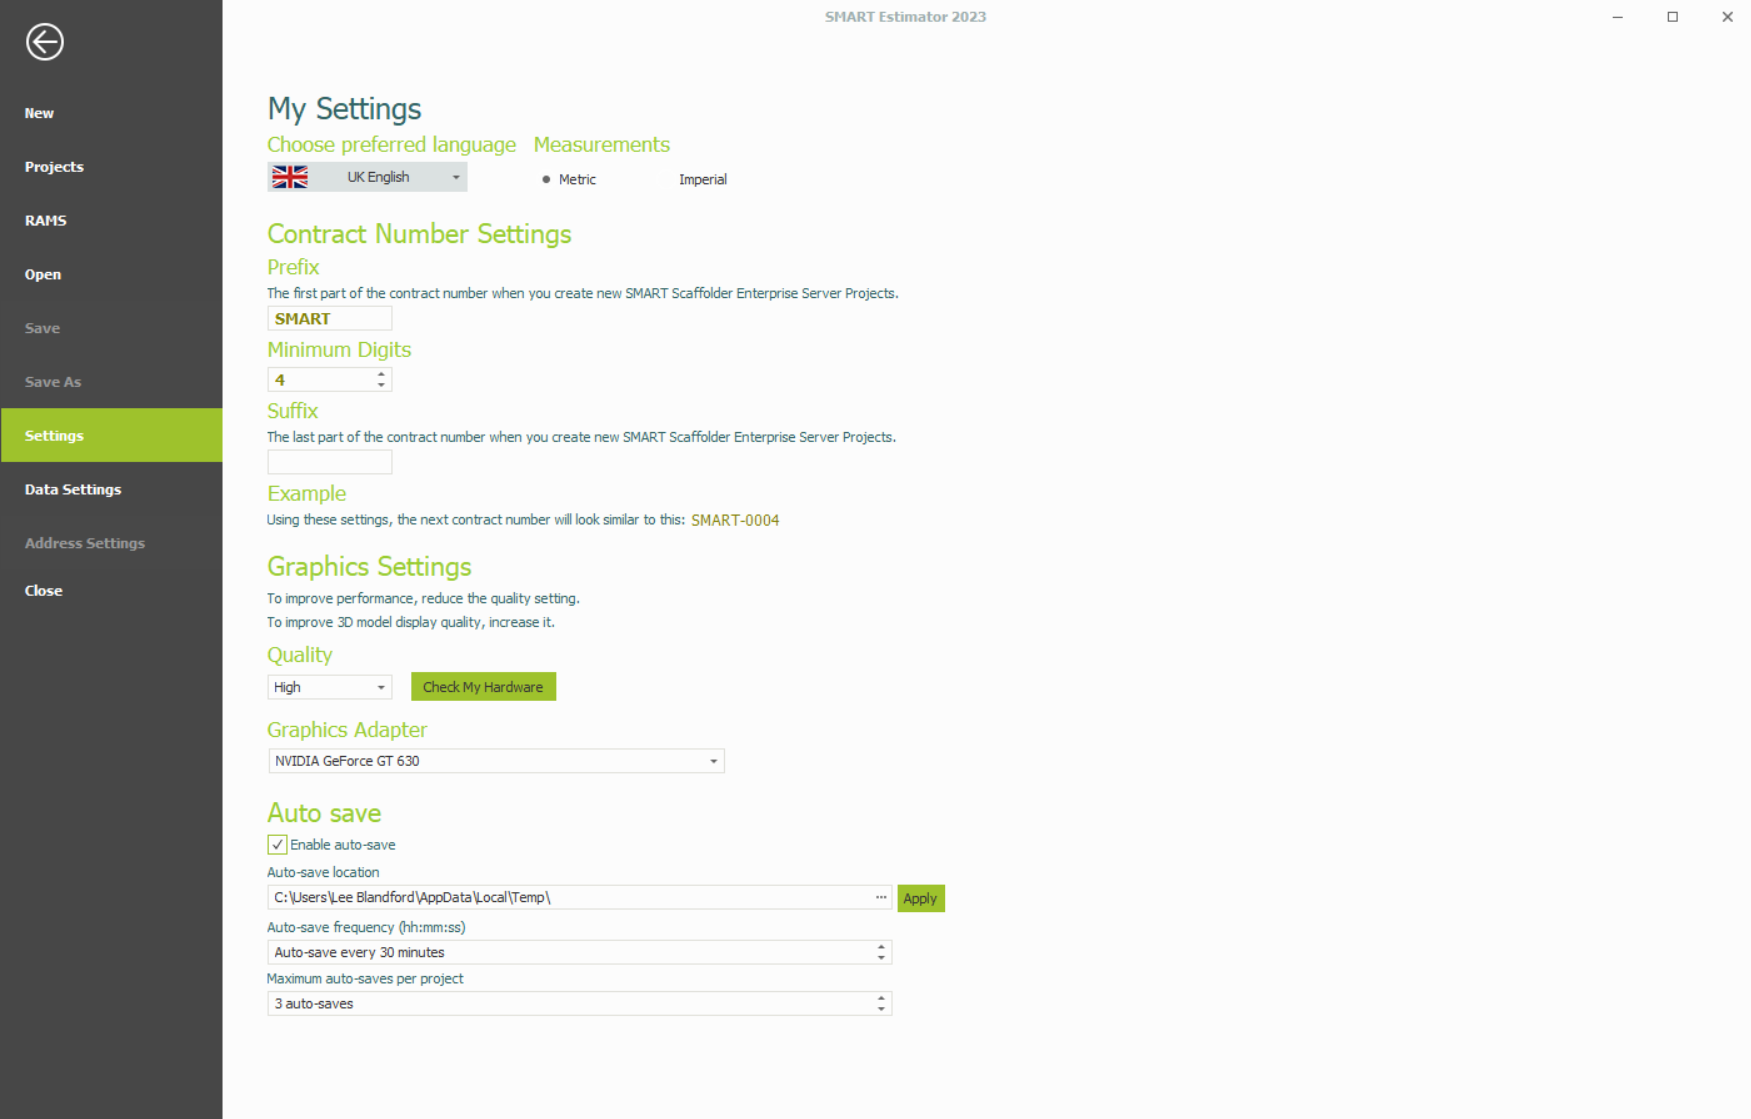
User Settings Overview
In SMART Estimator, you can configure User Settings for Contract Number Prefixes and Suffixes, Customer and Site Addresses, Depot Addresses, and Estimated Signatures and Estimated Details. Additionally, you can change the language and measurement system used by the software, as well as disable and configure the Autosave Function.
-
Language and Measurement System
The first step in setting up the User Settings is to decide on the measurement system SMART Estimator will use, either Metric or Imperial Measurements. Firstly, select your preferred language and the measurement system you would like to use on SMART Estimator.

-
Contract Number Preferences
Next you can set up your contract number, prefix and suffix. The middle number (Contract Number) of the contract will automatically generate every time you create a new project.
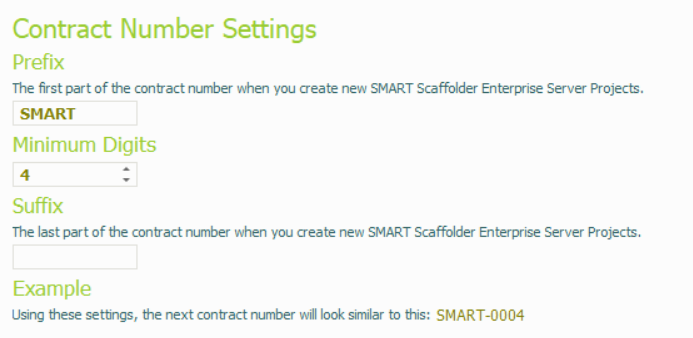
Prefixes and suffixes are optional; they can be used for distinguishing one project from another (e.g. multiple users sharing a cloud network) or in order to give the project a more meaningful title.
Tip: Organizing your Projects
We recommend setting the Prefix and Suffix to include the Estimator’s initials and the current year since Prefixes and Suffixes are ‘User-Specific’. By doing so, you will be able to quickly identify the Project and avoid the possibility of accidental duplication of project files.
-
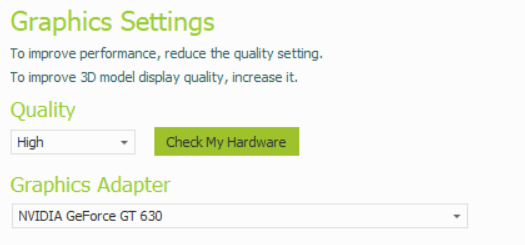
Graphic Settings
The next step is to adjust your graphic quality setting. It is recommended that this setting is determined on a case-by-case basis. By default this setting is set to ‘high’, however if you are experiencing performance issues with the SMART Estimator software, decreasing the graphics setting to ‘low’ should improve performance.
Next, you will need to select your preferred graphics adaptor. Generally, we recommend using the ‘Graphics Processor Unit’, since this type of graphics adaptor is designed for rendering 3D models.
SMART Estimator is still slow?
When viewing the 3D model, SMART Estimator may struggle, even with the Graphics Setting set to ‘Low’. If this is the case, you can reduce the window size in SMART Estimator.
By doing this, the 3D model will be rendered at a lower resolution, which will result in SMART Estimator running faster.
-
Auto-save function settings
The Autosave function ensures that your work will not be completely lost in the event of a system crash or other unexpected event. SMART Estimator automatically saves your project at a location, frequency and limit that you specify.
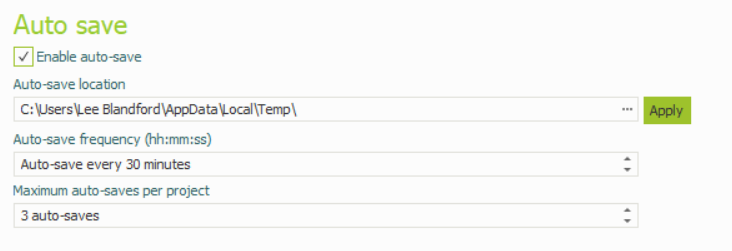
You can disable the Autosave feature at any time by unticking the “Enable auto-save” checkbox.
Additionally, it is possible to edit the Frequency or Limit by clicking on the appropriate input field and modifying the new value accordingly.
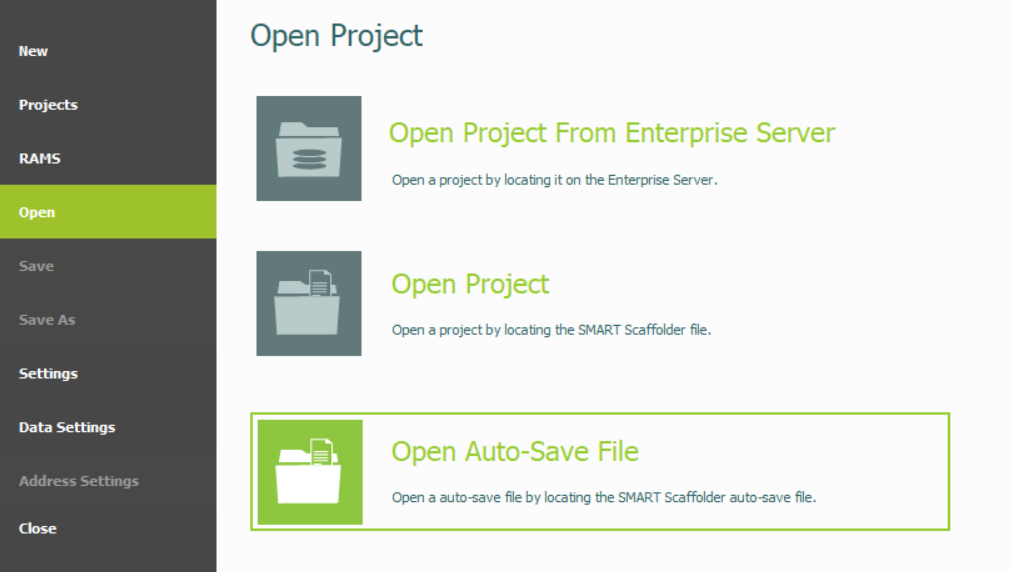
Where are my Auto-Save files?
You can locate your Auto-Save files by clicking ‘Open’ on the home screen and then clicking the ‘Open Auto-Save File’ option. Once clicked, you will be directed over to the respective file directory in which your auto-saved files are stored.
SMART Estimator
What’s new?
Getting Started
Setup and Configuration
-
Enterprise Server
-
Cloud Server Setup
Local Windows Server Setup
Adding Cloud server users
Server Back Up and Restore
Archiving Estimates from server
Migrating Local server to Cloud
Creating Folders in Enterprise Server
Using Server Tools from the Command Line
-
User software settings
User Address Settings and Yard
Scaffold Banner and Sheeting logo
Adding Watermarks
-
Setting up your Rates
Editing Shared Pricing Rates
Creating a rate setting template project
Importing and Exporting shared Rates
Creating an Estimate
Importing Drawings and Models
Scheduling Scaffolds
Creating 3D Scaffolds
-
3D Model Controls
Adding Independent scaffolds
Adding Circular Tank scaffolds
Adding Free Form Birdcages
Adding Birdcage & Lift shaft scaffolds
Adding Tied or Freestanding towers
Adding Stair towers, Ladders towers & Buttresses
Adding Loading bays
Adding Chimney scaffolds
Adding Temporary Roof
Adding Edge protection
Adding Pavement Gantry’s
System Scaffolds
Safety Decking
Using the Scaffold Library
Editing Scaffolds
Scaffold Add-ons & Options
-
Adding Gin wheels, Rubbish Chutes, Safety standards, Double standards and Lamps
Adding and Editing bridges/beam work
Adding Beams around Corners
Adding Cladding
Adding Cantilever protection fans
Adding Pavement Lifts
Adding Recesses and Infills
Building and Ground colour
Visual options (Tube, Ladder, System details and Grips)
Add a Pedestrian or Scaffolder
Copying pictures of the model
Material Lists and Drawings
Pricing and Estimation
Quotations
Enterprise Server
Troubleshooting


