SMART Estimator
-
Enterprise Server
-
Cloud Server Setup
Local Windows Server Setup
Adding Cloud server users
Server Back Up and Restore
Archiving Estimates from server
Migrating Local server to Cloud
Creating Folders in Enterprise Server
Using Server Tools from the Command Line
-
User software settings
User Address Settings and Yard
Scaffold Banner and Sheeting logo
Adding Watermarks
-
Setting up your Rates
Editing Shared Pricing Rates
Creating a rate setting template project
Importing and Exporting shared Rates
-
3D Model Controls
Adding Independent scaffolds
Adding Circular Tank scaffolds
Adding Birdcage & Lift shaft scaffolds
Adding Tied or Freestanding towers
Adding Stair towers, Ladders towers & Buttresses
Adding Loading bays
Adding Chimney scaffolds
Adding Temporary Roof
Adding Edge protection
Adding Pavement Gantry’s
System Scaffolds
Safety Decking
Using the Scaffold Library
-
Adding Gin wheels, Rubbish Chutes, Safety standards, Double standards and Lamps
Adding and Editing bridges/beam work
Adding Beams around Corners
Adding Cladding
Adding Cantilever protection fans
Adding Pavement Lifts
Adding Recesses and Infills
Building and Ground colour
Visual options (Tube, Ladder, System details and Grips)
Add a Pedestrian or Scaffolder
Copying pictures of the model
-
Click on the Elevation Image button
You can add images to the front face of any modelled building elevations. For example, you could add photos of the building or your company logo. To do this, select the Add Elevation Image button:
-
Applying an Image onto an elevation
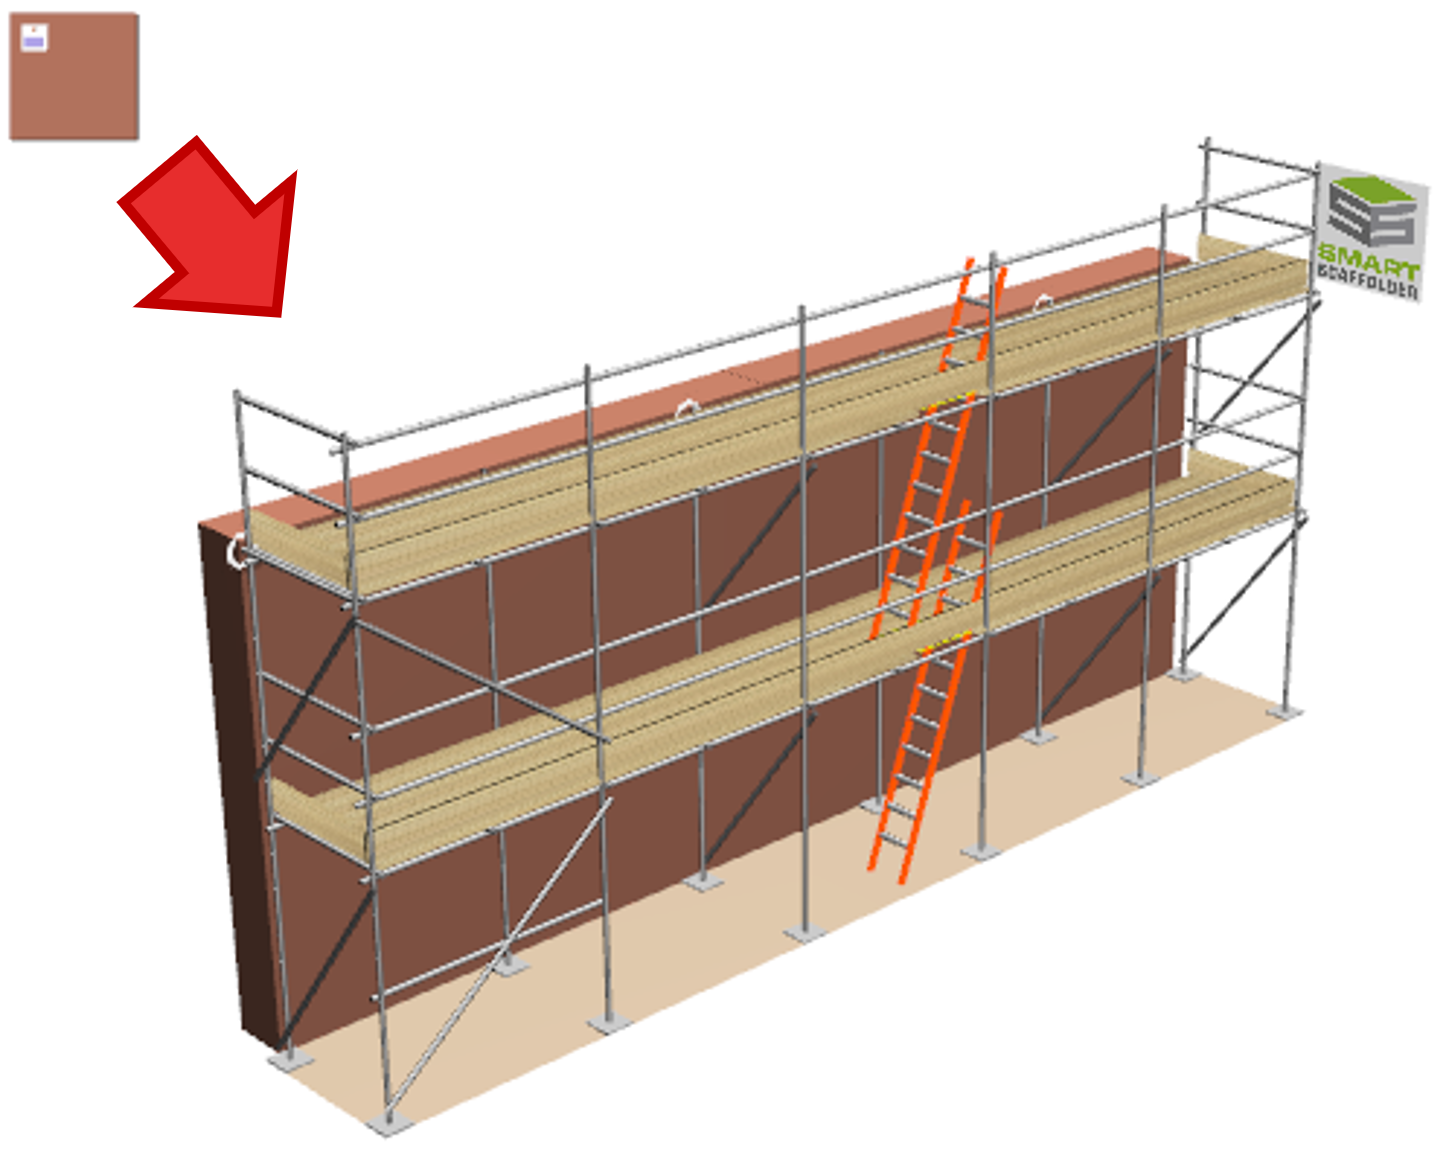
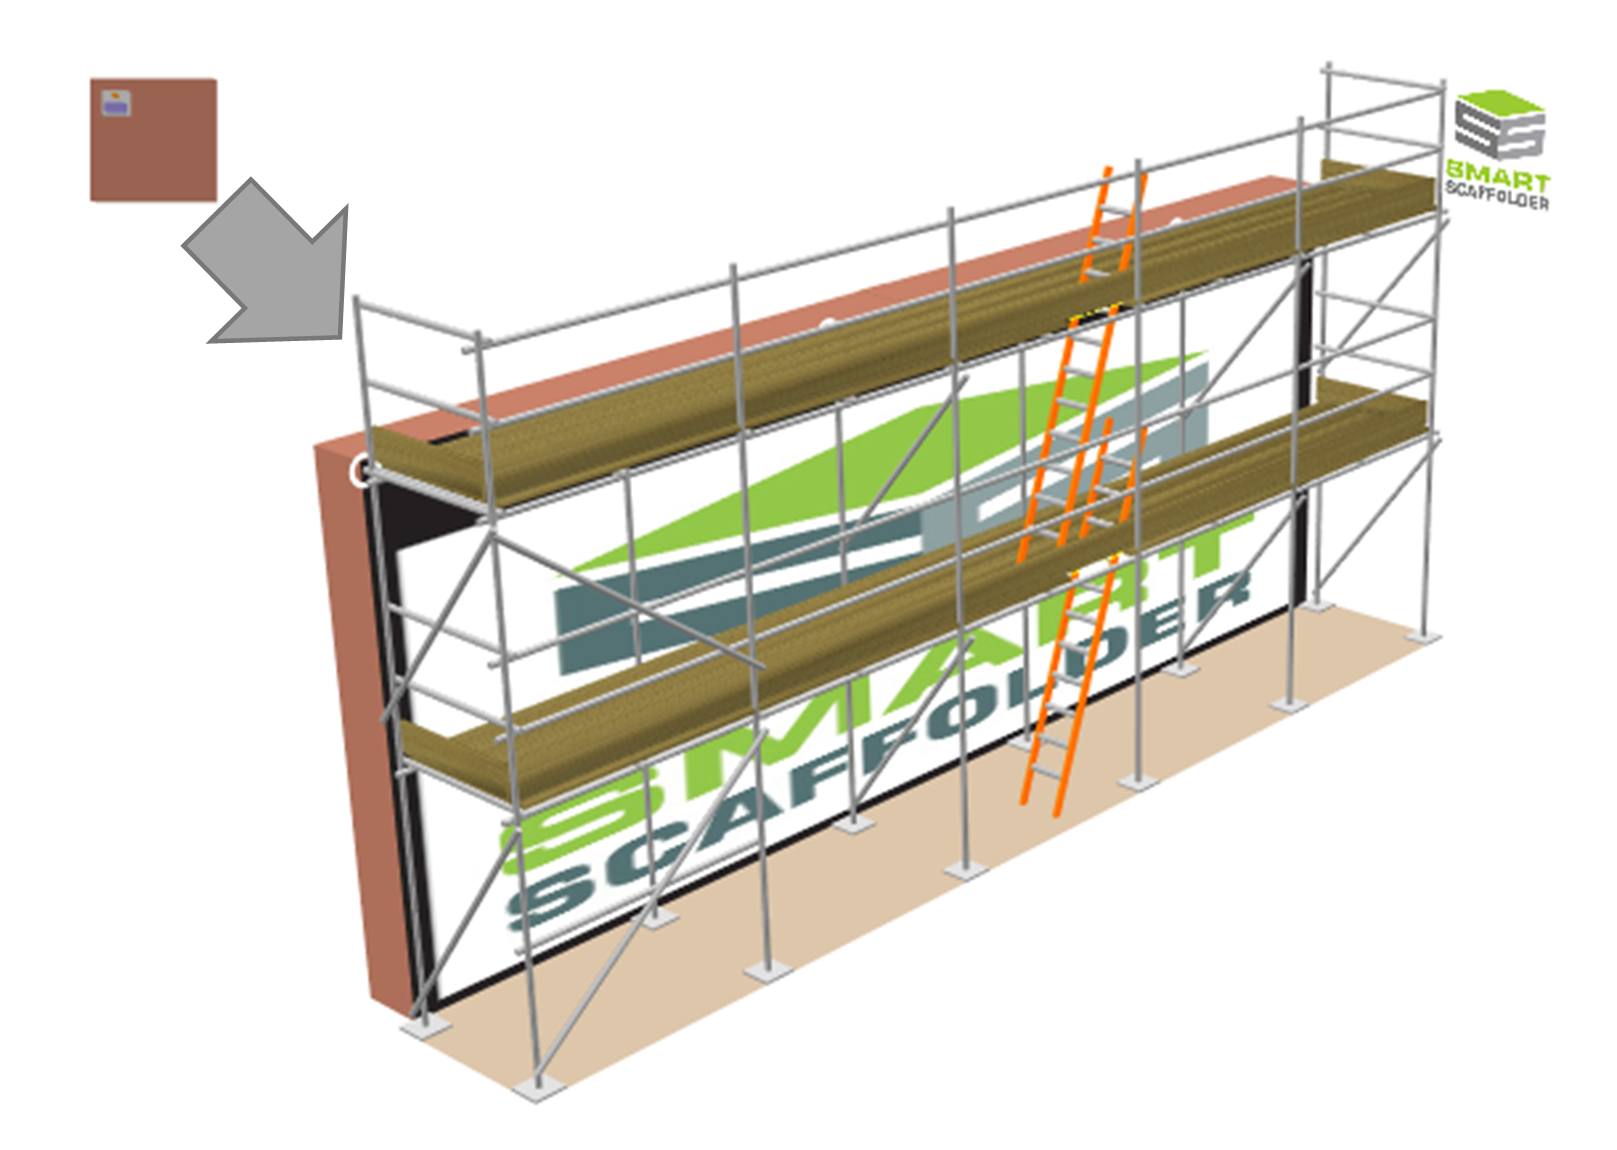
Using this tool, click on the elevations that you wish to add an image to:
Applying images to one elevation
Hold the Ctrl key as you click on an elevation to add this image to only one elevation.
If you don’t hold the Ctrl key, the image will be added to all elevations of this scaffold.
-
Select the Button
Once you have imported an elevation image as described in the Add images to the Building elevations section, you can edit it to add mark-up or remove unwanted details. Select the Edit Elevation Image button.

-
Click on the Elevation
Using this tool, click on the elevation with the image you want to edit.
-
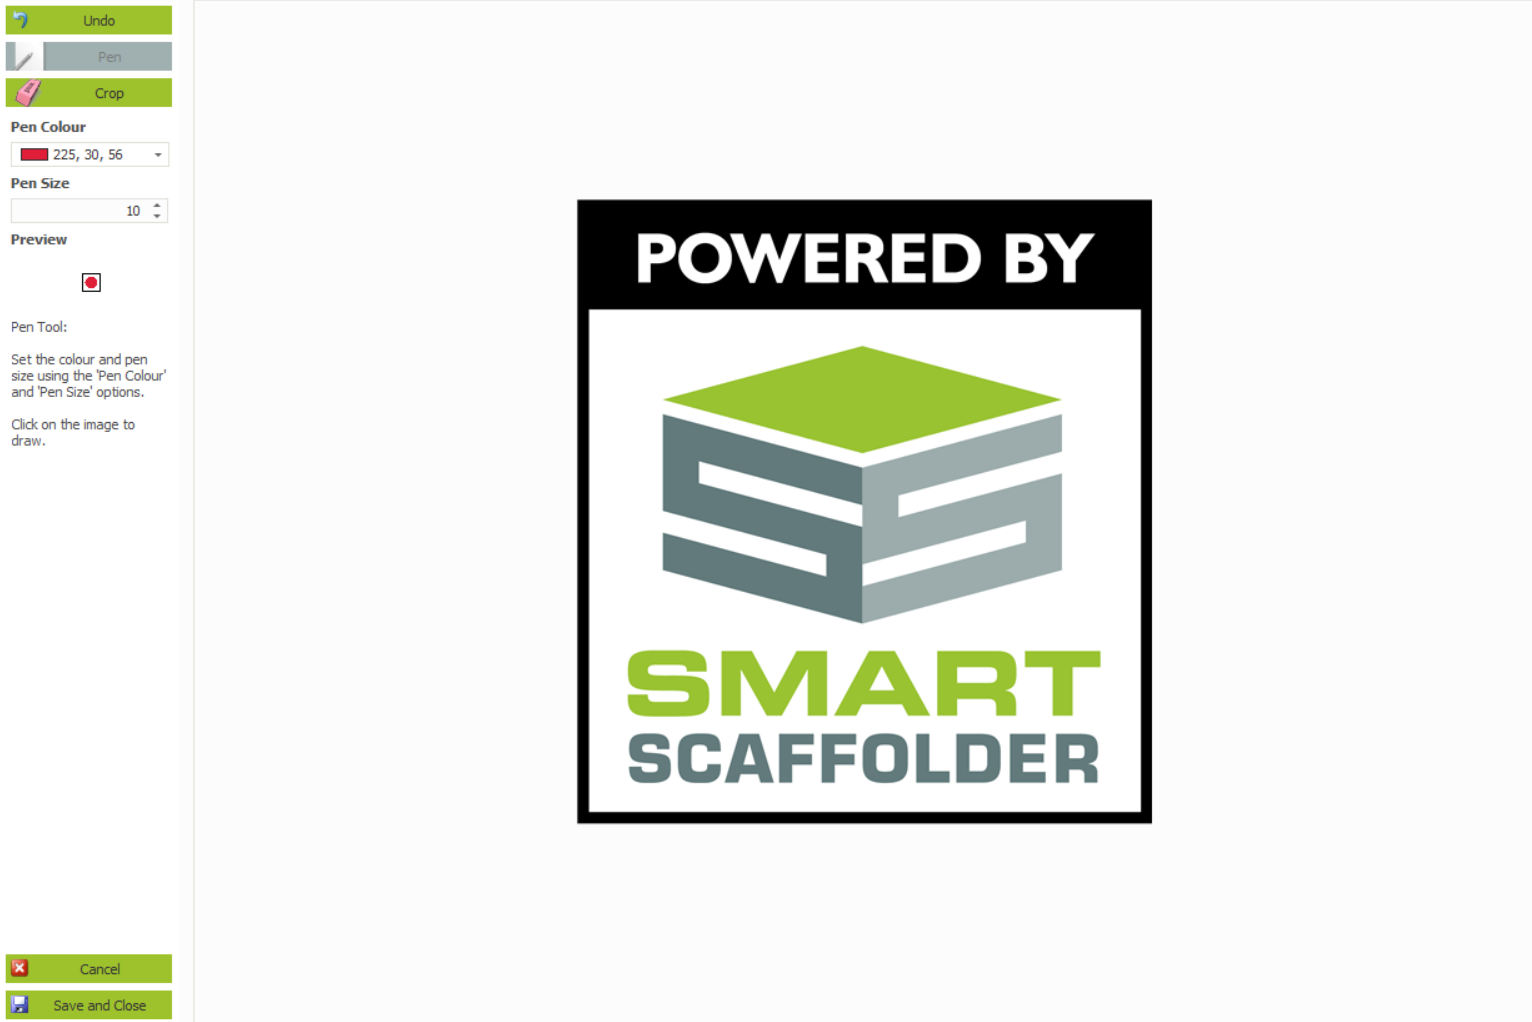
Editor Interface
An editor will open so you can make changes to the image.
-
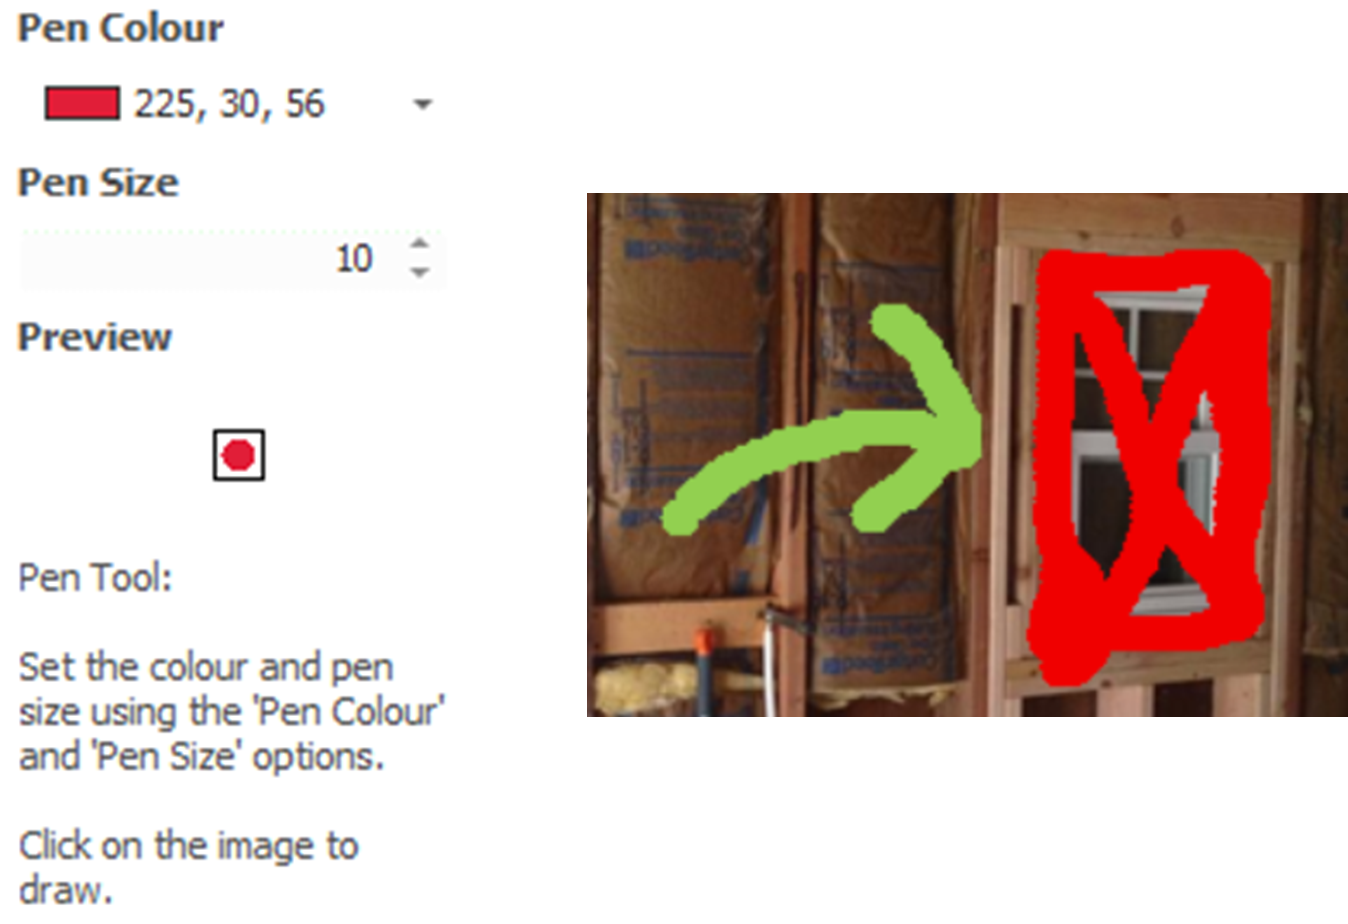
Draw on the Elevation Image
Draw on the image with the mouse in your choice of colour and pen size.
-
Crop the Elevation
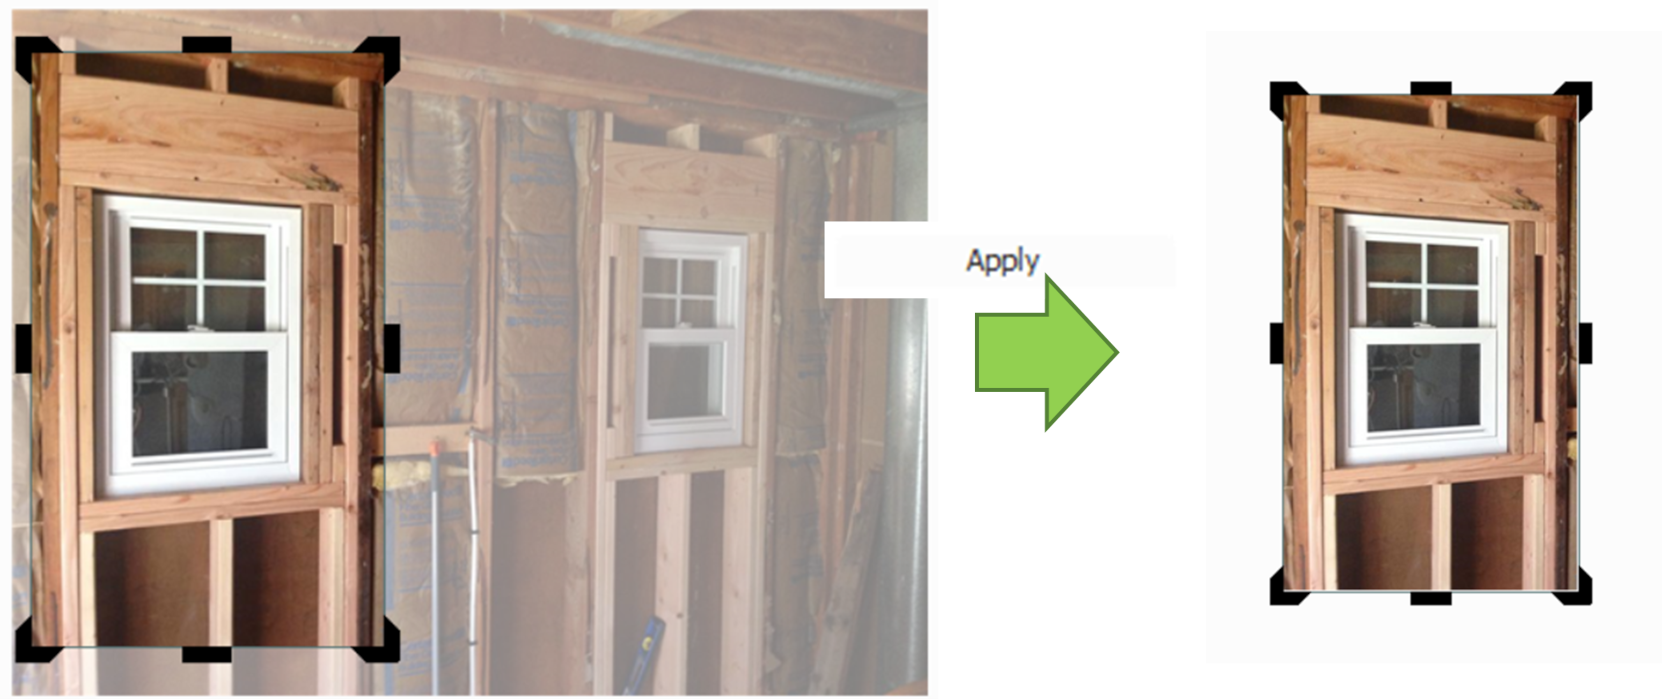
Remove unwanted portions of the image. To do this, select the tool, then drag the edge and corner grips to remove the parts of the image you do not want, and press Apply:
