-
Overview of Saving Estimates
Using the Enterprise Server, you and other estimators can securely store and manage project estimations in a centralised hub. In this document, we will outline all of the options you have available to save your estimates.

-
Saving your Work
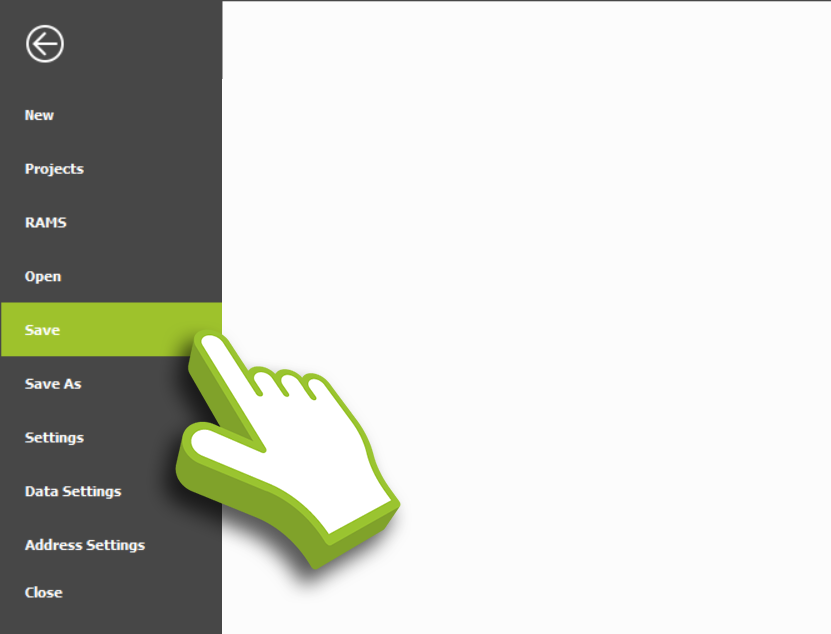
While you’re working on a project, you can save your work at any stage, by pressing the Save button on the Quick Access toolbar (at the top of the window).

Alternatively, from the File Menu, you can click on Save Tab to save your enterprise project, if you are working on a local project and it has not been saved yet, the File Explorer will open, allowing you to save it locally.
-
Saving to the Enterprise Server
While working on a modified estimation project, you can choose from the following saving options:
Save As Options:
- Save to Enterprise Server:
Located in the Save As Tab, this option saves the project to the Enterprise Server. If your project is local, a new project will be created on the server. For existing Enterprise Server projects, a dialog will appear, giving you the choice to overwrite the current project or use the next available quote number.

- Save Project:
Found in the Save As Tab, selecting this option will save the project locally to your computer as a .mIT project file. Saving the project locally allows you to access and make changes to your estimates without access to the internet or an enterprise connection.

- Save to Enterprise Server:
-
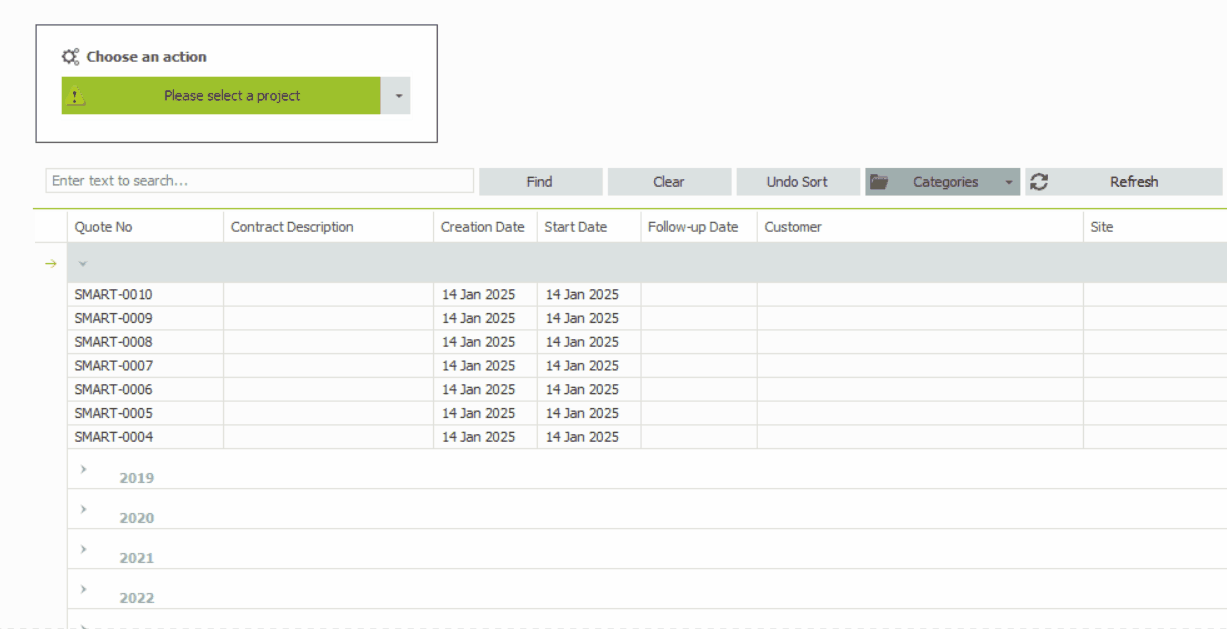
Organising your Estimations
To keep your estimations organised, your team may have pre-configured categories within the Enterprise Server project list. If categories are not yet set up, refer to the Creating Folders in Enterprise Server documentation for setup instructions.
Once your Estimation Project is saved, you can organise it by clicking and dragging it into the appropriate category within the Enterprise Server.
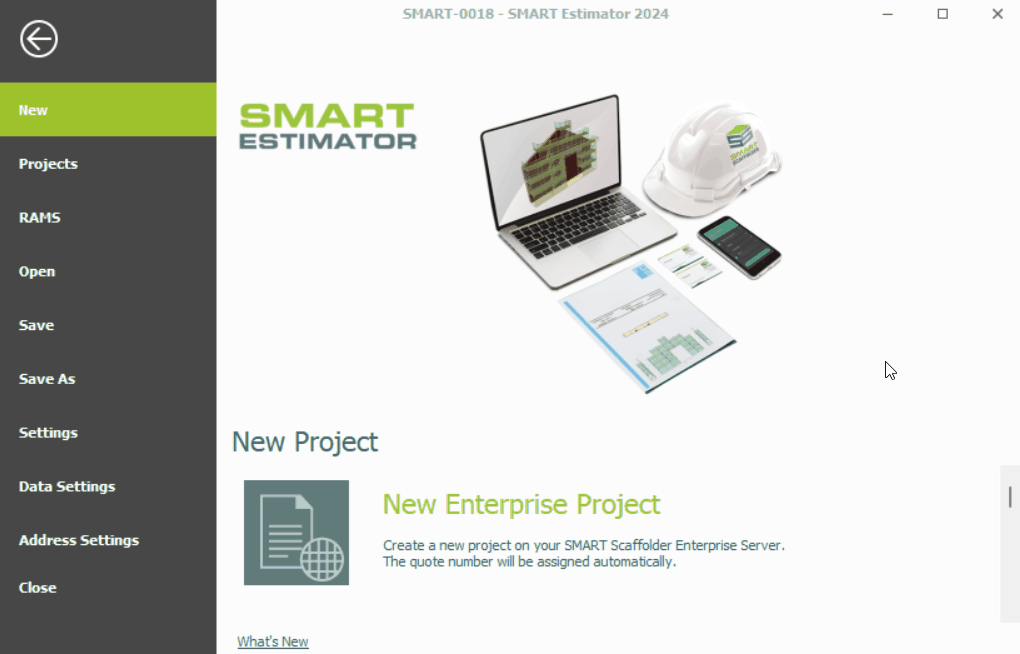
SMART Estimator
What’s new?
Getting Started
Setup and Configuration
-
Enterprise Server
-
Cloud Server Setup
Local Windows Server Setup
Adding Cloud server users
Server Back Up and Restore
Archiving Estimates from server
Migrating Local server to Cloud
Creating Folders in Enterprise Server
Using Server Tools from the Command Line
-
User software settings
User Address Settings and Yard
Scaffold Banner and Sheeting logo
Adding Watermarks
-
Setting up your Rates
Editing Shared Pricing Rates
Creating a rate setting template project
Importing and Exporting shared Rates
Creating an Estimate
Importing Drawings and Models
Scheduling Scaffolds
Creating 3D Scaffolds
-
3D Model Controls
Adding Independent scaffolds
Adding Circular Tank scaffolds
Adding Free Form Birdcages
Adding Birdcage & Lift shaft scaffolds
Adding Tied or Freestanding towers
Adding Stair towers, Ladders towers & Buttresses
Adding Loading bays
Adding Chimney scaffolds
Adding Temporary Roof
Adding Edge protection
Adding Pavement Gantry’s
System Scaffolds
Safety Decking
Using the Scaffold Library
Editing Scaffolds
Scaffold Add-ons & Options
-
Adding Gin wheels, Rubbish Chutes, Safety standards, Double standards and Lamps
Adding and Editing bridges/beam work
Adding Beams around Corners
Adding Cladding
Adding Cantilever protection fans
Adding Pavement Lifts
Adding Recesses and Infills
Building and Ground colour
Visual options (Tube, Ladder, System details and Grips)
Add a Pedestrian or Scaffolder
Copying pictures of the model
Material Lists and Drawings
Pricing and Estimation
Quotations
Enterprise Server
Troubleshooting


