-
Overview of Transformation Tools
SMART Estimator scaffolds in Model IT offer several transformation tools which allows you to alter the scaffolds position and characteristics. This includes hiding other scaffolds, rotating scaffold orientation or moving scaffolds within the 3D space.
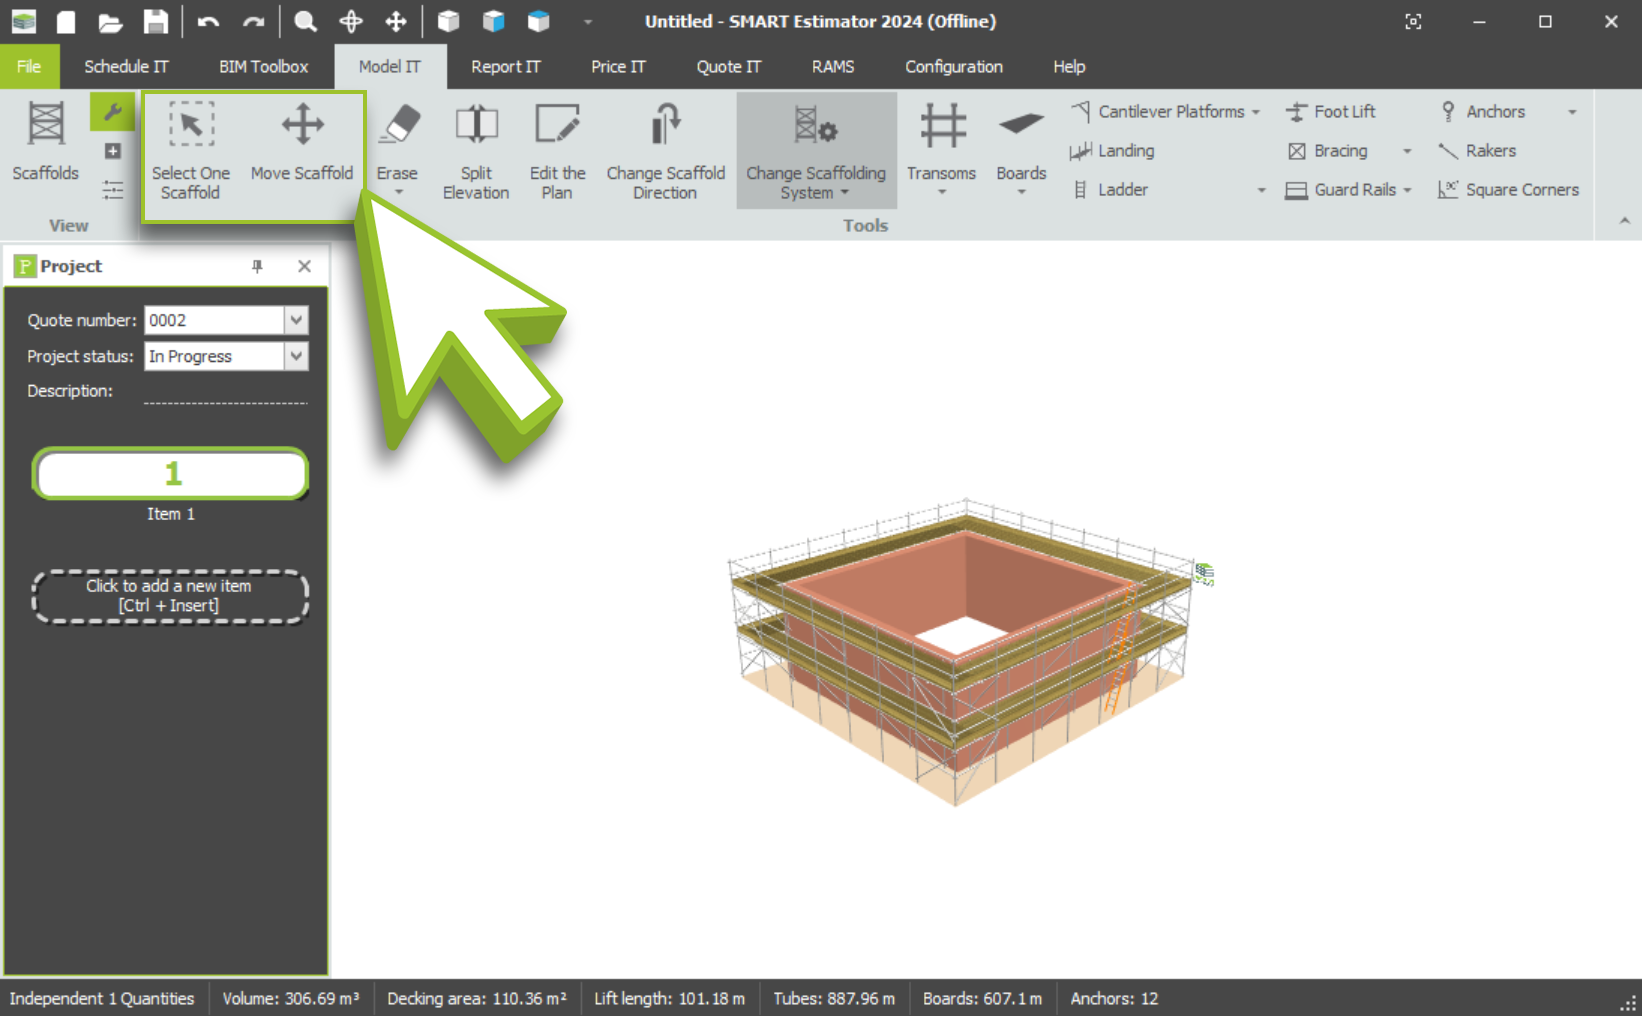
You can find these tools in the Model IT Tools View, we’ll be focusing on the Select One Scaffold tool and the Move Scaffold tool which are available along the Ribbon. Rotating the scaffold can be done with either transformation tool.
-
Selecting single scaffold models:
By selecting the Select One Scaffold tool, you can complete the following actions whilst this tool is enabled:
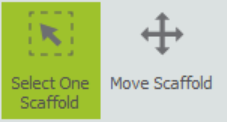
Select a single scaffold for editing
If you left click on the scaffold you wish to focus on, this will hide all the other scaffolds in the item except the one you have selected and replace them with red marker lines.
While scaffolds are minimised the Select One Scaffold tool button is replaced with the Show all scaffolds tool. Clicking this will reveal all the hidden scaffolds with red marker lines.
Edit the scaffold name
While the select one scaffold tool is enabled, hover over any scaffold in the viewport to see the Scaffold Item tooltip with two boxes labelled Name and Orientation.
The top box allows you to edit the scaffold name by typing in your desired name and pressing Enter to apply. You can also rename your scaffolds within Schedule IT.
Rotate the scaffold
When the Select One Scaffold tool is enabled, if you hover your mouse over any scaffold in the viewport, you will see a tooltip with two boxes labelled Name and Orientation.
The bottom box allows you to change your orientation by typing in the desired number of degrees you wish the scaffold to rotate by and pressing Enter to apply, click here for more information.
-
Moving scaffolds:
By selecting the Move Scaffolds tool, you can complete the following actions whilst this tool is enabled:
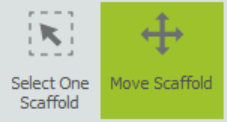
Click and drag to move the scaffold around the item
You can move a scaffold by clicking and dragging it to another location while the move scaffold tool is enabled. Please keep in mind that the 3D model operates on a hidden X, Y axis and dislikes diagonal movements.
In order to reposition your scaffold, click and drag it in one linear direction, then release it. Now, click again and drag it in the other linear direction as shown below.
Edit the scaffold name
While the move scaffold tool is enabled, hover over any scaffold in the viewport to see the Scaffold Item tooltip with two boxes labelled Name and Orientation.
The top box allows you to edit the scaffold name by typing in your desired name and pressing Enter to apply. You can also rename your scaffolds within Schedule IT.
Rotate the scaffold
When the Move Scaffold tool is enabled, if you hover your mouse over any scaffold in the viewport, you will see a tooltip with two boxes labelled Name and Orientation.
The bottom box allows you to change your orientation by typing in the desired number of degrees you wish the scaffold to rotate by and pressing Enter to apply, click here for more information.
-
Rotating Scaffolds:
Using either the Select One Scaffold tool or the Move Scaffold tool, hover your mouse over a scaffold that you wish to rotate, then use the Tab key to navigate from the scaffold name to its orientation.
Next, simply enter the number of degrees you wish to rotate by, for example 45, 180, 270, etc., and press Enter to adjust your scaffold orientation.
SMART Estimator
What’s new?
Getting Started
Setup and Configuration
-
Enterprise Server
-
Cloud Server Setup
Local Windows Server Setup
Adding Cloud server users
Server Back Up and Restore
Archiving Estimates from server
Migrating Local server to Cloud
Creating Folders in Enterprise Server
Using Server Tools from the Command Line
-
User software settings
User Address Settings and Yard
Scaffold Banner and Sheeting logo
Adding Watermarks
-
Setting up your Rates
Editing Shared Pricing Rates
Creating a rate setting template project
Importing and Exporting shared Rates
Creating an Estimate
Importing Drawings and Models
Scheduling Scaffolds
Creating 3D Scaffolds
-
3D Model Controls
Adding Independent scaffolds
Adding Circular Tank scaffolds
Adding Free Form Birdcages
Adding Birdcage & Lift shaft scaffolds
Adding Tied or Freestanding towers
Adding Stair towers, Ladders towers & Buttresses
Adding Loading bays
Adding Chimney scaffolds
Adding Temporary Roof
Adding Edge protection
Adding Pavement Gantry’s
System Scaffolds
Safety Decking
Using the Scaffold Library
Editing Scaffolds
Scaffold Add-ons & Options
-
Adding Gin wheels, Rubbish Chutes, Safety standards, Double standards and Lamps
Adding and Editing bridges/beam work
Adding Beams around Corners
Adding Cladding
Adding Cantilever protection fans
Adding Pavement Lifts
Adding Recesses and Infills
Building and Ground colour
Visual options (Tube, Ladder, System details and Grips)
Add a Pedestrian or Scaffolder
Copying pictures of the model
Material Lists and Drawings
Pricing and Estimation
Quotations
Enterprise Server
Troubleshooting


