-
Overview of Material Configuration
Throughout this document, we will guide you through configuring your preferences for Kits and Components. The purpose of this is to enable SMART Estimator to generate scaffold drawings and material lists based on the components you have in your yard, alongside how they should be used on the scaffold.
-
Choose your Scaffold System to Configure
Firstly, we will need to choose the scaffolding system that we are going to edit and configure. As soon as you create a new project or open an existing project, you can change the scaffolding system in Schedule IT’s Summary View. Select the scaffolding system you wish to edit by navigating across the table and selecting it from the drop-down menu.
Alternatively, you can change the scaffolding system within Model IT in the Tools view by clicking on the ‘Change Scaffolding System’ button and selecting the scaffolding system you wish to configure.
-
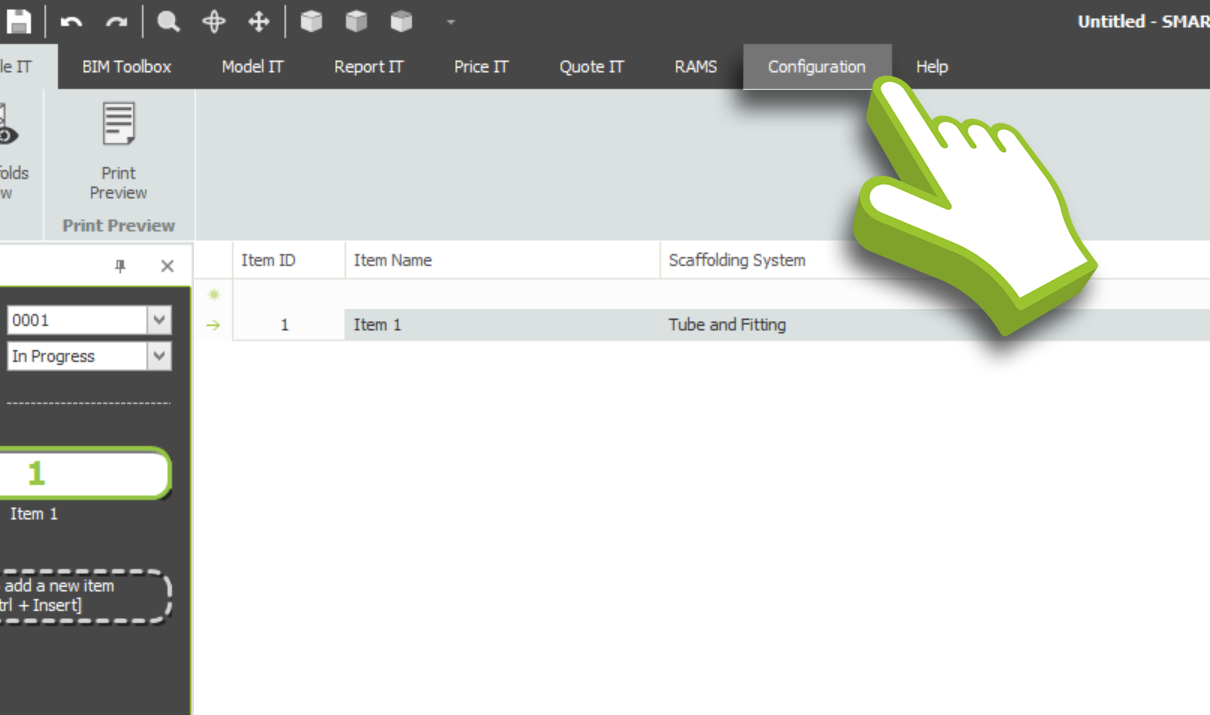
Select the Configuration Tool
Next we’ll need to open the Configuration module within SMART Estimator. Along the top toolbar, click on the ‘Configuration’ tab. This will open up the full list of components contained within the System Configuration.
-
Configuring System Components: An Overview
You can choose between a couple of levels of configuration options here; all of your scaffold components are grouped according to the type of component, such as tubes, decking, beams, cladding, brackets and other bits and bobs, etc.
When configuring the Tube and Fitting scaffolding system, a few additional systems are included. Van Thiel and Readylok system scaffolds are included primarily for transoms, Haki is included primarily for stair towers, and Cuplok is also included for tube components.
The Haki and Cuplok systems are not configurable, since they are primarily used for stair towers, and they cannot be turned on or off. You can only set the price of the components involved in Stair Towers.
I’m not configuring the Tube and Fitting system!
In the case that you are using a System Scaffold, due to the prefabricated and modular nature of this scaffolding type. Your scaffolding system includes Tube and Fitting infill bays for the purpose of securely joining the system scaffold components together.
It is critical to note that these components are entirely separate from the ‘Tube and Fitting’ Scaffolding System; therefore, should you wish to use both ‘Tube and Fitting’ and your current configuration system for different scaffolding projects, both systems will need to be configured correctly.
-
Configuring your scaffolding components
Now we can begin configuring your kits and components. Click on the Show Details view located in the top left corner of the Ribbon.
Selecting your scaffold components.
Along the left-hand side of the table and the component names, there’s a singular checkbox for each row of your kit & component list. You should check the checkboxes according to the scaffolding components you have in the yard.
SMART Estimator will then generate your kit list and drawing based only on the components checked in the configuration. For example if you deselected any tubing that’s 3 metre’s or shorter, they will be substituted for a longer tubing component. This results in an overhang on the scaffold, which can be seen in the Report IT Drawing.
Set the Product Codes of your components.
In reports such as the Material List, it is common for components to be identified by product codes. These product codes are generally taken from the manufacturer’s catalogue at the time the component was added to SMART Scaffolder.
If you wish to add or change the product code for a component, simply select the Product Code in the column or card row and make the desired changes. In general, it is advisable to keep the product code short, usually no more than ten characters. It is possible that the Material List report layout will be adversely affected by long product codes.
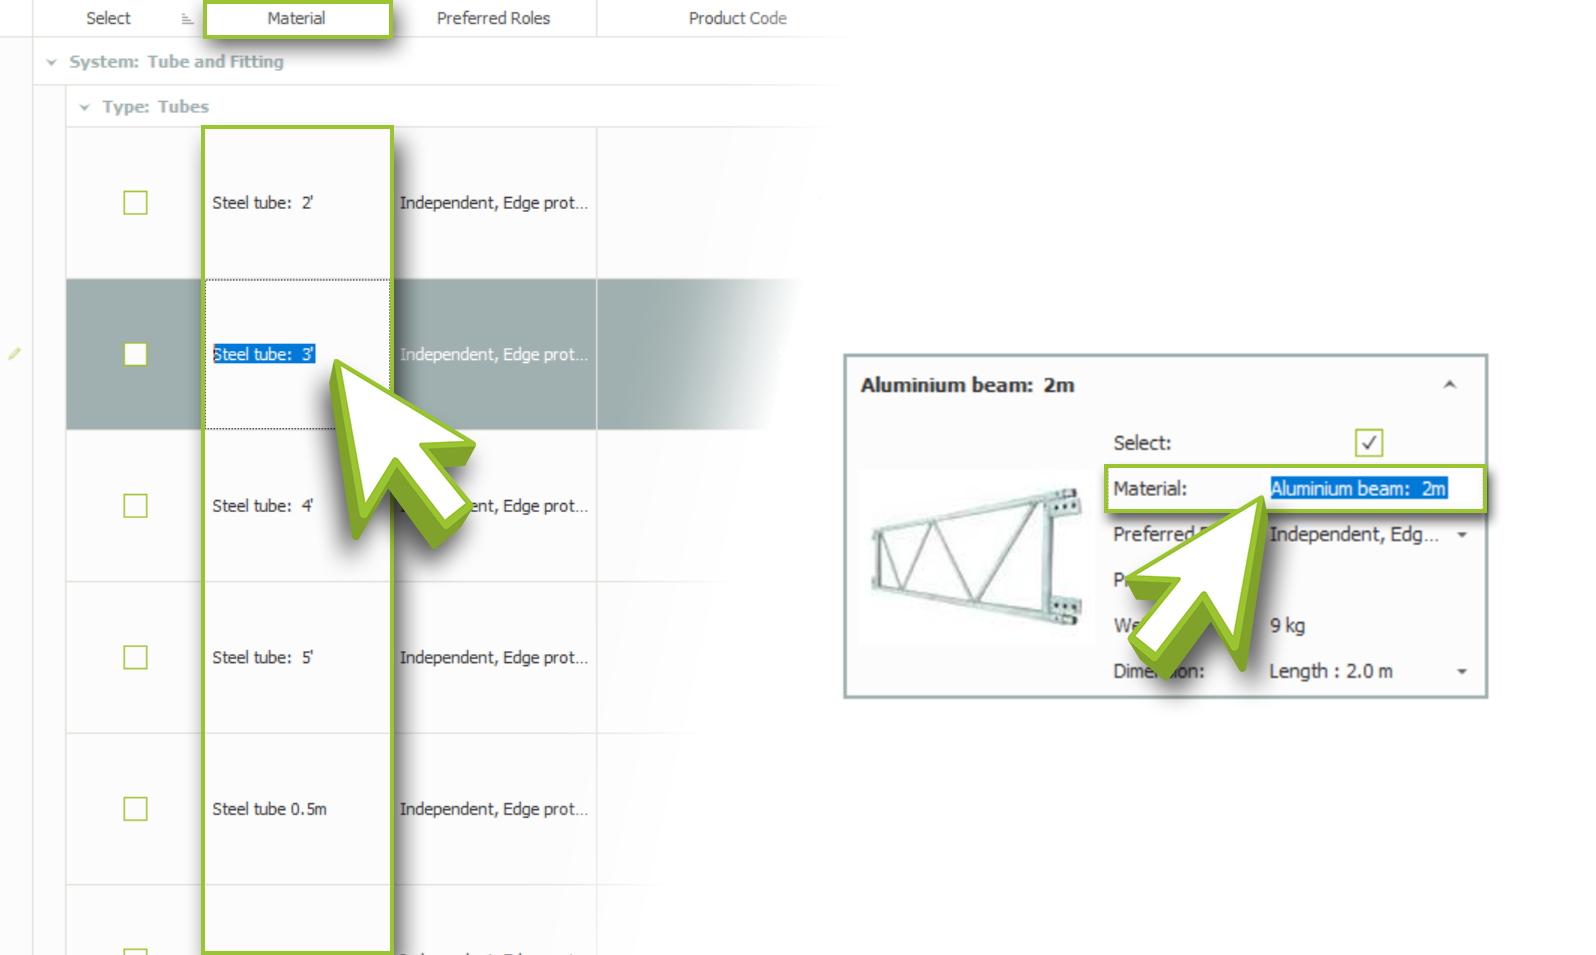
Renaming the Scaffolding Components
SMART Estimator provides component names by default, which appear on reports, such as the Material List. These names can be modified to suit your preferences.
To do this, simply select the name in the Material column or card row and change it. In order to avoid further complications, it is recommended that you rename it as an appropriately recognisable component.
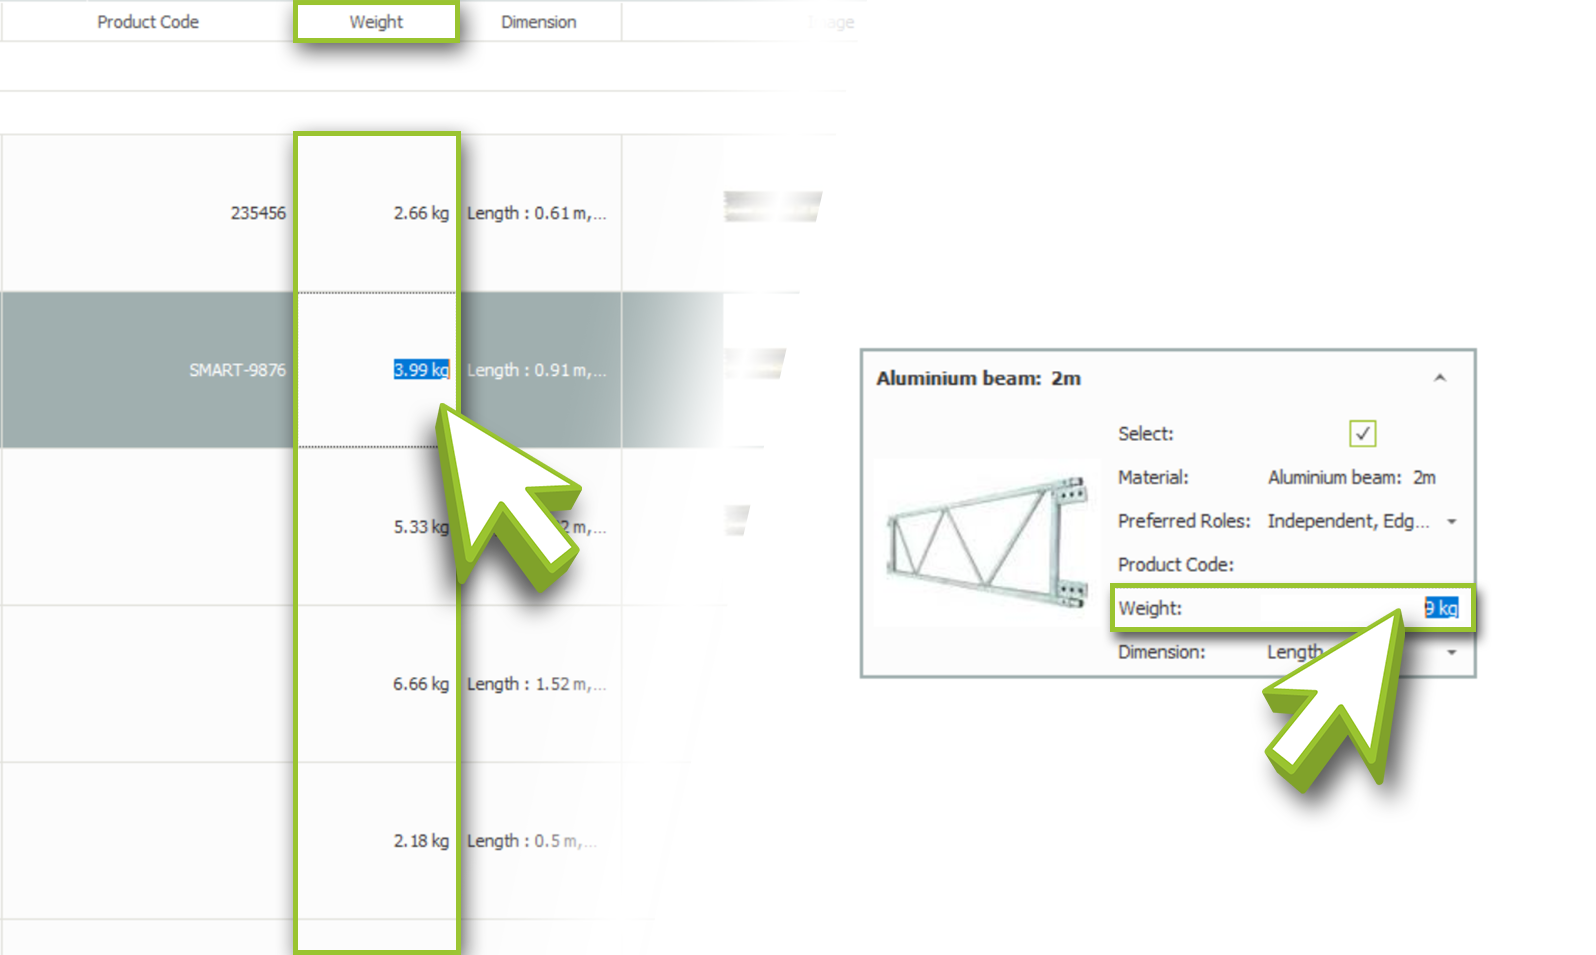
Adjusting the Weight of Scaffolding Components
For logistic pricing of materials and transport, some component weights are included by default in the component configuration. These weights can be adjusted to suit your needs.
To change a component’s weight, select the Weight in the column or card row and make the desired changes. Setting the weight to 0 is generally not recommended since any component in the list will have a significant weight if there are enough of them.
-
Repeat Step 5 for each component
As a next step, you will need to configure the rest of the scaffolding components. You can do this by checking and unchecking the checkboxes for each scaffolding component in your yard. Furthermore, you will need to set the product code for each eligible component.
-
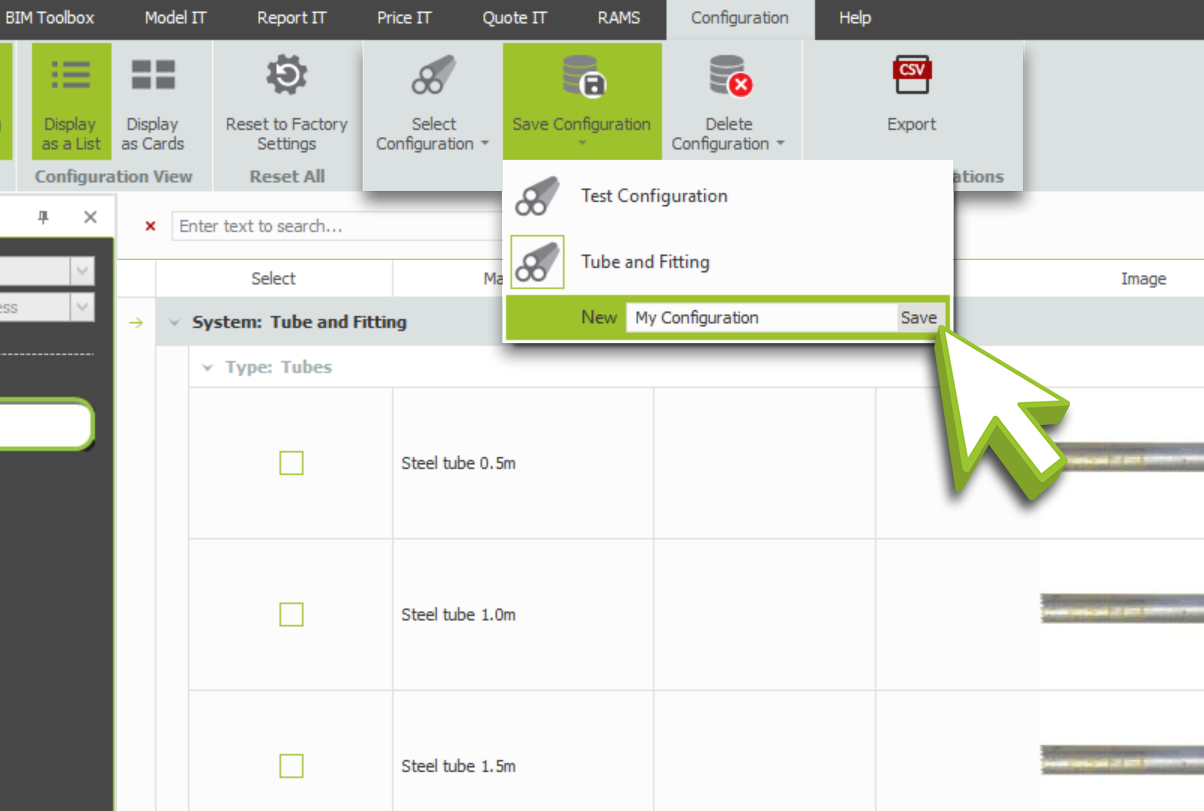
Saving your Configuration
After you have completed setting up your newly configured prices, click on ‘Save Configuration’ to save your changes. You can choose to overwrite an existing configuration or give it a new name to create an additional configuration. Thus, you can have multiple material rates for hire versus stock, different customers, or different types of work.
Renaming the Configuration
The display name of your configuration can be changed by selecting the ‘Select Configuration’ drop-down menu and then selecting ‘Set display name’. Here you can change how it’s displayed on the Quotation and on the ‘Change Scaffolding System’ buttons in Model IT Tools view, Report IT Material List and even the Schedule IT Summary View.
Deleting the Configuration
If you wish to remove a configuration you do not want, you can click on the ‘Delete Configuration’ drop-down menu. Then, select the configuration that you wish to permanently delete. As soon as you confirm that you wish to delete the configuration, it will be deleted and no longer accessible. Please take care not to delete a configuration by mistake, as this action cannot be reversed.
Exporting your Configuration
If you wish to review your prices or to share them as a spreadsheet, click the ‘Export Button’. A CSV file will be generated when the export button is clicked and confirmed. The CSV file contains all configurations and their prices. Thus, you can easily and quickly compare the prices of various configurations.
-
Your Configuration is Complete
As of this point, the configuration can be utilised within SMART Estimator. Once you’ve created a Project, you can choose the System Configuration by navigating to the Schedule IT Summary View. The System Configuration can also be selected in Model IT by clicking on the button Change Scaffolding System in the Tools View. You can also select the System Configuration option within Report IT by clicking on the same button.


