SMART Estimator
-
Overview of the Board Details
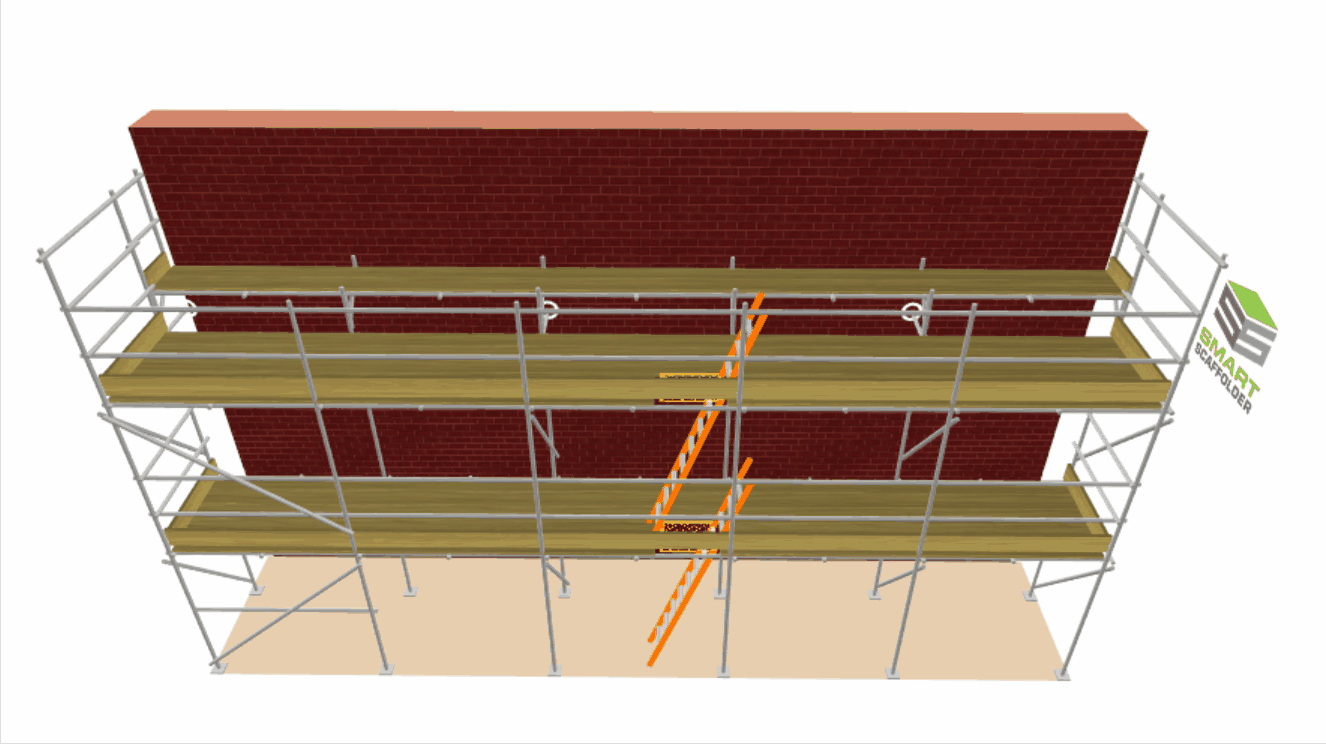
All lifts within SMART Estimator are boarded by default, however, you can configure them at any time so that they’re unboarded or boarded with inside boards. In this documentation. We’ll be covering how to apply Double Boards, Sole boards and Sole pads, alongside altering the Deckboard and Infill material for System Scaffolds.
-
Where is the Board tool located?
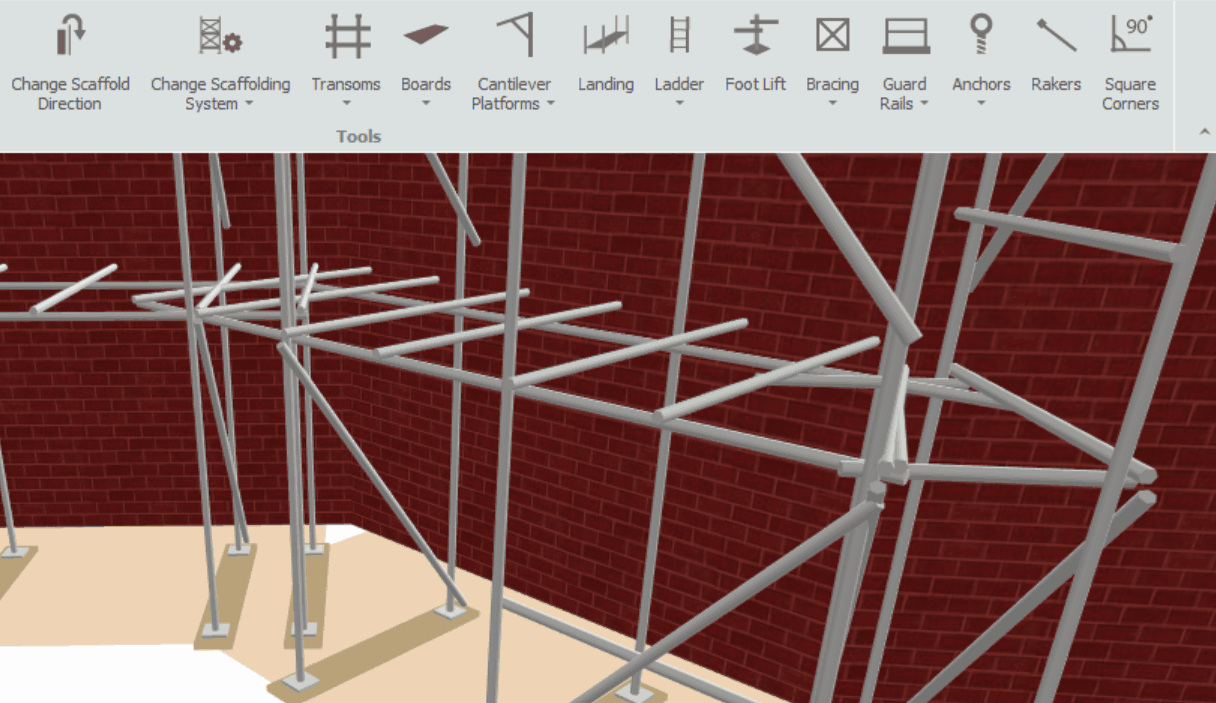
The Board tool can be found in the Tools View on the Model IT Ribbon. Upon selecting the Boards icon, your cursor should now be holding a scaffolding board. By using this tool, you will be able to board lifts and place boards between the elevation and the main scaffold to create inside boards.
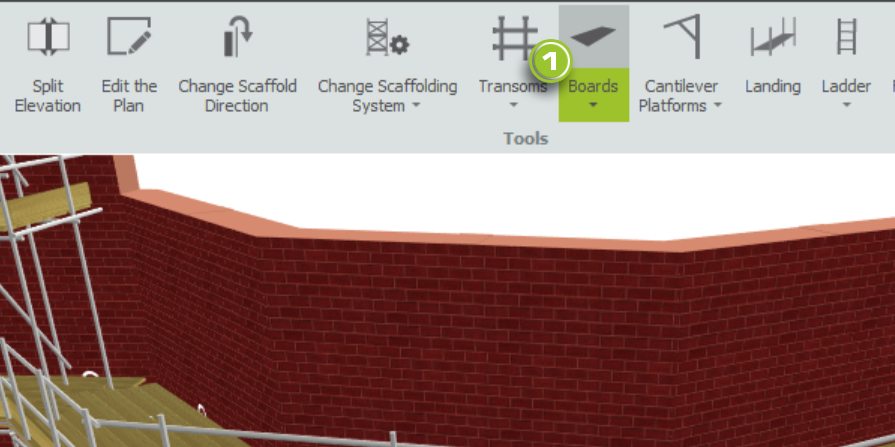
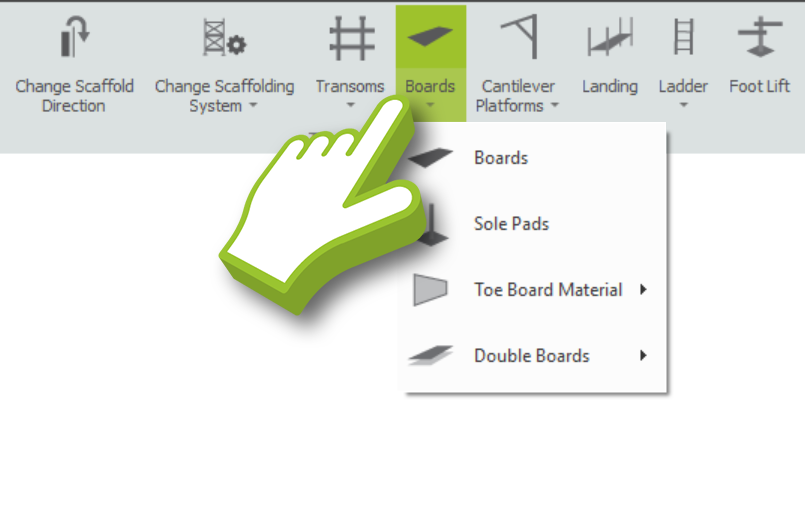
By clicking on the arrow button below, you will open a dropdown menu that contains a wide range of tools for configuring the board details. Depending on what scaffolding system you choose (Haki or Cuplok), your board configuration options will vary.
-
Using the Board Tool
When the Board Tool is selected, we are able to apply boards to lifts simply by clicking on a lift on any scaffold, once you do so, boards will be added to the scaffold and depending on whether the lift is unboarded or boarded, the operation will be different.
I’m done with the Board Tool
After you have finished working with the Board Tool, you can deselect it by clicking on the Board Tool again. You can also deselect it by double-clicking the Left Mouse Button or pressing the Esc key.
Boarding Unboarded Lifts
If you click on the Unboarded lift while using the Board tool, you can place the boards back onto the lift, turning it back into a Boarded lift. Please click here, if you would like to make an unboarded lift.
Applying Board to All Lifts / Only one Elevation
When you hover the board over a lift, you can modify the highlight. If you press the Shift key, then it’ll allow you to apply to all lifts above the one you’re hovering on, if you use the Ctrl key, then it’ll allow you to apply boards only to one elevation.
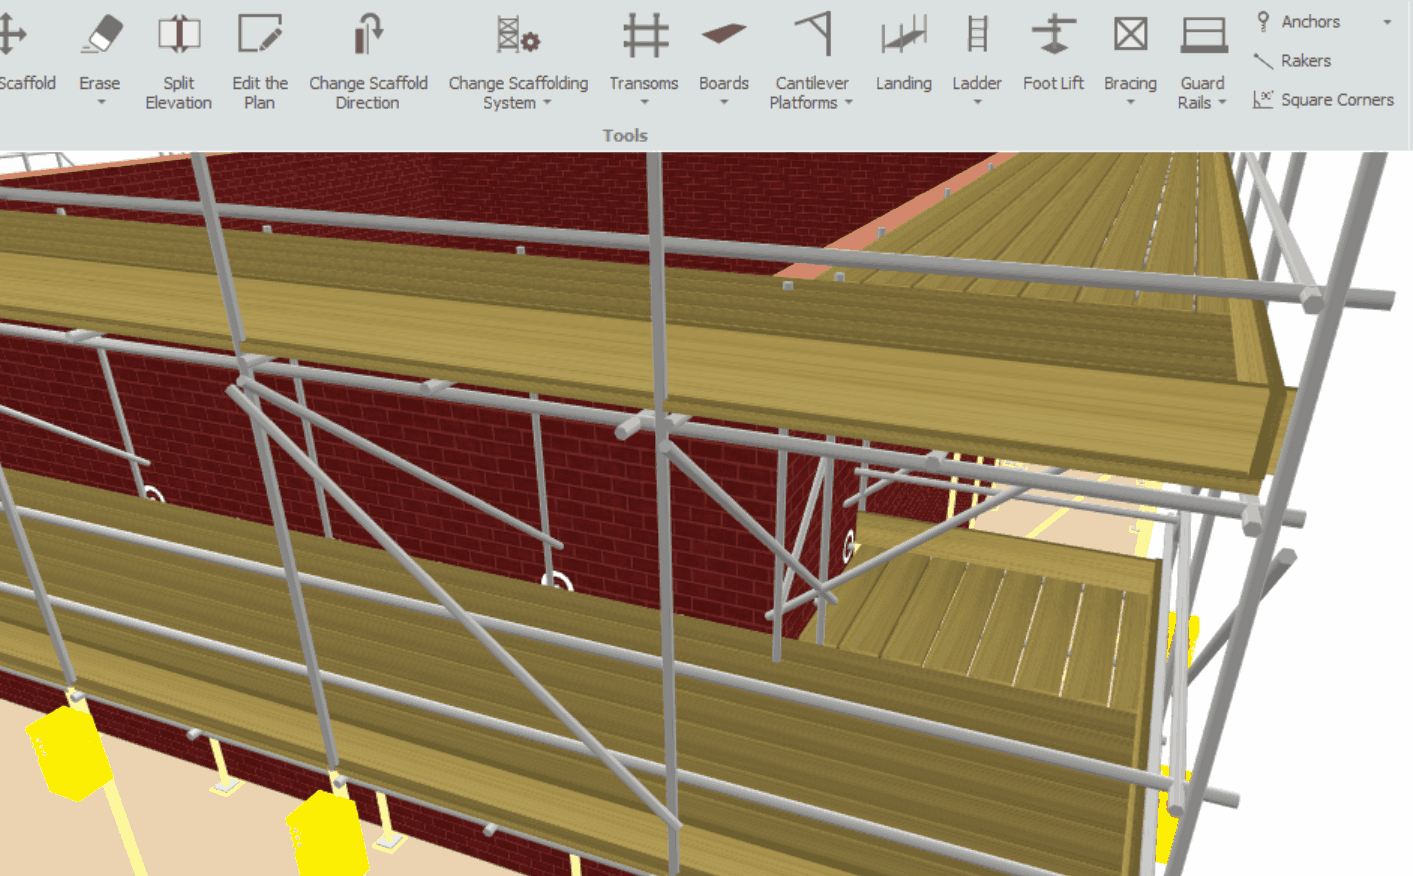
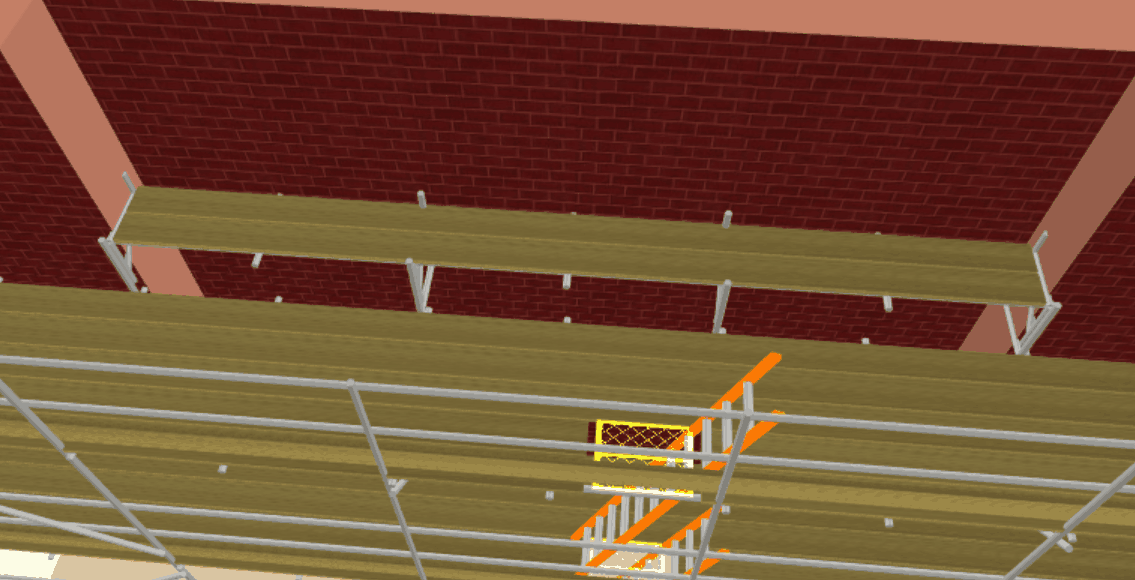
Creating Inside Boards
If you click on the Boarded lift with the Board tool, you will add inside boards between the scaffold platform and the elevation. By clicking the mouse again, another inside board will be added. In addition, if you press Ctrl before applying, you will add inside boards to one elevation.
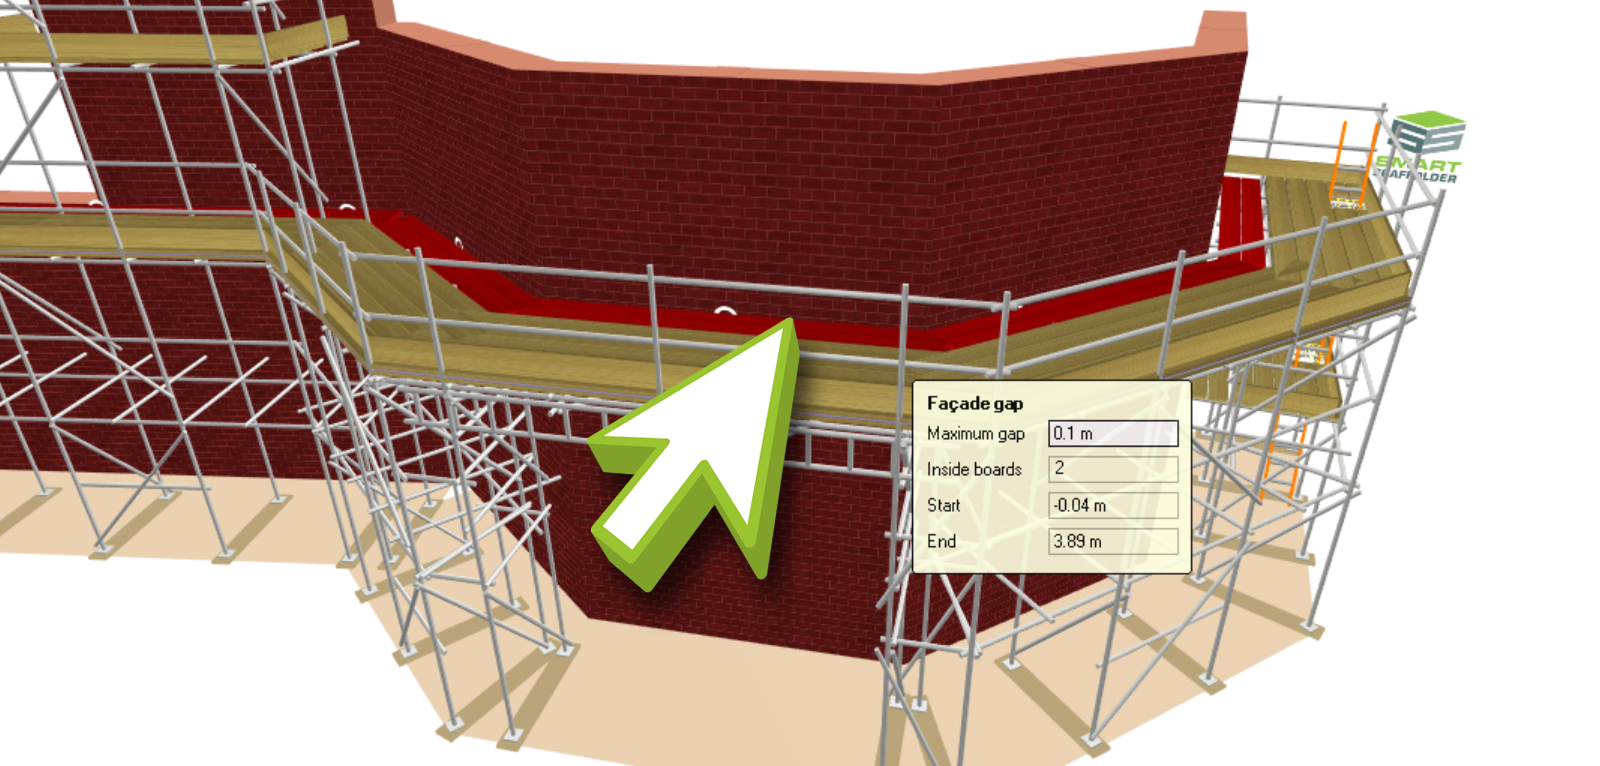
Set the inside boards’ width
It is possible to set the width of your Inside Board manually without using the Board Tool. Hover your cursor over the Façades Gap or the Toeboard to display the Tooltip Details, use Tab to move the highlight to Inside Boards, then enter the number of Inside Boards and press Enter to confirm your changes.
-
Remove the boards from the lifts
To erase the boards from the lifts or remove the inside boards, simply select the Eraser Tool and click on the boards you wish to delete. Please Note. Clicking on an inside board will erase one inside board at a time.
-
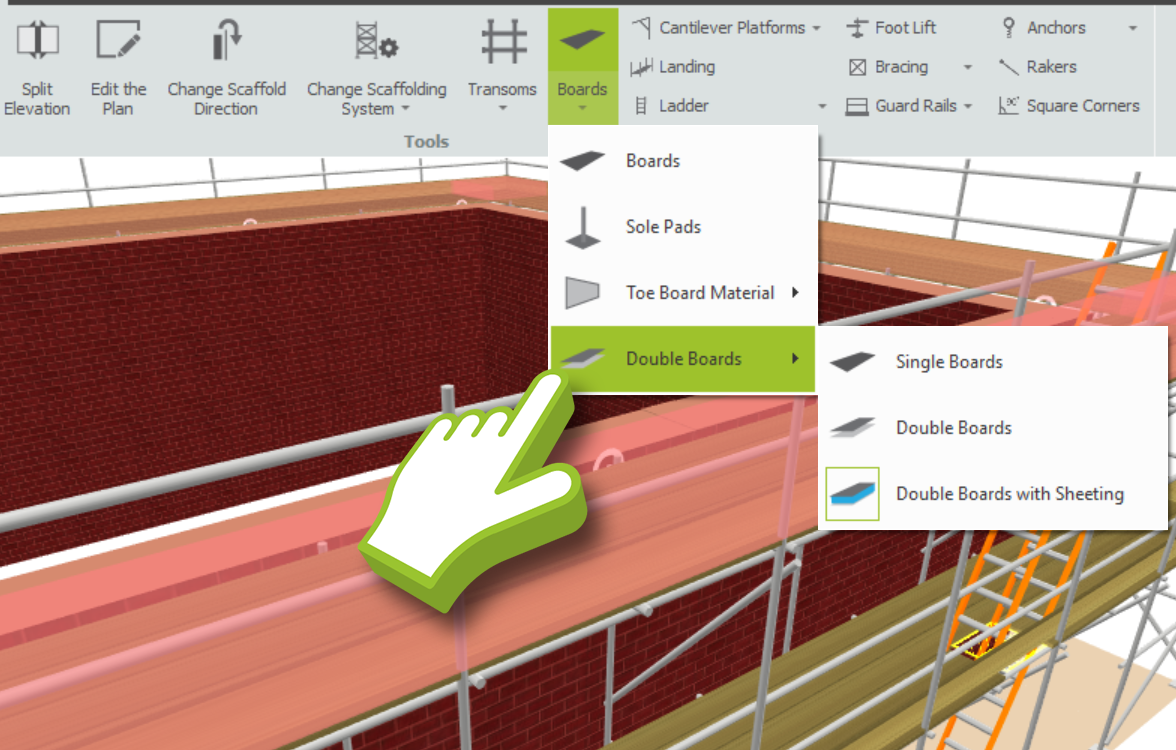
Adding Double Boards to the Scaffold
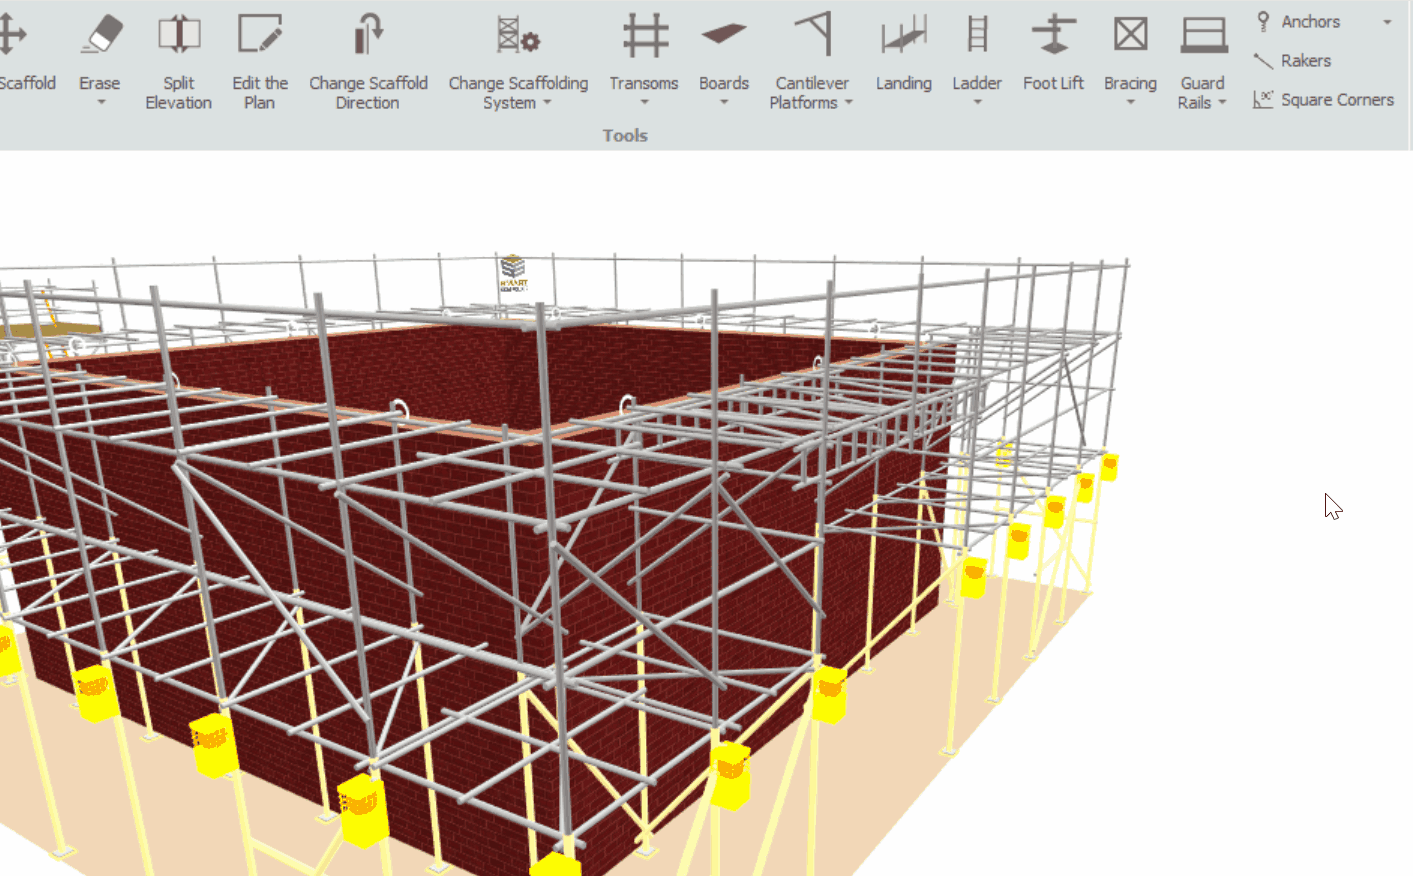
By default in SMART Estimator, single boards are applied to every lift in a newly created scaffold, these boards can be replaced with double boards or with double boards that have a polyethylene sheet sandwiched between them.
Hover your mouse over the Double Boards option in the Board dropdown menu. A new menu will appear displaying all the configuration options for Double Boards. Select either Double Boards or Double Boards with Sheeting, then click on the lift to replace the boards.
-
Sole Boards and Sole Pads
Sole boards and sole pads can be placed underneath the Base Plates in SMART Estimator. Select which board you wish to add from the dropdown menu, your mouse will now be holding either a sole board or a sole pad.
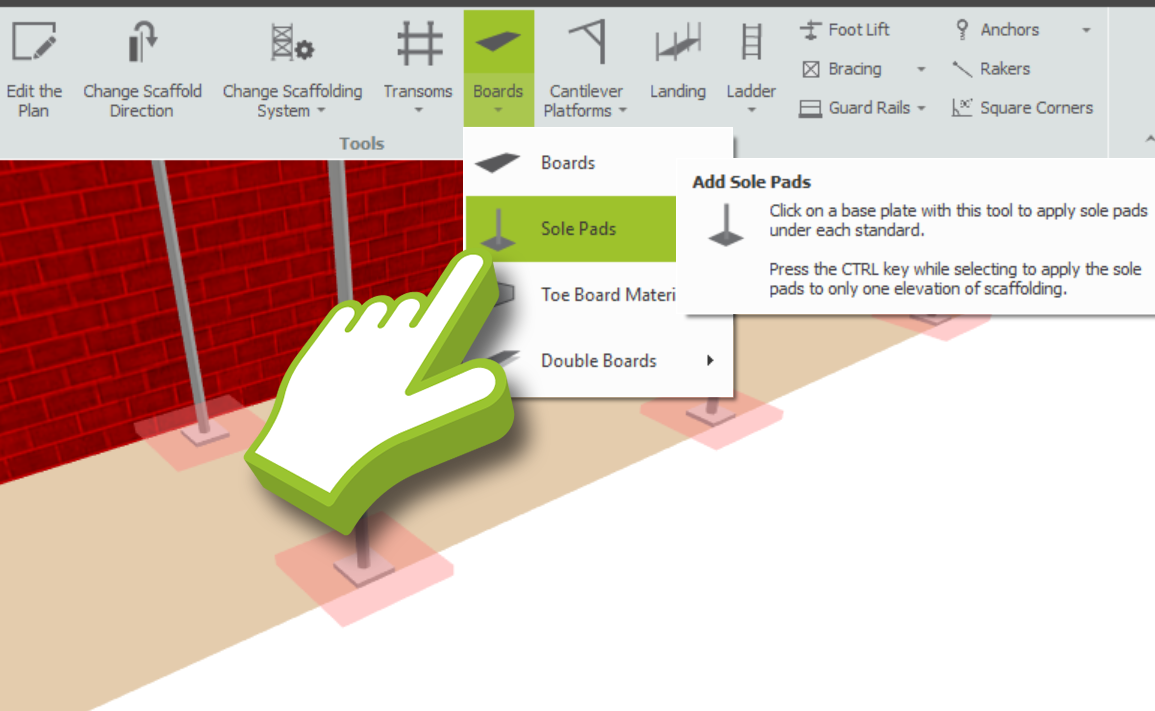
By hovering your mouse over the base plates, you will see a Red Highlight encompassing each plate. Click on the highlighted base plates to apply the component to the model.
Placing Sole Boards/Pads on One Elevation
By pressing the Ctrl key, you can place sole boards or sole pads on one elevation, rather than the whole model. This will result in the highlight being isolated to that elevation.
-
System Scaffolds
If you’re using a system scaffold, you’ll have additional options available within the dropdown menu to change the material of the System Scaffolds:
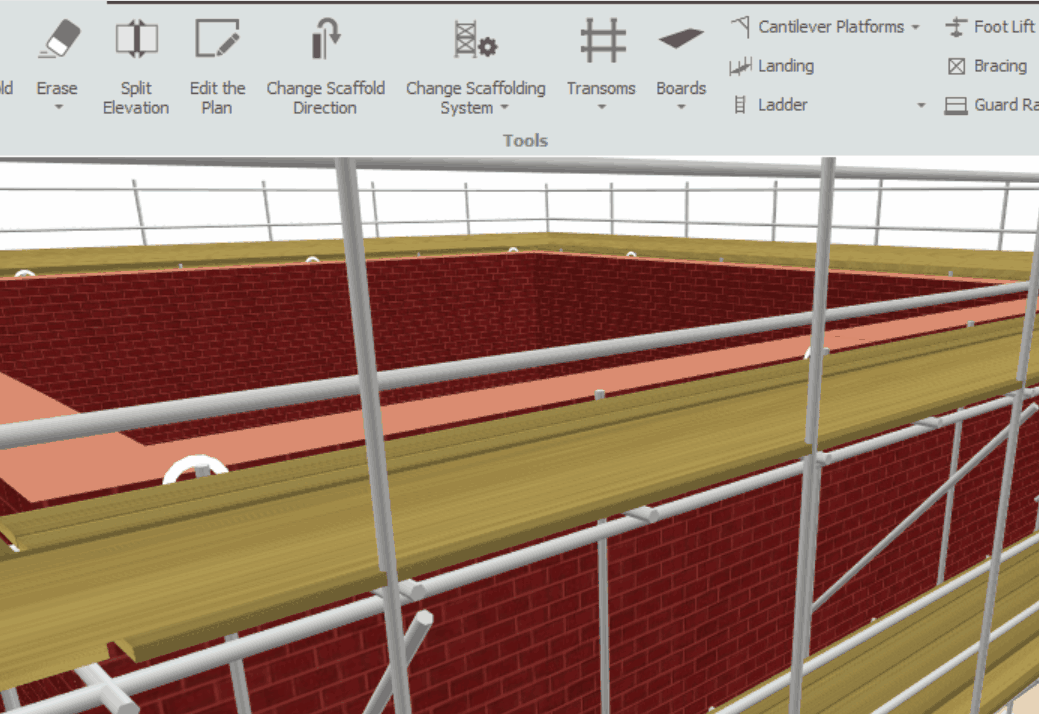
Deckboard
You can change the decking material of the scaffold model by simply selecting the Deck Board Material option from the Board dropdown menu and selecting the decking material of your choice.
Infill Material
System Scaffolds are prefabricated and have a set bay length, so Infill planks are automatically placed within the Scaffold Model to ensure a continuous work surface. The Infill Material option in the Board dropdown menu can be used to specify whether the infill planks are Timber or Galvanised Steel.
Ladder Access
You can change the material of the ladder access, by selecting the Ladder Access option and picking from the material choices available. Depending on the Deck Board Material selected, the available ladder access material options will also vary.


-
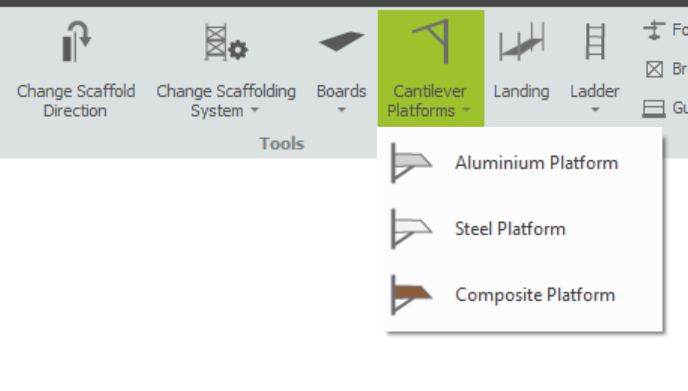
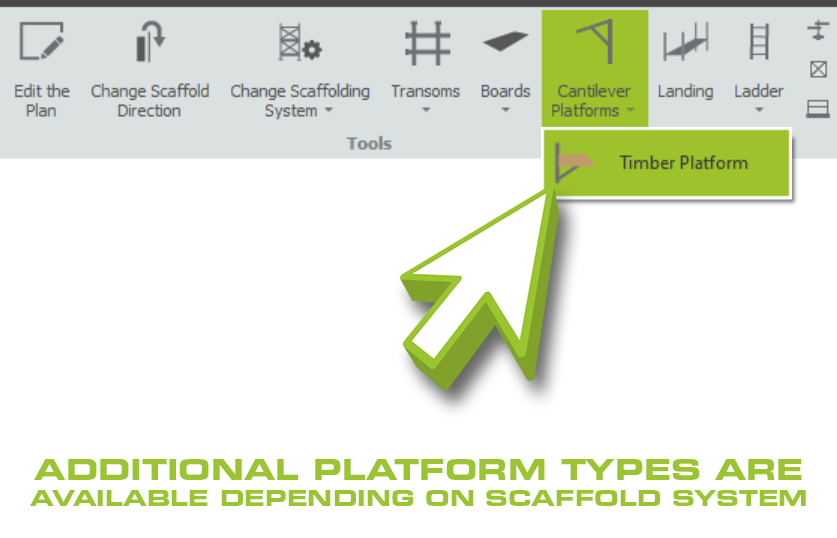
Overview of Cantilever Platforms
The Cantilever platform tool can be found in the Tools View on the Model IT Ribbon. The tool allows you to add hop-up brackets & cantilever platforms to your scaffolds.

-
Where is the Cantilever platform tool located?
To access the Cantilever platform tool, you can find it in the Model IT Tool view along the ribbon. From there, you will be able to add and configure cantilever platforms for your scaffolds.
-
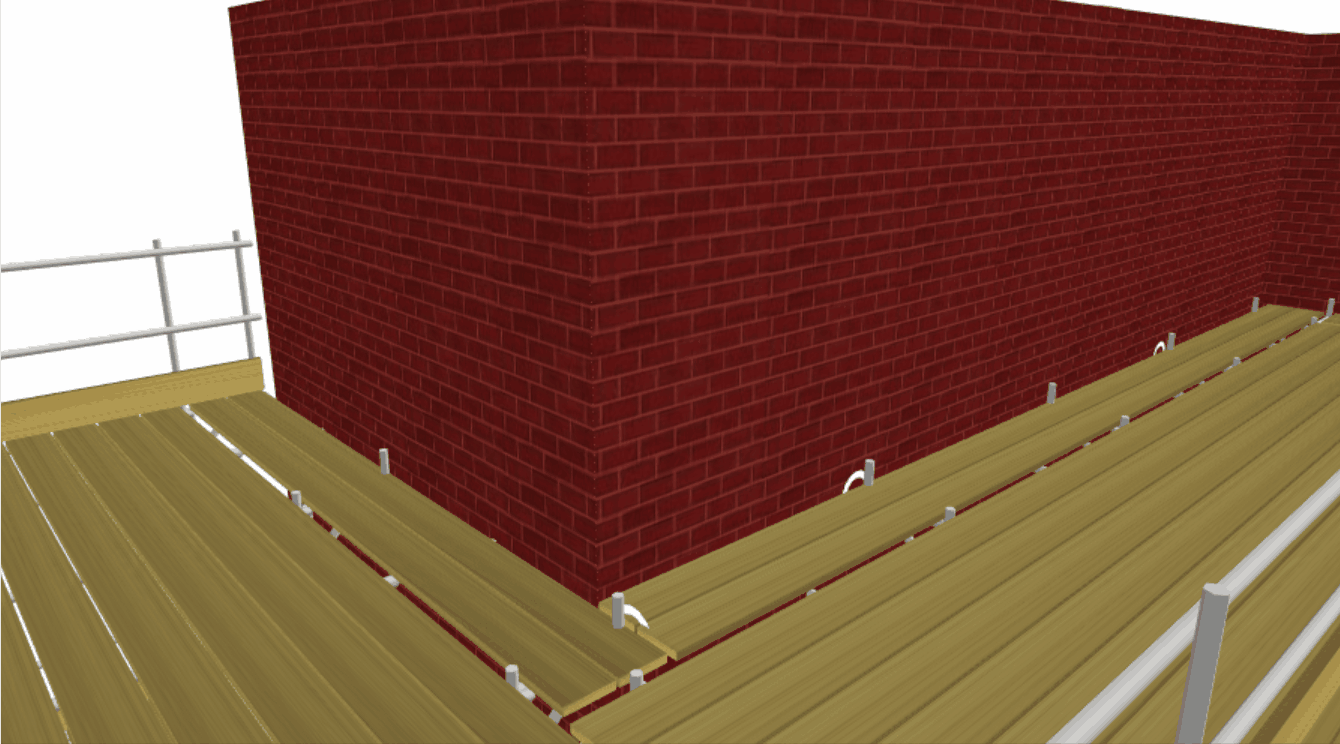
Using the Cantilever platform tool
When you first click on a lift the tool will add a 1 or 2 board hop up bracket with inside board depending on your scaffold system.

-
Adjusting the Cantilever platform width
Once you have added your platform, you can hover over the boards and change the platform width, either in number of boards for tube and fitting scaffolds, or width for system scaffolds.

The tube and fitting system supports 2 or 3 board hop-up brackets. Once you select 4 or 5 boards the bracket will be replaced with a cantilevered platform with rakers to support the platform. For system scaffolds the available brackets will reflect the manufacturers available options.
-
Vertically offset cantilever platforms (Hop-Ups)
You can adjust the cantilever platforms vertically by offsetting them from the main boarded lift. Click and drag the platform up or down while pressing the Left Mouse Button. As usual, you can modify the selection by pressing Shift or Ctrl.

It is possible to enter the Vertical offset value directly, by hovering over the platform boards and then on the keyboard by pressing Tab to cycle through the tool tip options until it is highlighted, entering the new value, and pressing Enter.
-
Editing the start and end points
A platform’s Start and End positions can also be specified so the platform or hop ups don’t apply to the full run of lift. This will display the platform within a recess on the elevation.
Press the Tab key to move to the Start or End field, type the new value, in metres, and press Enter. An elevation can only contain one length of Cantilever platform; if you require more, you will need to split the elevation.
-
Adjust the bracket spacing (Tube and Fitting)
If you are using a Tube and Fitting scaffold, you can change the spacing between brackets by moving the mouse over the platform, pressing the Tab key until the Maximum spacing field is highlighted, and entering the new maximum spacing in metres.
-
Deck Materials (System Scaffolds)
You may also be able to select a deck material for system scaffolds. When you click on the Cantilever platform tool, there will be a dropdown with your board options relevant to your scaffolding system.