-
Overview of the Attached Scaffolds
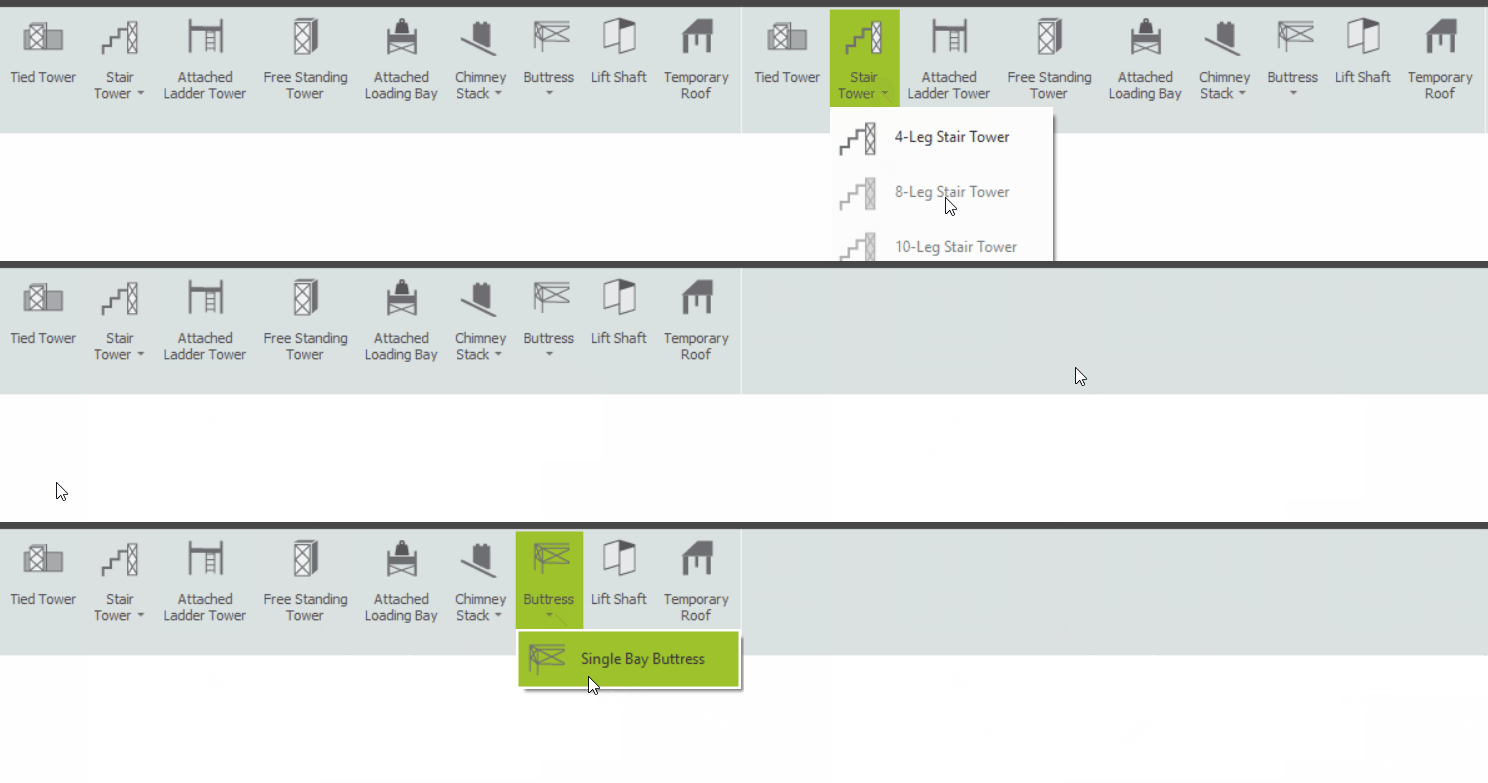
System stair towers, Tube and Fitting ladder-access towers and simple buttress scaffolds share some of the same controls and functionality in SMART Estimator. This is because they’re attached like the Loading Bay, but there are several differences between them.
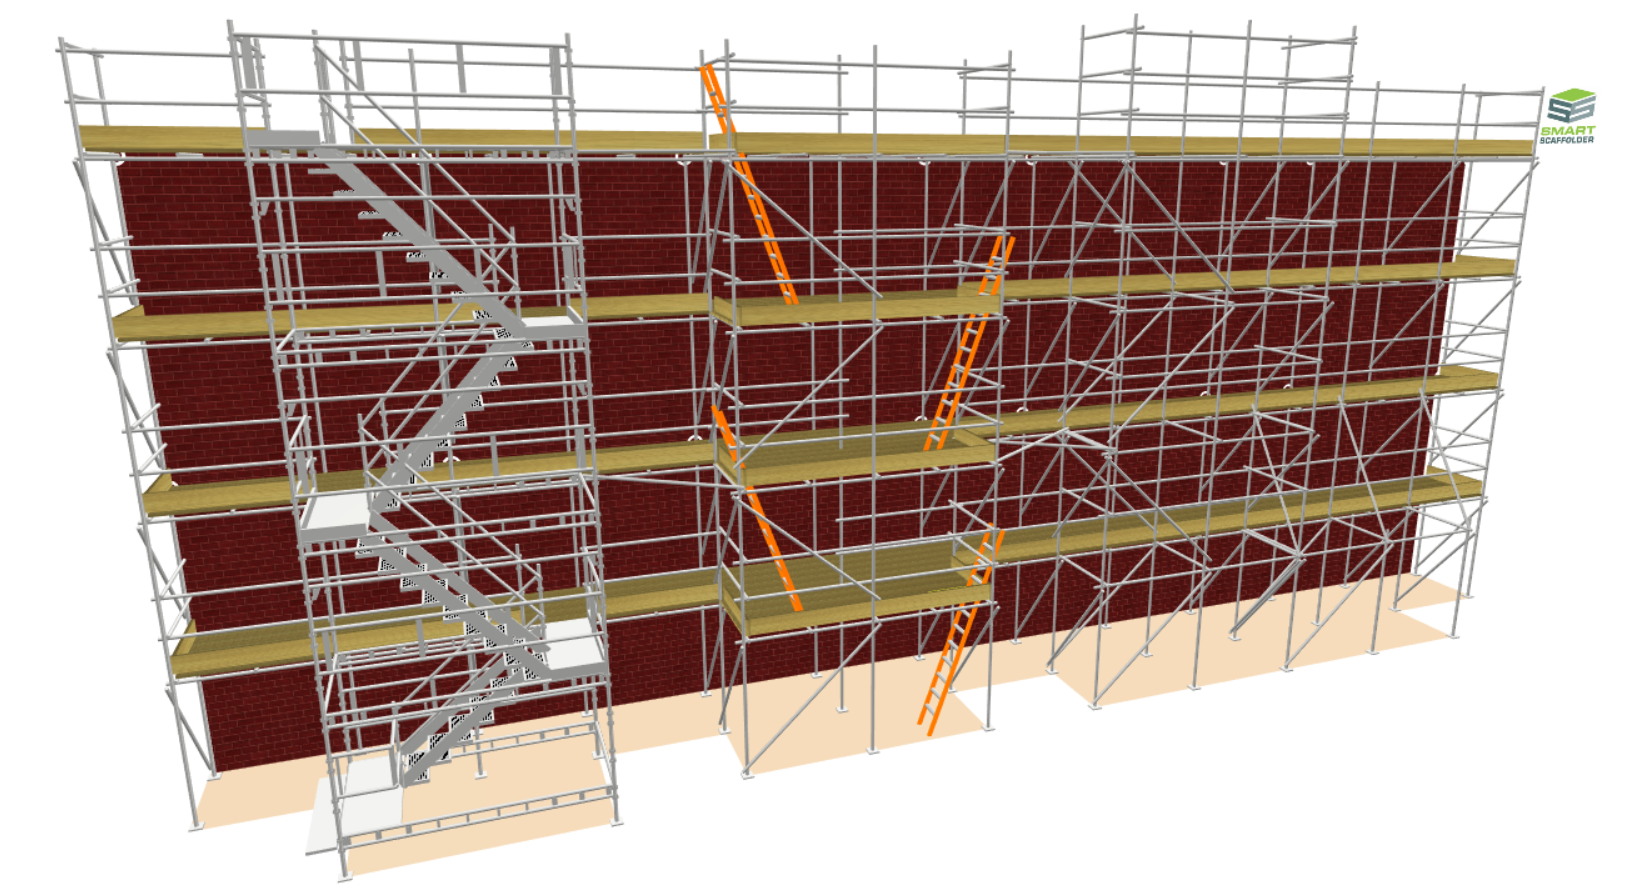
So in this documentation we’ll cover the basic controls of attached scaffolds and we will also cover the unique aspects of each scaffold type and how you can modify them.
-
Attached Stair Tower, Ladder Tower & Buttress
It is recommended that you add an Independent or Circular Tank Scaffold to your project before proceeding. An attached scaffold can be attached to any independent or circular tank scaffold.
Stair Tower
Stair Towers are constructed with proprietary prefabricated components from a system scaffold such as Haki or Cuplok.
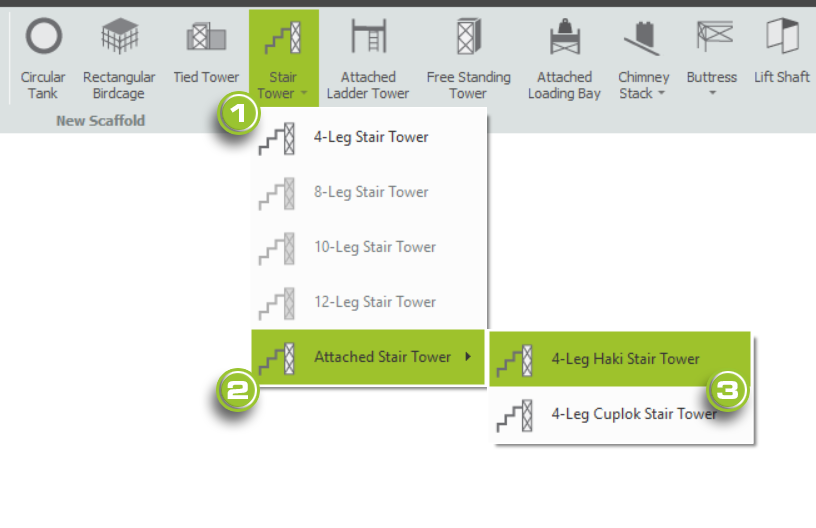
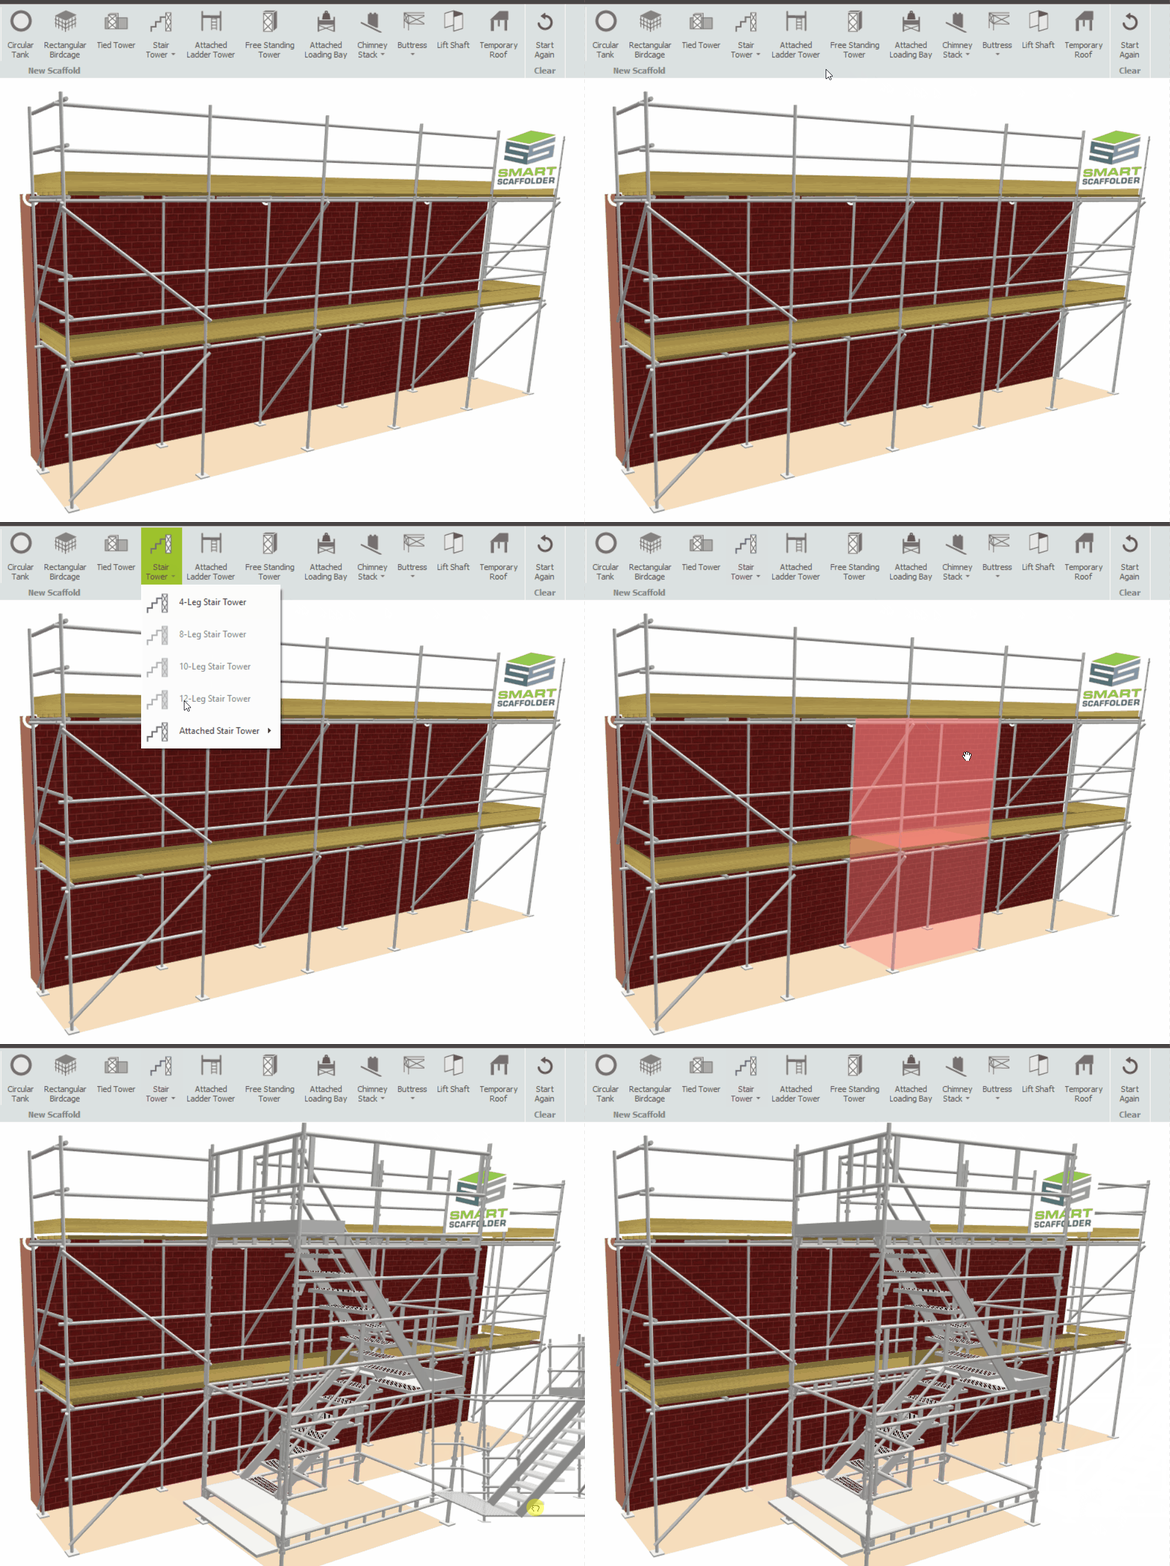
In order to add a stair tower for access and egress, simply click on the Stair Tower drop-down menu and then hover over the Attached Stair Tower option. After this, click on the stair tower of your choice and apply it to your scaffold.
Ladder Tower
Similar to stair towers, ladder towers are constructed with tube-and-fitting components for access and eggress.
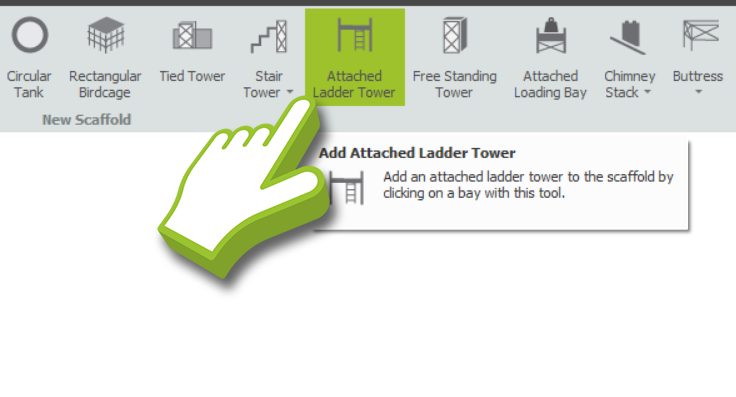
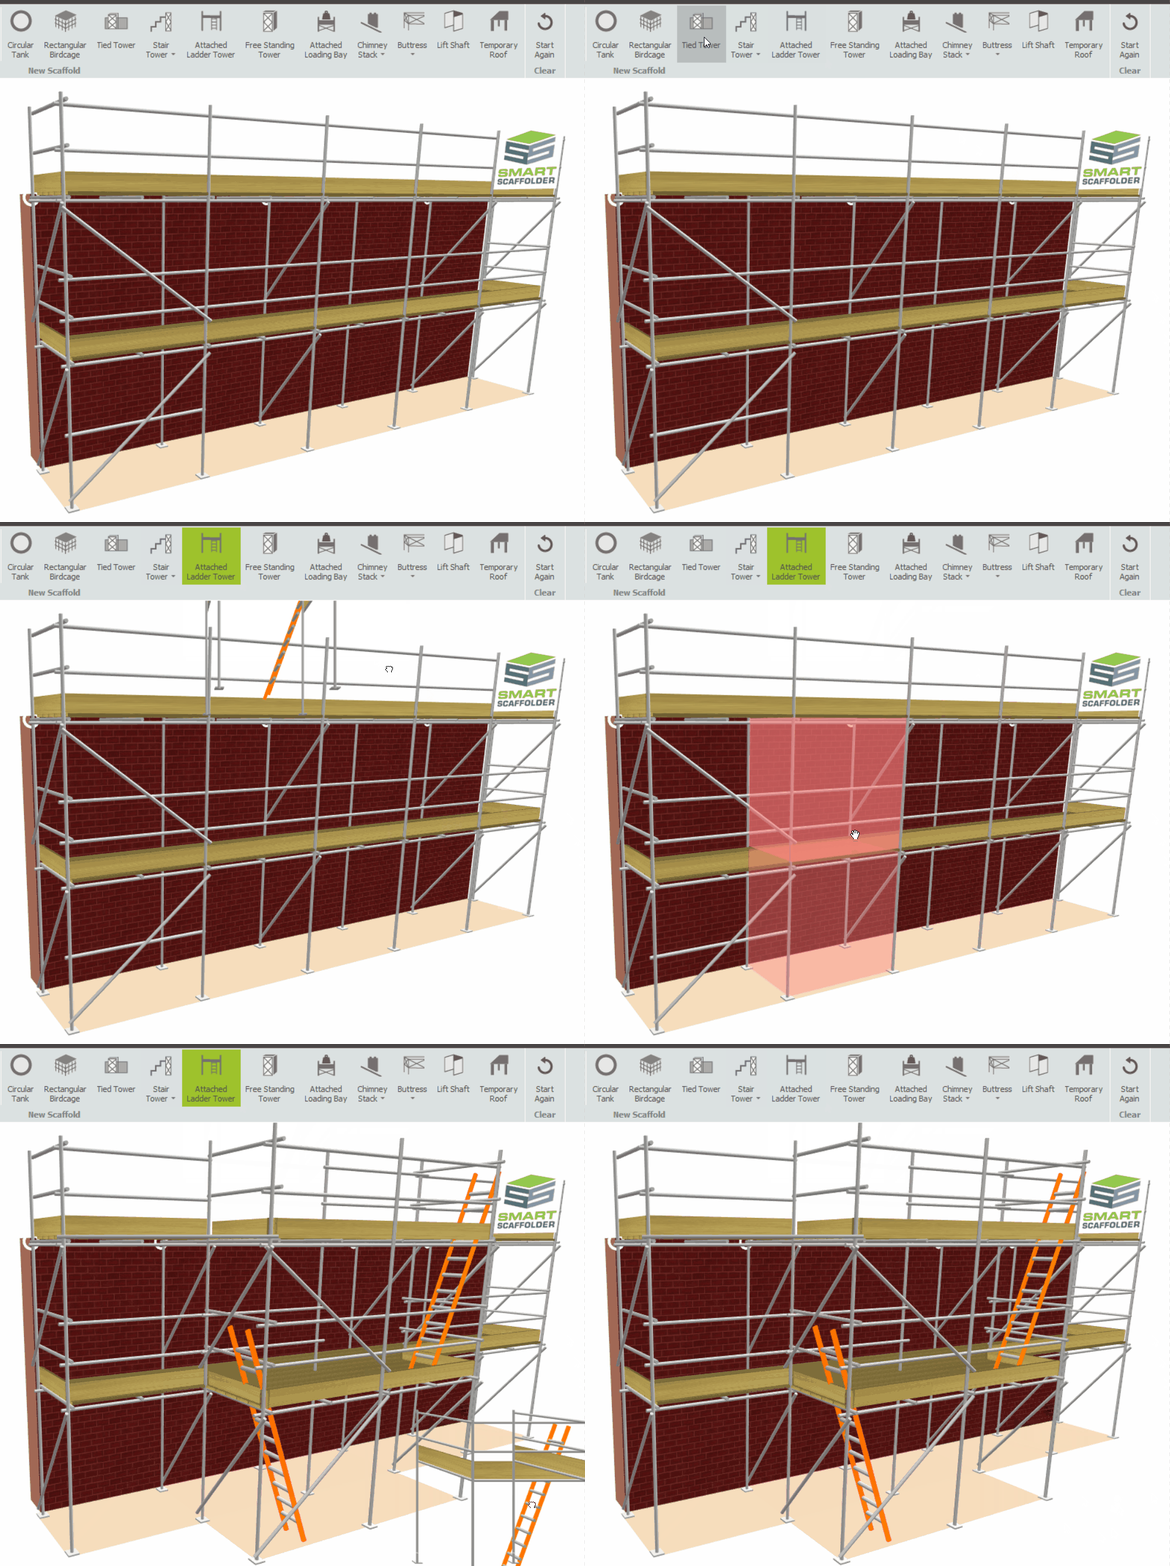
In order to add a ladder tower to Model IT, you must first go to the Scaffolds View. Click on the Attached Ladder Tower button. Then hover over any bay where the ladder tower is applicable and apply the scaffold.
Buttress
A buttress is a simple structure used for supporting scaffolds when they are unable to be anchored to a building wall.
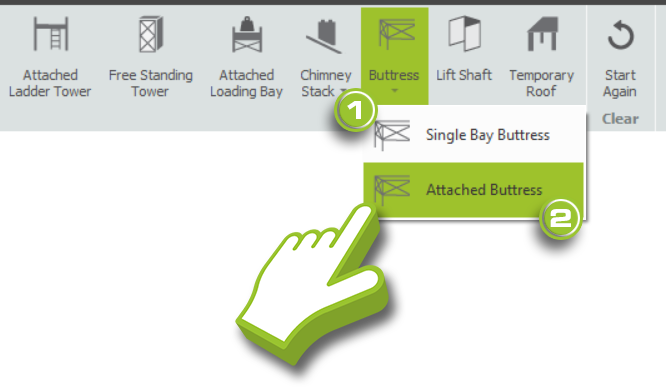
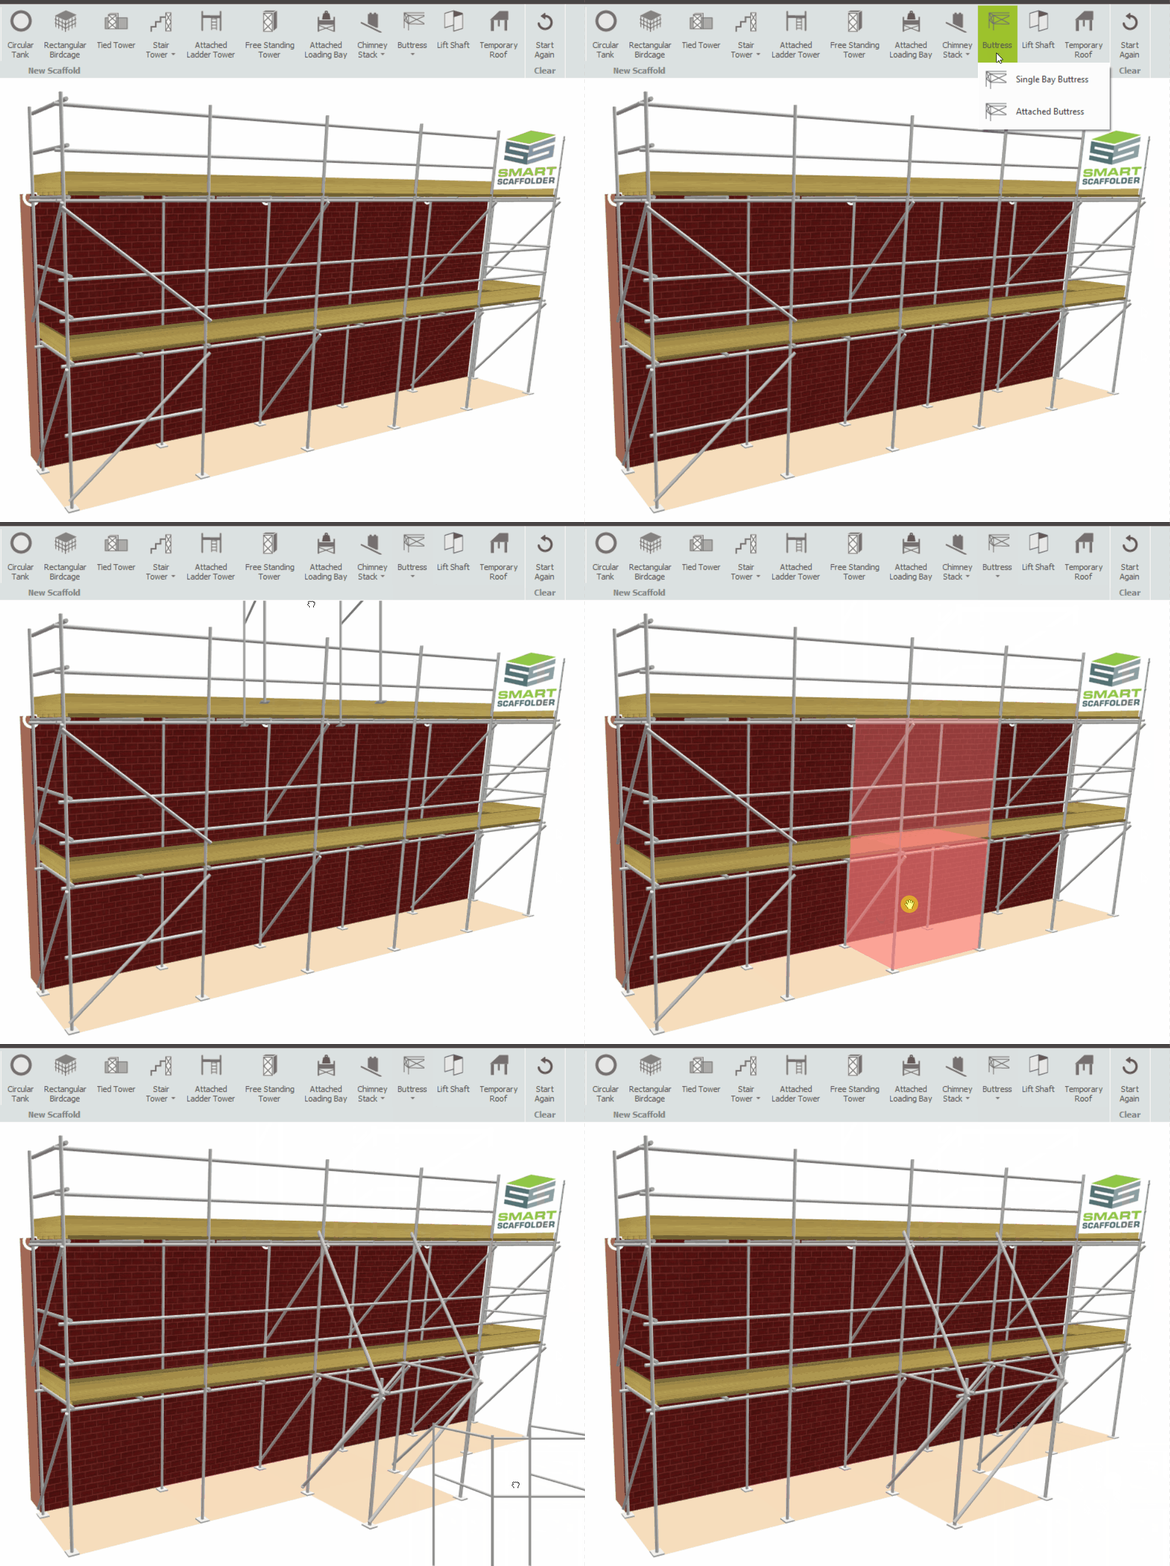
In order to add a Buttress to Model IT, you must first refer to the Scaffolds View. Click on the Buttress drop-down menu and select the Single-Bay Buttress. Afterward, attach the buttress to the scaffold in any bay by clicking on it.
-
Adjusting the Attached Scaffold
Up and Down: Adjusting the Height
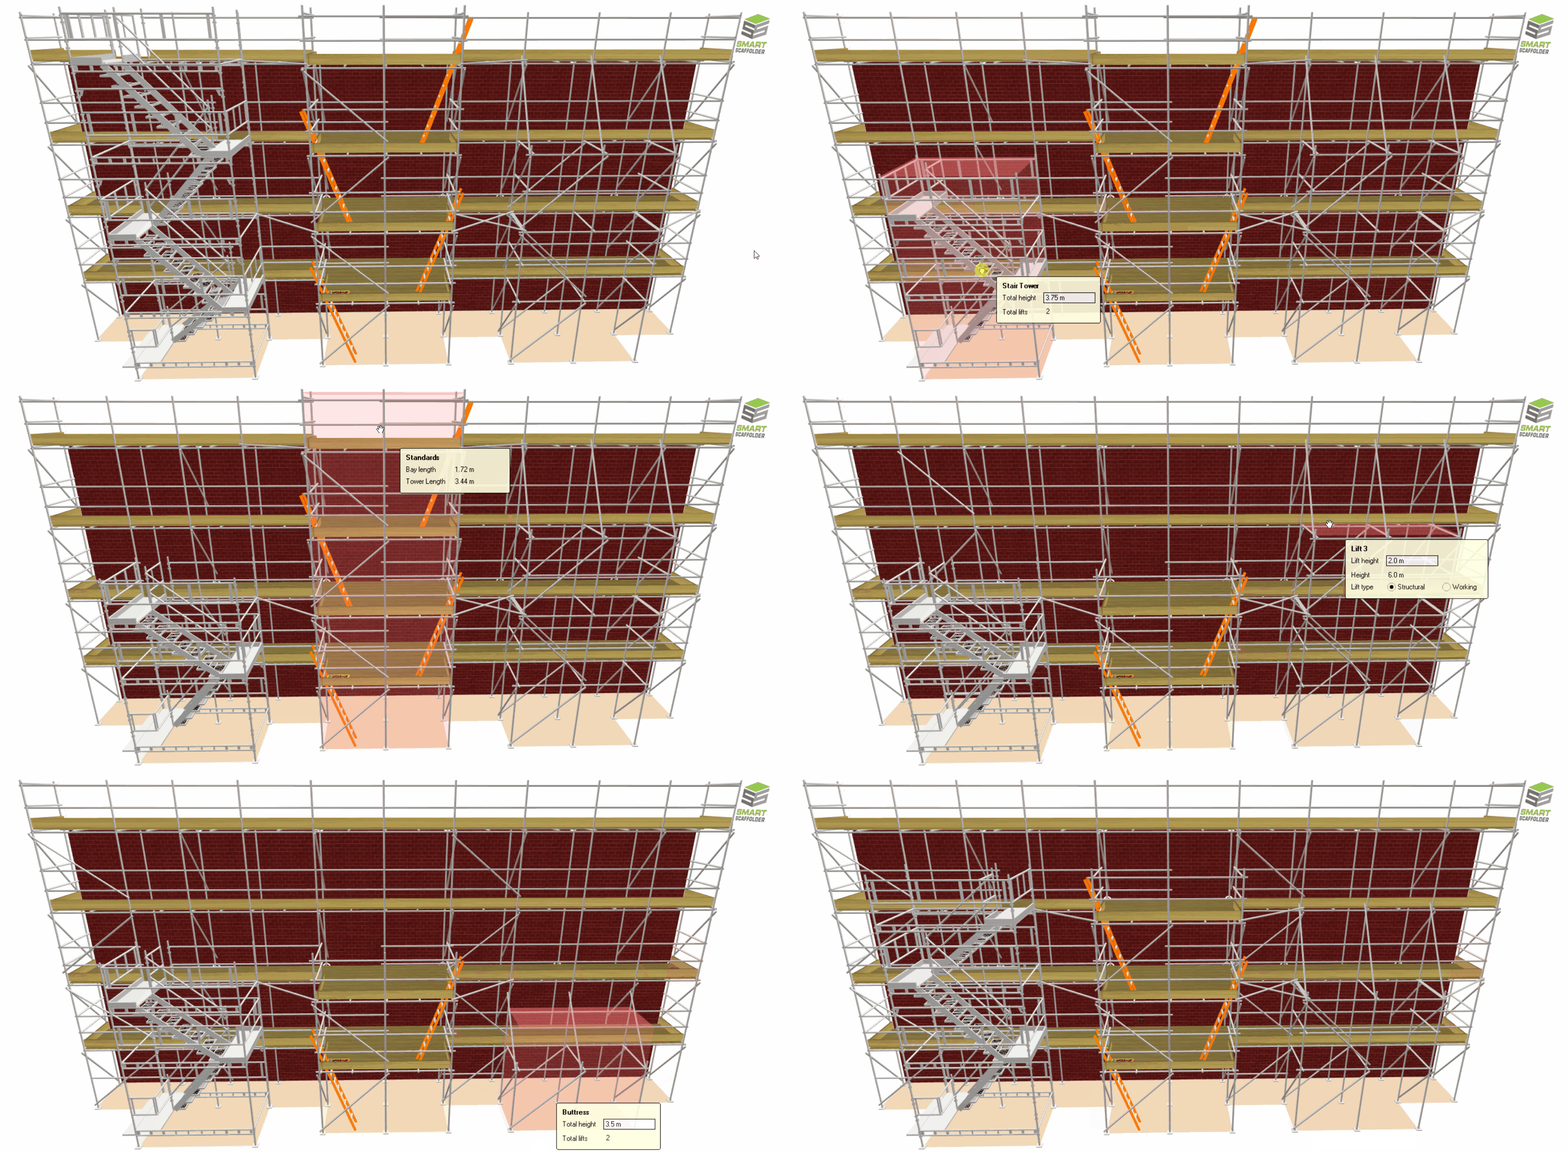
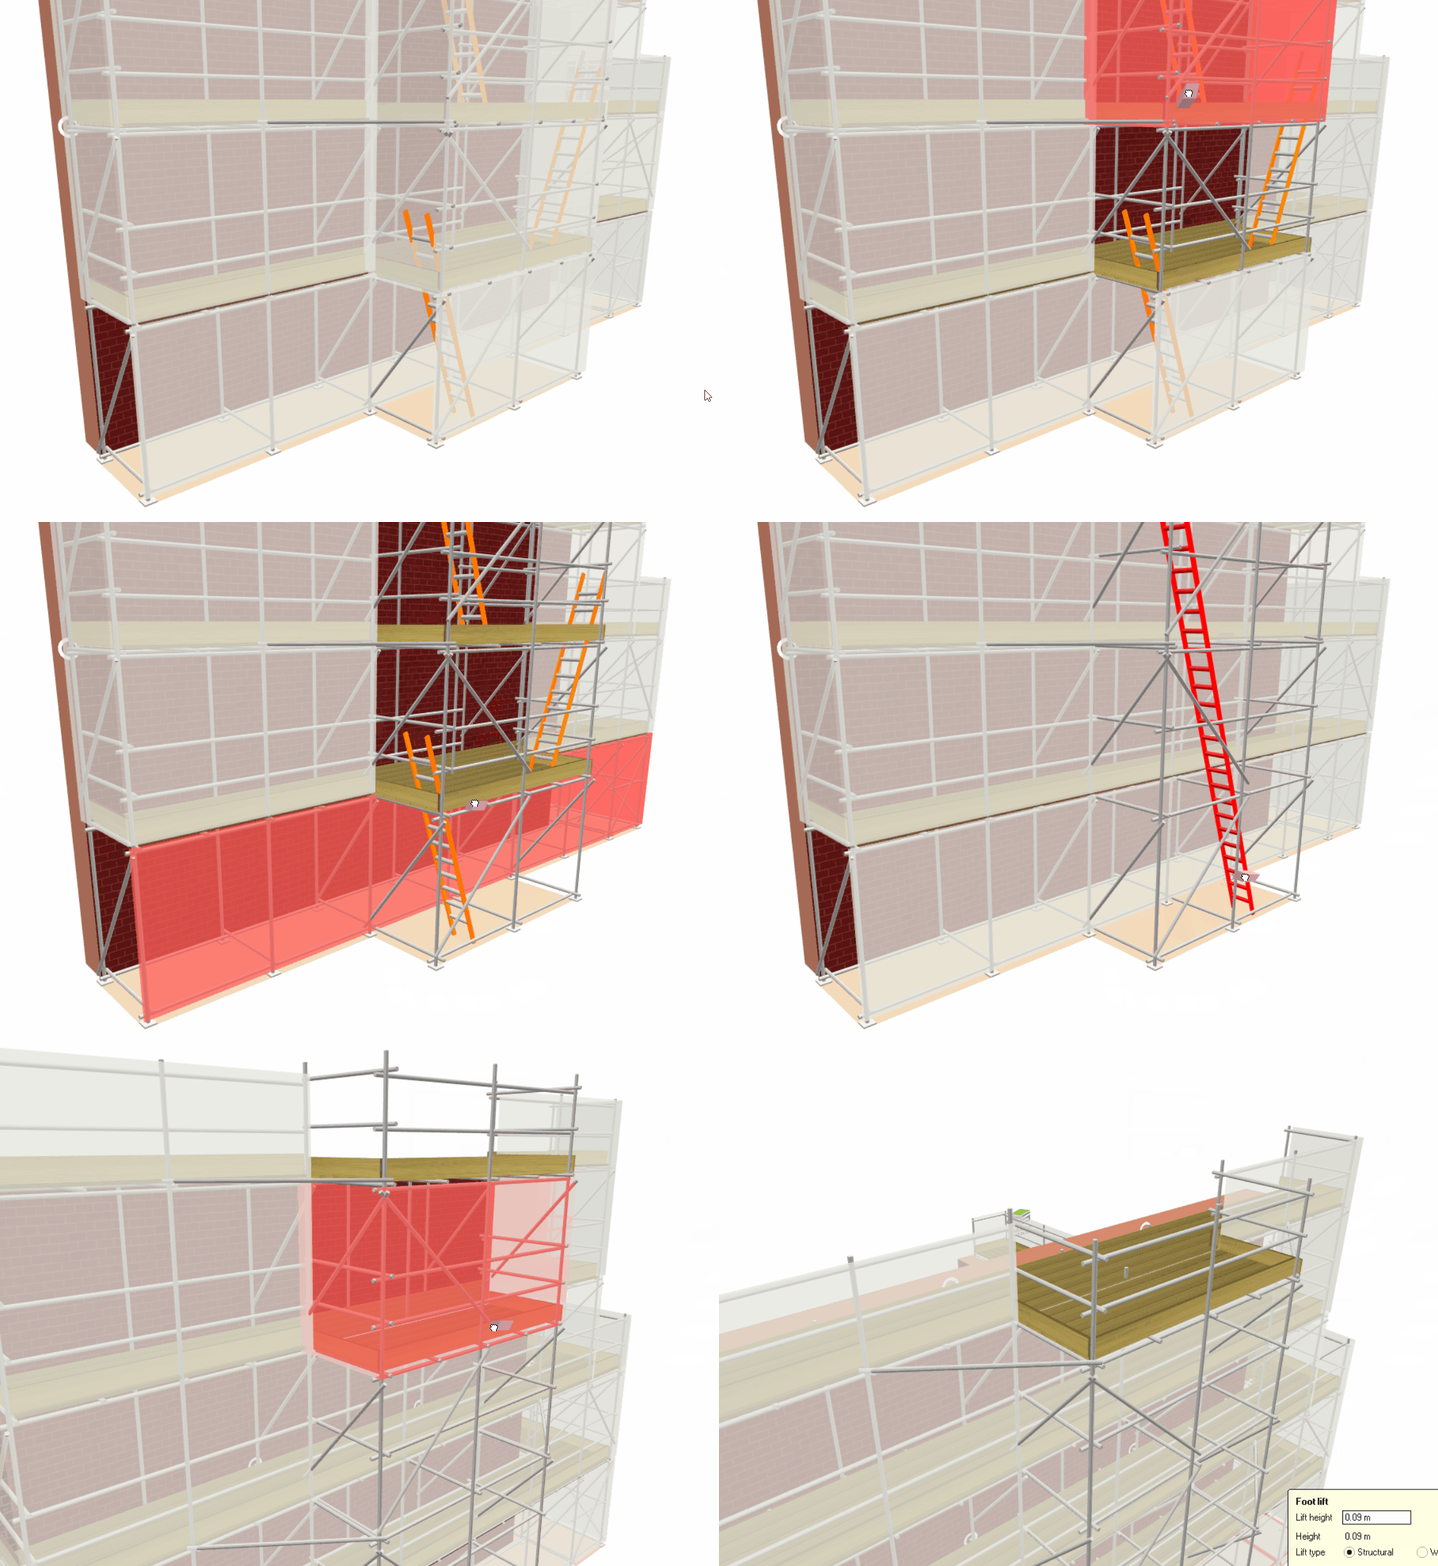
If you want to adjust the height of any of the Attached Scaffolds, hover your mouse over the attached scaffold until a red highlighted box appears. Then by clicking and dragging it up or down, or by manually typing in the Total Height value and pressing Enter, you can adjust the height of the attached scaffold.
Left and Right: Across the Bays
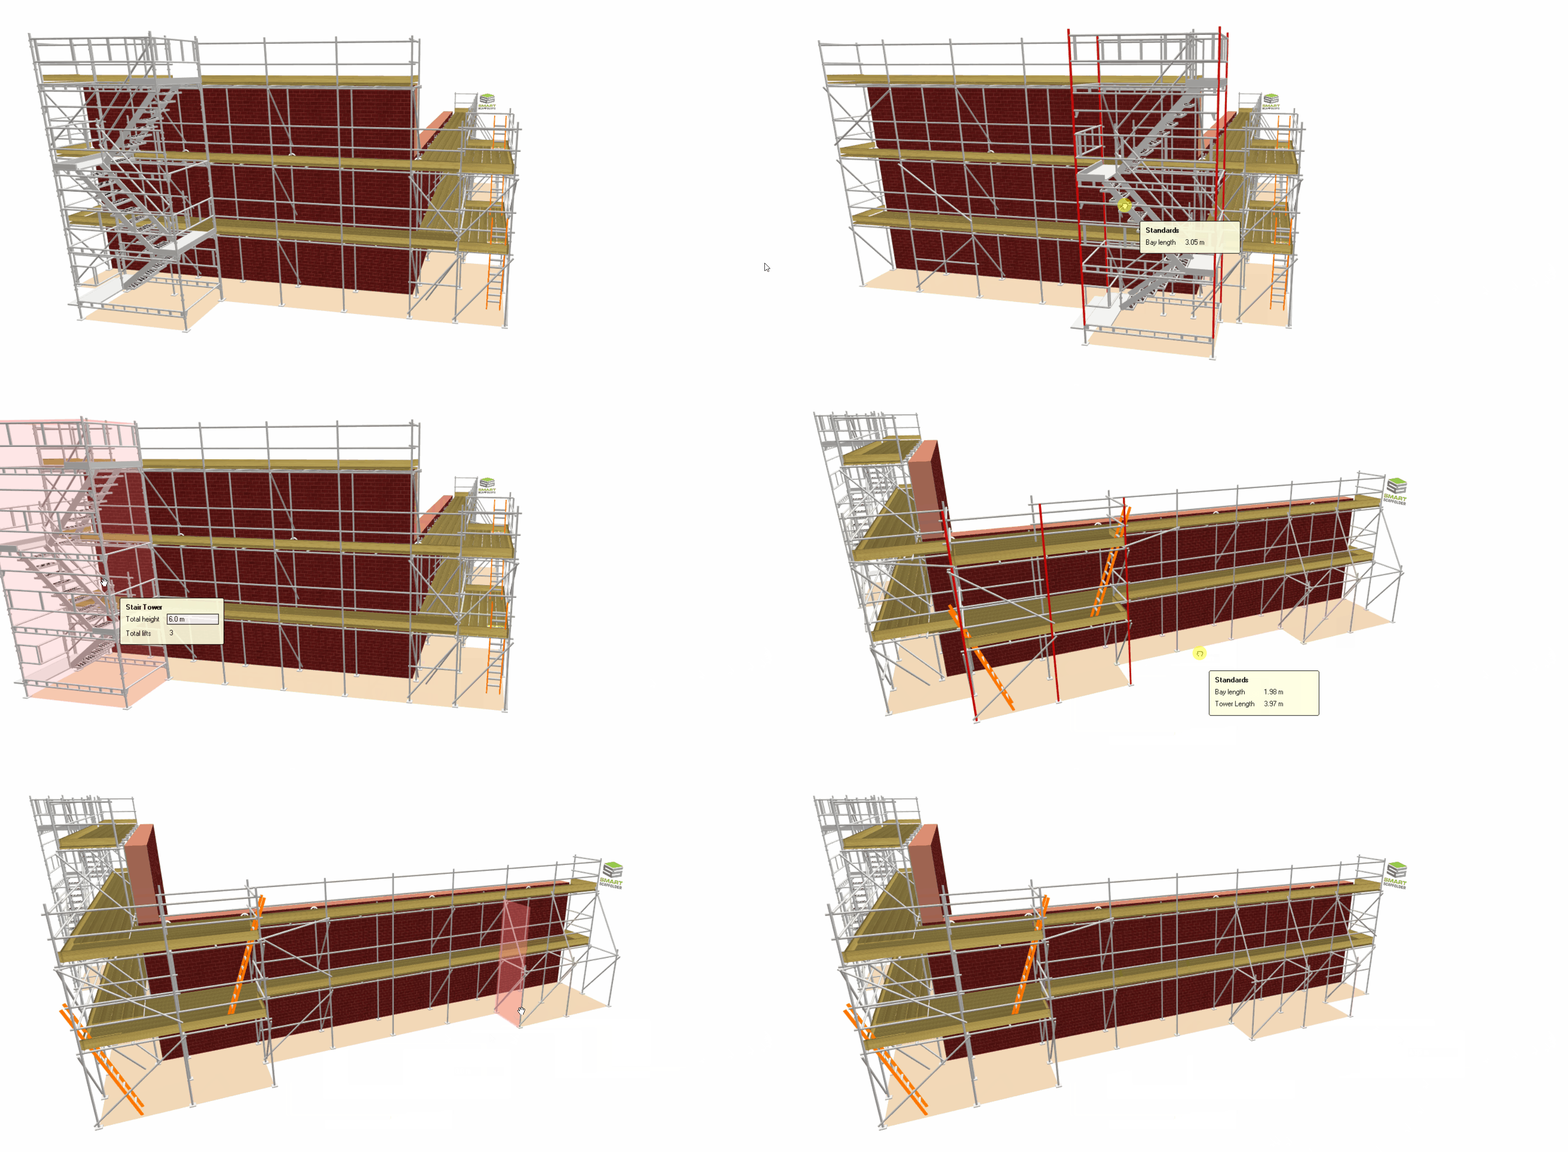
When hovering over the attached scaffold standards, you may click and drag your scaffold across the elevation. The attached scaffold will move across the bays incrementally, allowing you to position it precisely.
Stair Tower: Adjust the height of the first lift
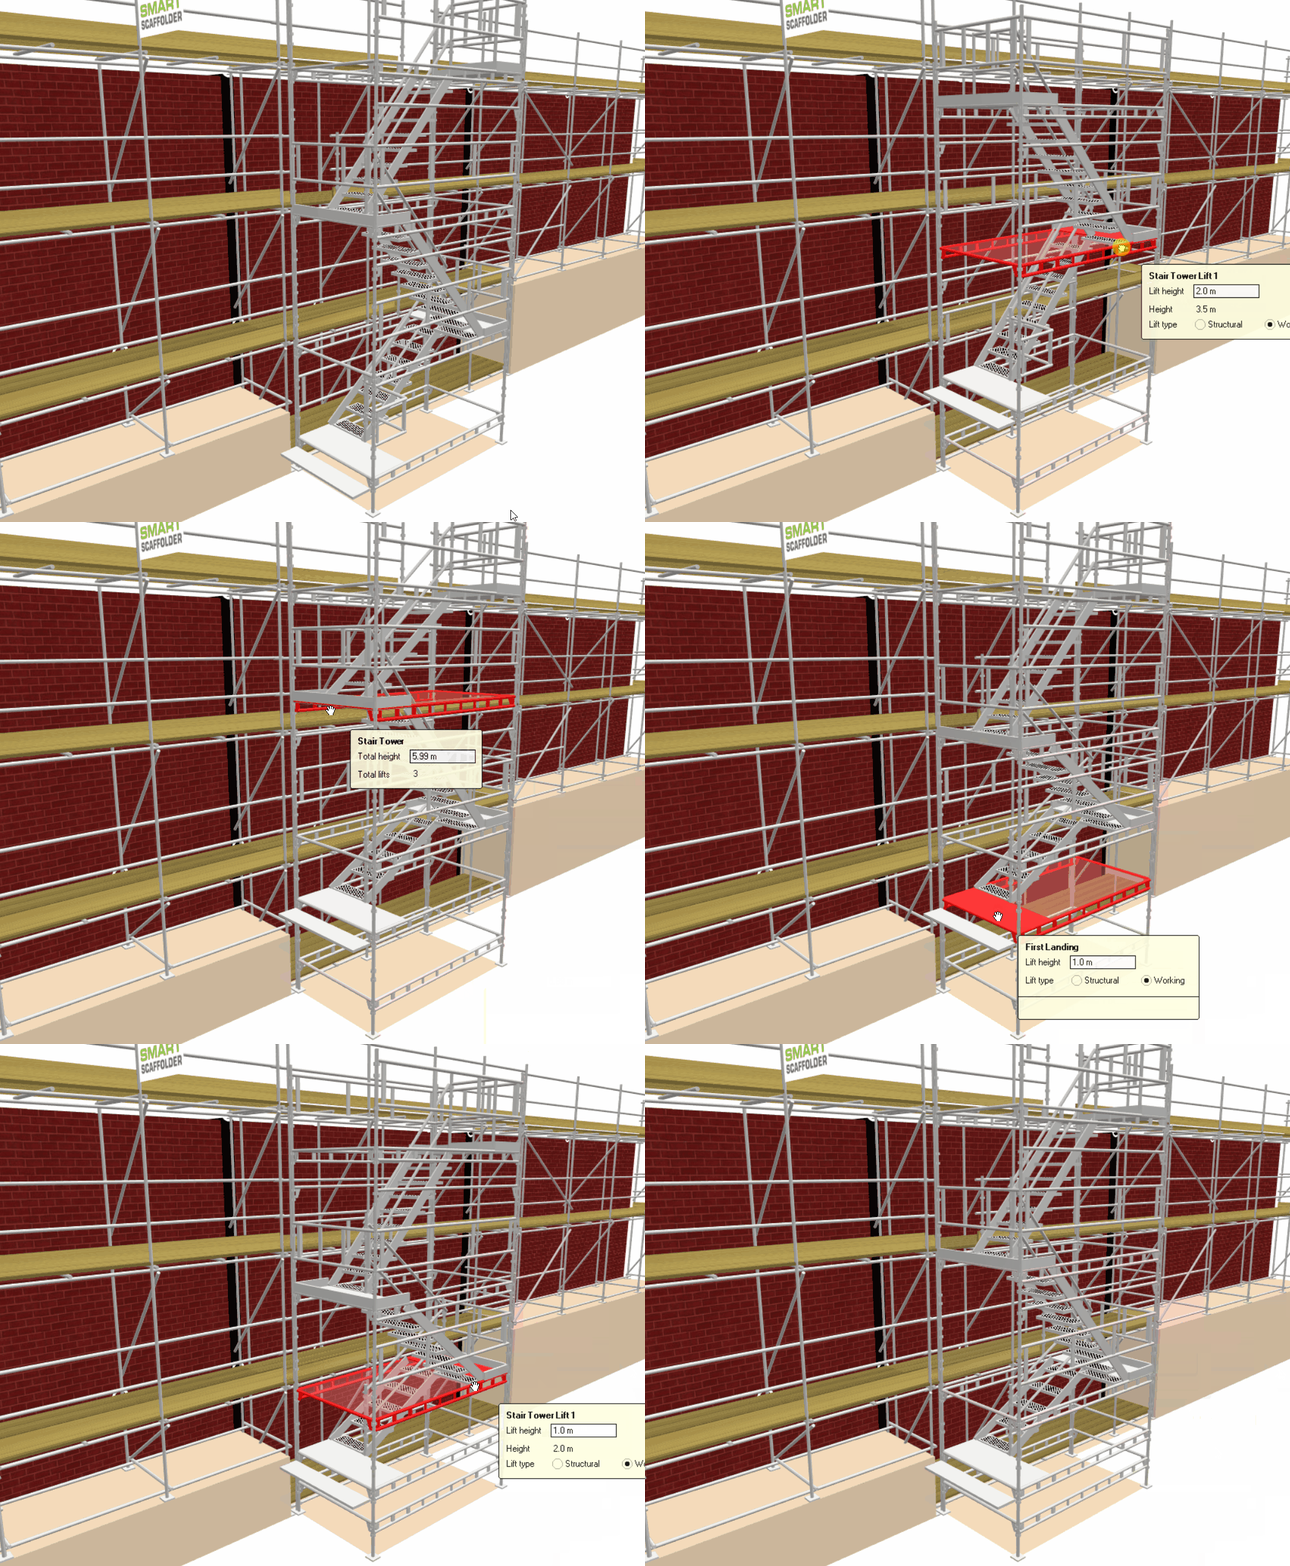
You can adjust the starting lift of an attached system stair so that the first tread is located at a higher elevation. You can accomplish this by clicking and dragging the foot lift to a higher connection.
Ladder & Buttress: Spanning across bays
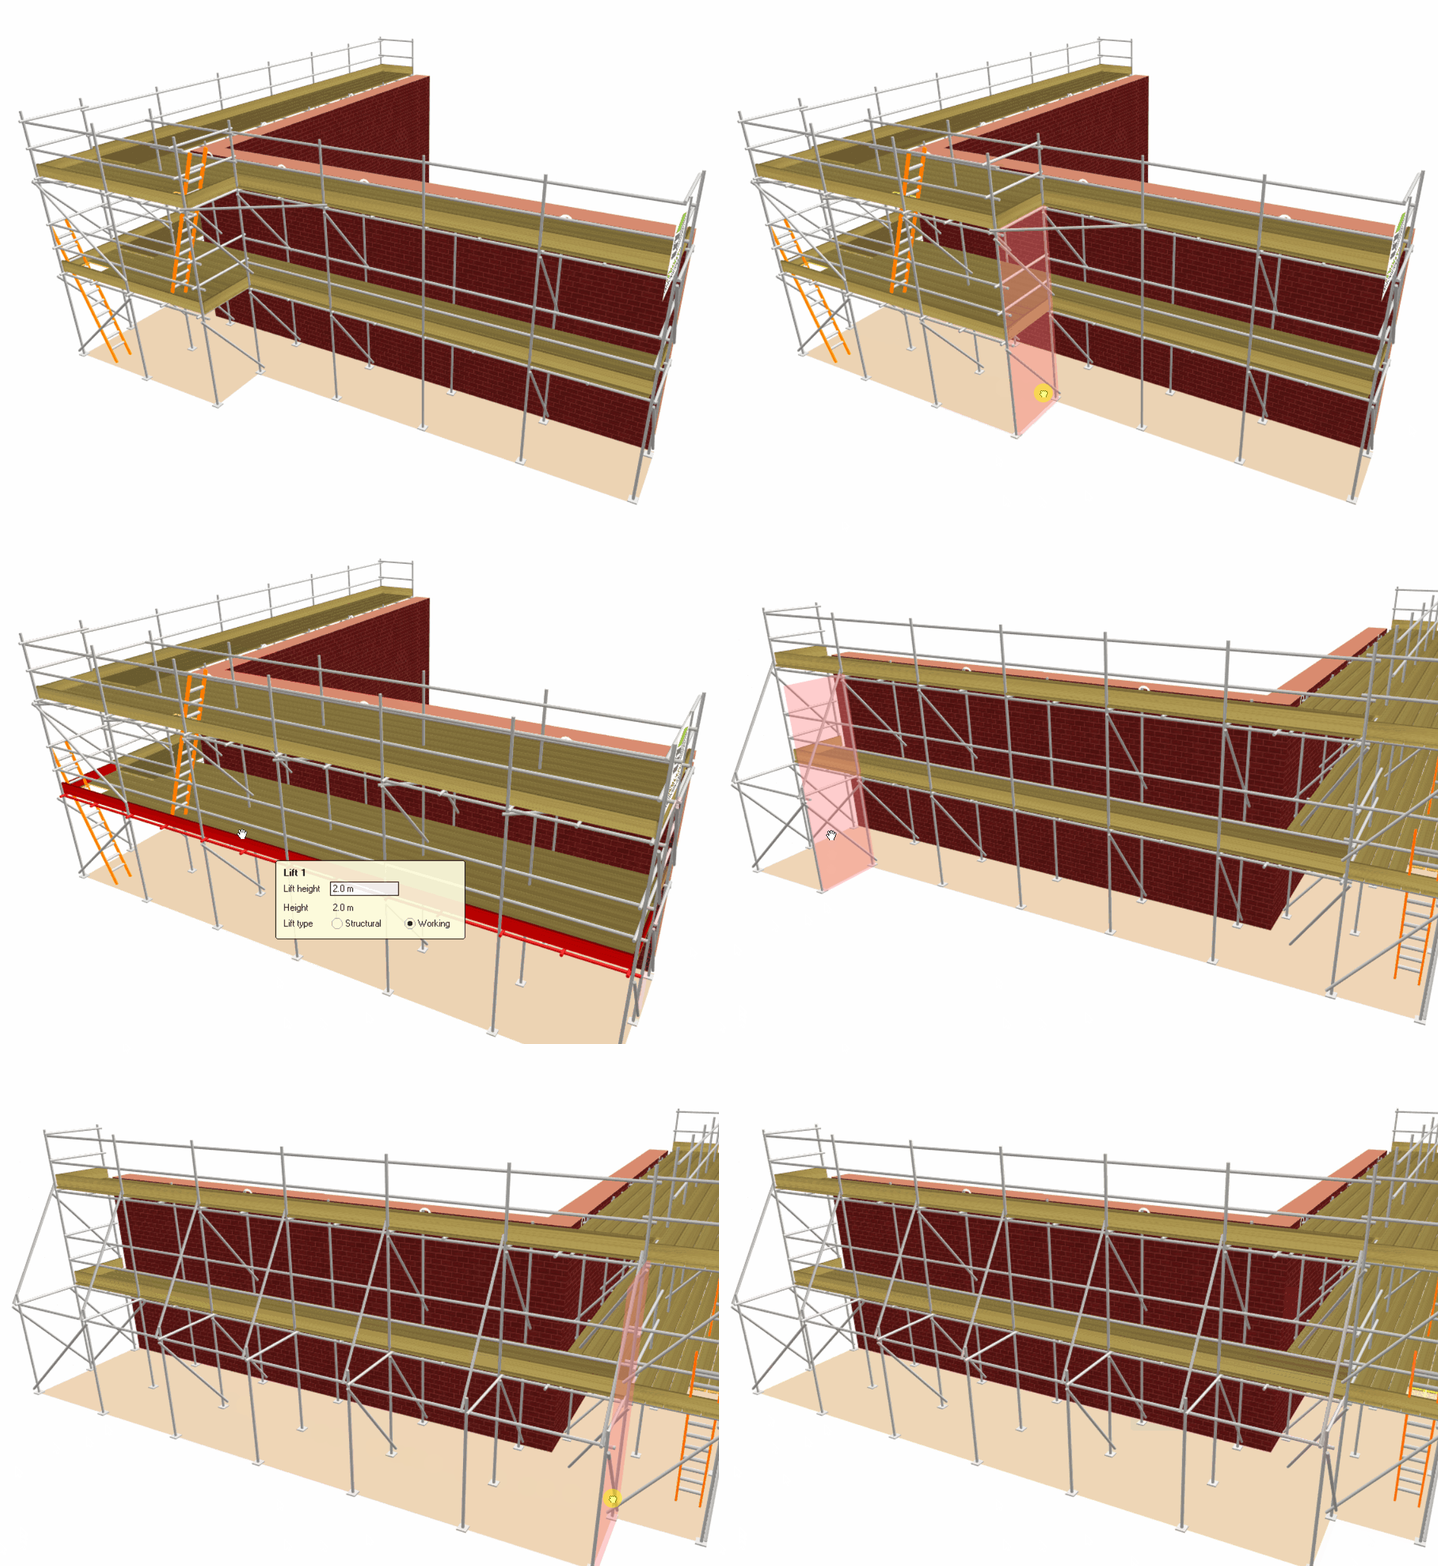
You can span the attached scaffold across bays by clicking and dragging the scaffold ends to the desired width. In response, the attached ladder tower / buttress will be adjusted accordingly.
-
Modifying the Attached Scaffold
Ladder Tower: Removing components
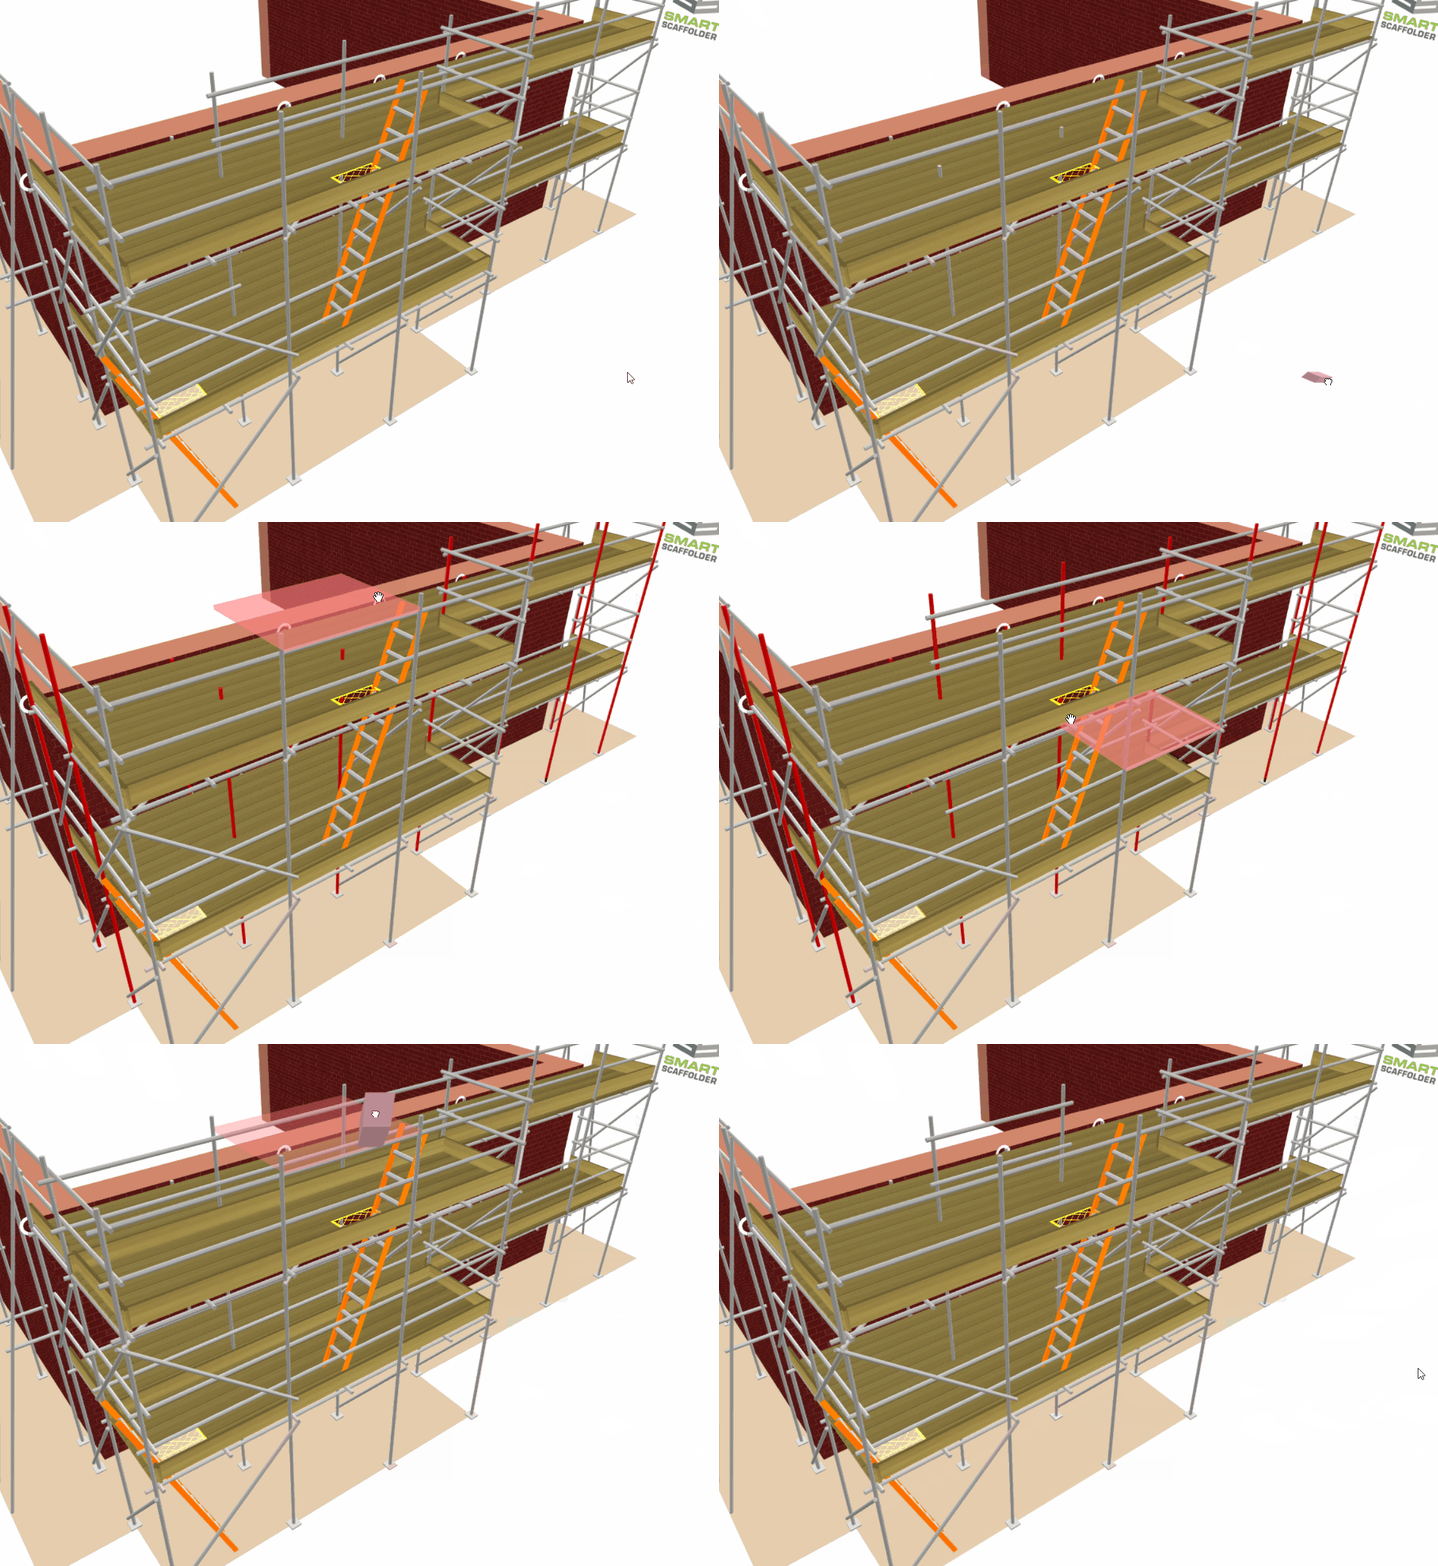
If you wish to remove certain components of the scaffold, such as an unnecessary component or a boarded lift. Click on the Eraser Tool and delete the component, modifying the highlights as necessary.
Ladder Tower: Guard rails on the inside
You can add Guard Rails to the inside of any bay from the ladder tower. To do so you will need to navigate to the Tools View and click on the Guard Rails drop-down menu. Then, hover your mouse over the Inside Guard Rails tool. Once there, select a guard rail tool and apply it to the ladder tower bay.
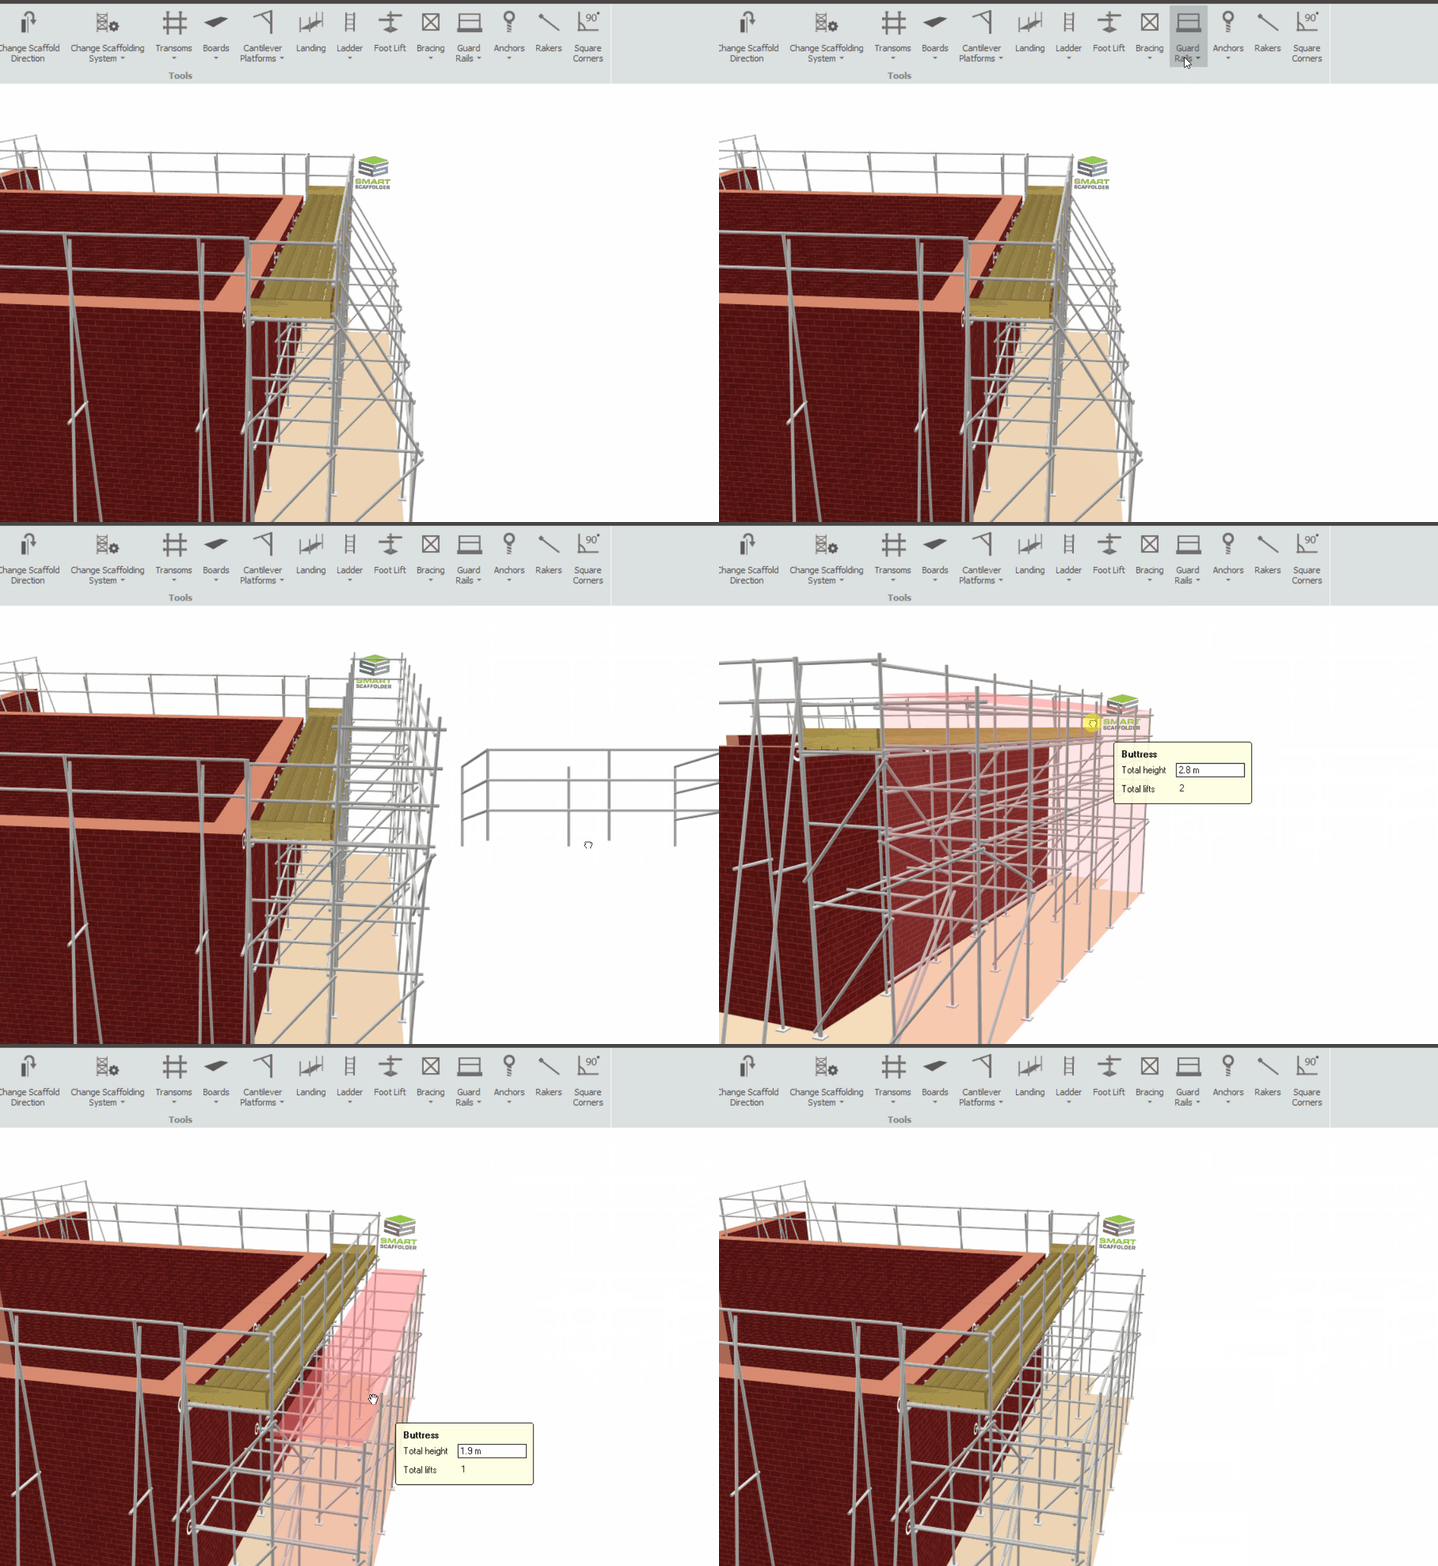
Inside Single, Double, Triple, Quad Guard Rails
Keep in mind that the height of the Inside Guard Rails on the ladder tower is determined by what guard rails are applied to the Main Scaffold’s Boarded Lifts. For more information, please click here.
Buttress: Changing the Style
At the top of the lift, a buttress includes diagonal tubes by default. You can replace these with guard rails by selecting any option from the Top Lift Only menu in the Guard Rails menu from the Tools View.
If you wish to return to a diagonal tube solution, simply delete the top guard rails with the Eraser tool.
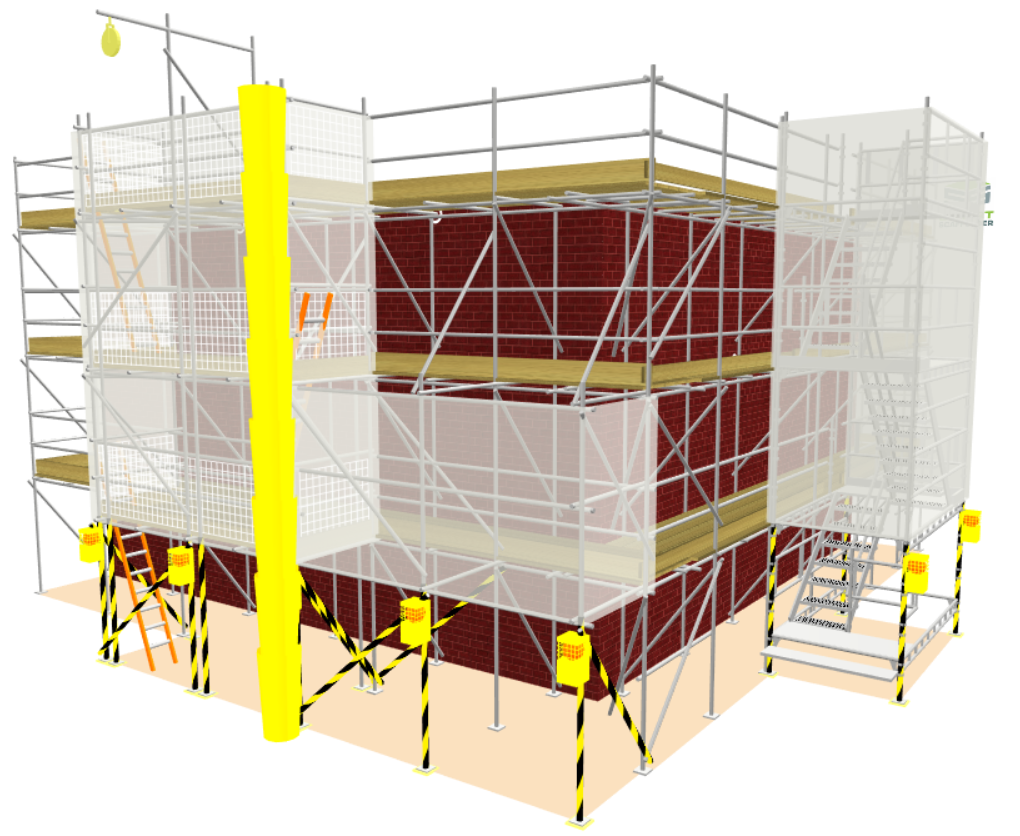
Add-Ons Available
Using the associated tools, you can apply Safety Standards, Safety Lamps, (Cladding) Sheeting and Debris Netting, Double Standards, and Banners to the Attached Scaffolds. You may also do this in Schedule IT.
-
Non-Attached Stair Tower, Ladder Tower & Buttress
As an option, you can create a version of the Stair Tower, Ladder Tower or Buttress Scaffold not attached to a scaffold. There are times when this can be useful, since it is treated as its own scaffold, but it should be used solely for visualisation or estimation purposes.
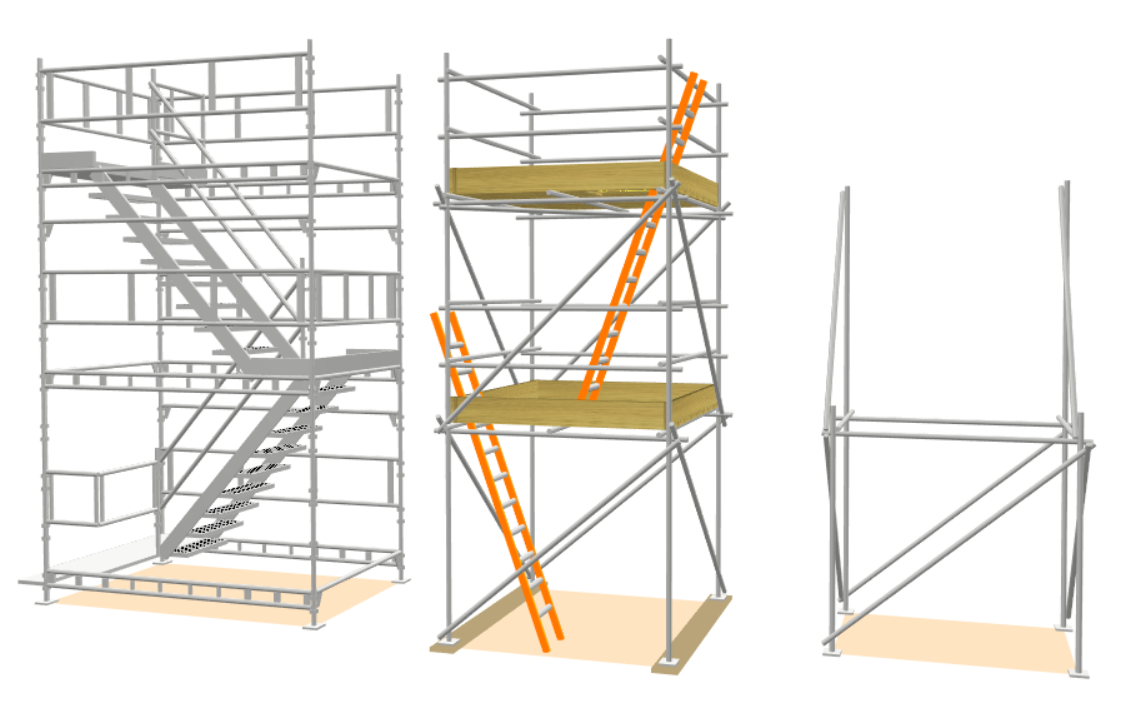
If you wish to create a Stair Tower, Ladder or Buttress that is not attached to an Independent or Circular Tank. Click on the corresponding button on the Scaffolds View toolbar in Model IT.
