-
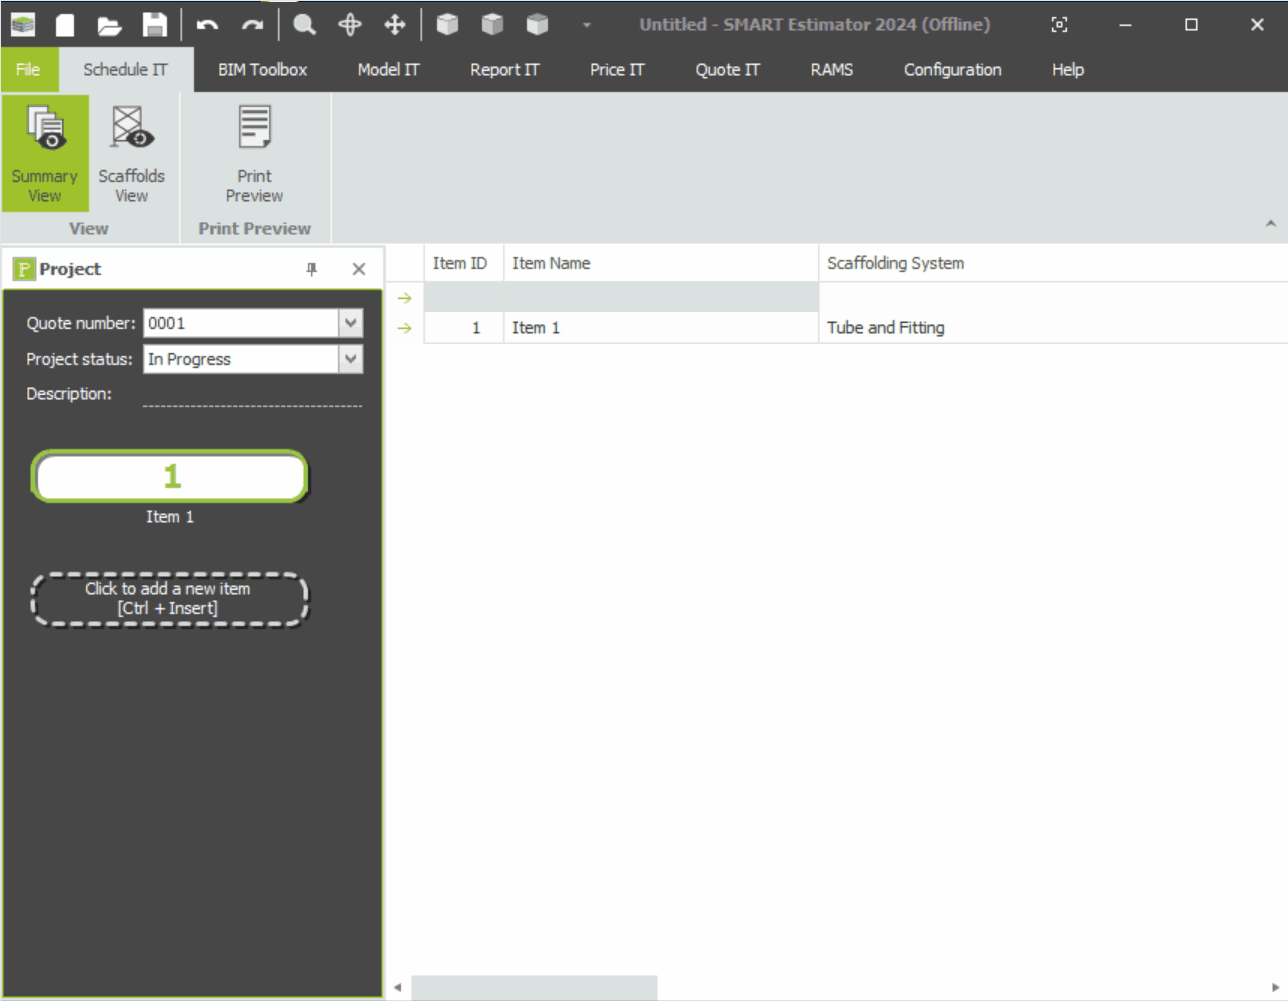
Overview of the Summary View
In this documentation, you will find a step-by-step guide on how to create and set up quotation items within SMART Estimator. Firstly we’re going to look at the Summary View in the Schedule IT Module.
-
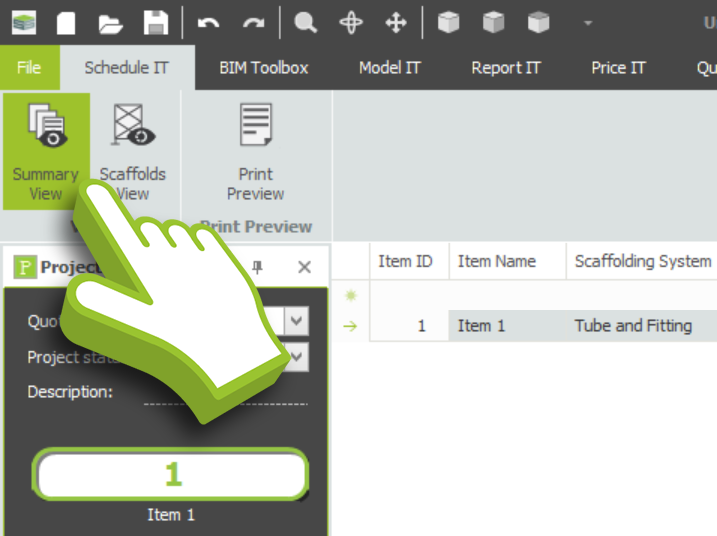
Click on the Summary View button
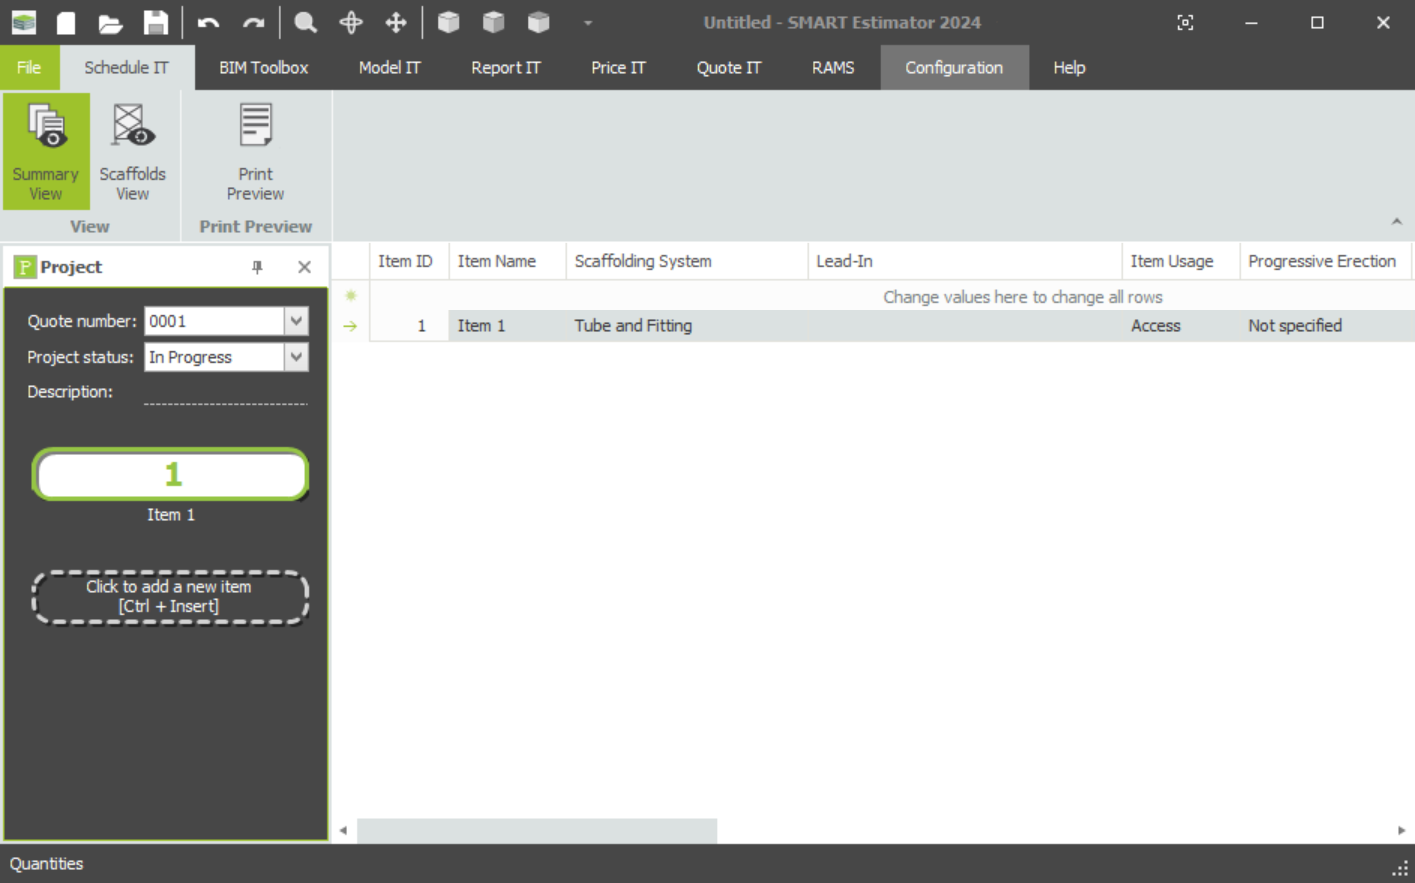
Navigate to the Summary View along the top toolbar within Schedule IT. Summary View is usually enabled by default. This view lists all your quotation items in your project alongside key details, such as the quantity of each quotation item and the scaffolding system used.
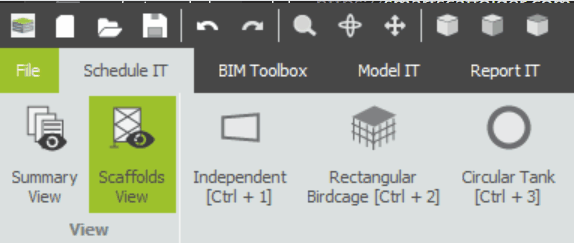
If the Scaffolds view is highlighted in green rather than the Summary View, click on the Summary View to return to the previous view and continue.
-
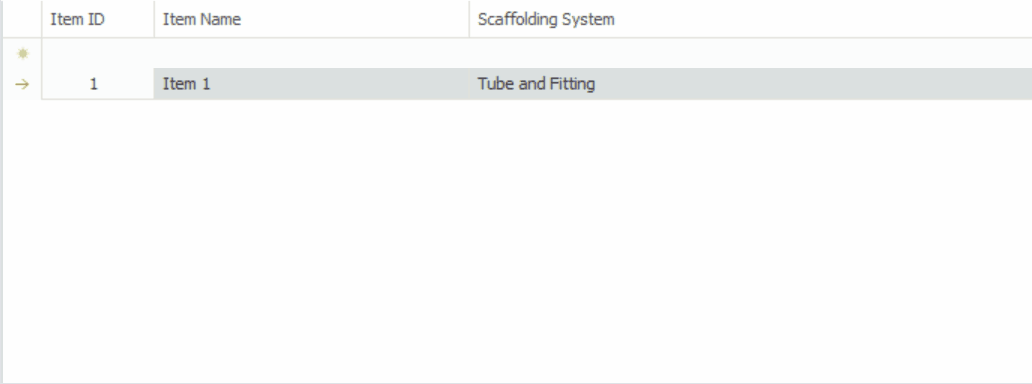
Adding items to the Project
It is possible to add a new item to the project by navigating to the project bar on the left side of the screen. Click on the ‘Click to add a new item’ button to add a new item. In addition, you may add additional items to the project by pressing Ctrl + Insert at the same time.
-
Set the details of your items
The next step is to assign details to each item in your project. The grid can be navigated either by clicking on the relevant box fields or by using keyboard hotkeys for accessibility purposes. Listed below are optional instructions on how to adjust the details of your item and set it up correctly for your project.
Changing the value of all quotation items
It’s convenient to set up your quotation items using the top master row. Simply click on a field box on the top master row to change all the values in a column for every quotation item. In the event that your quotation items have the same column value, this method is an effective method for setting them up quickly.
-
Assigning the details
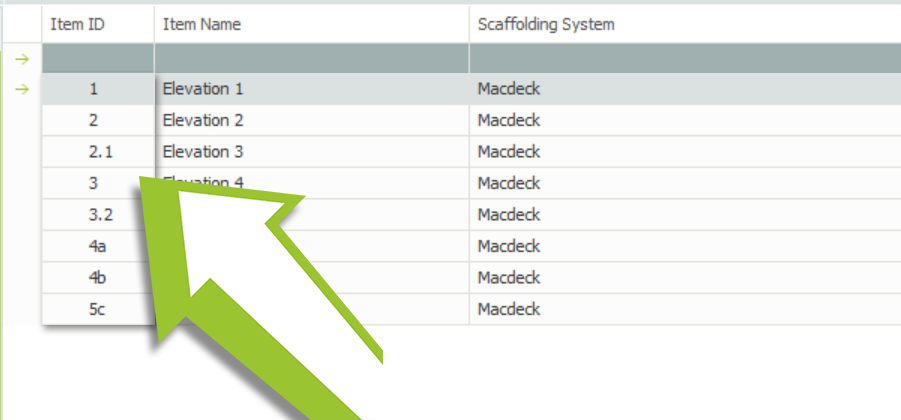
“Item ID”
Quotation Items can be organized by assigning item IDs. These ID’s are listed numerically by default. You can alter your item ID’s so that they’re labelled numerically or alphabetically as shown in the image below.
“Item Name”
Within the Item Name field, you can name your items by typing them in and pressing Enter.
Each item can be renamed based on your business needs, such as scaffold plots. A clean and well-organized project with appropriately named items will save you time and effort in the long run.
“Scaffolding System”
You can change the scaffolding system for each quotation item. Select the scaffolding system box and a drop-down list of all the scaffolding systems you have licensed will appear. Click on the scaffolding system you wish to change to and continue.
There are some scaffolding systems that are not included in my SMART Estimator
You will be able to select scaffolding systems based on the system modules that are included in your license.
Interested in acquiring additional modules or receiving more information about the modules available? Please contact CADS by clicking here.
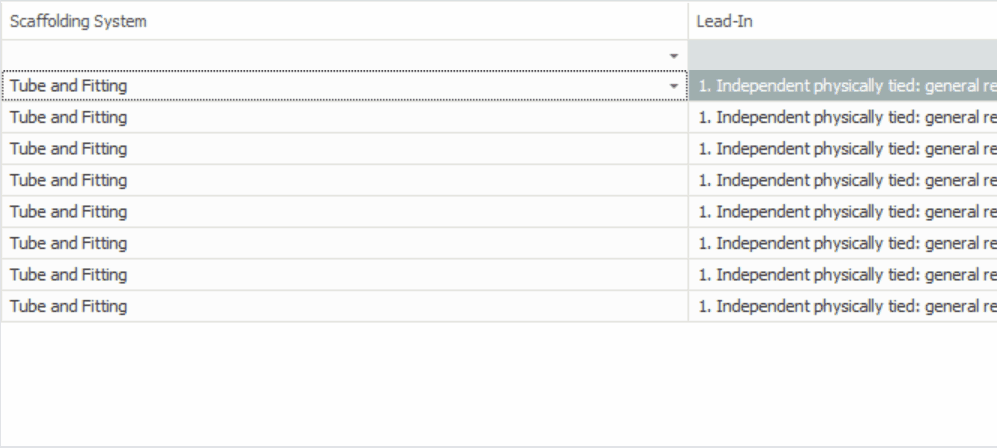
“Lead-In”
You can set a Lead-In description, which will appear in the quotation’s Lead-In column.
Simply click on the down arrow to open the drop-down menu and select from the existing Lead-In descriptions.

If you wish to add an additional Lead-In description you can press the plus (+) button. Enter your name and description, and if you wish, you can also include an inline image and bullet points via the tools above the description field. As shown in the image above.
“Item usage”
Here you can set what the scaffold will be used for in the Item, this will display on the quotation.
“Progressive Erection & Dismantle”
This field is used to determine whether the scaffold is being erected and dismantled in a progressive manner.
“Adaption & Re-adaption”
This field determines whether the scaffold will be adapted and optionally re-adapted for later use.
“Hire Period”
You may set the hire period for each item in weekly intervals, and this value is included in the quotation letter along with the pricing.
“Quantity”
Here you can duplicate the scaffolds within the item by changing this value. If you have multiple scaffolds or recurring plot types, you can estimate them once and then increase their quantity.
-
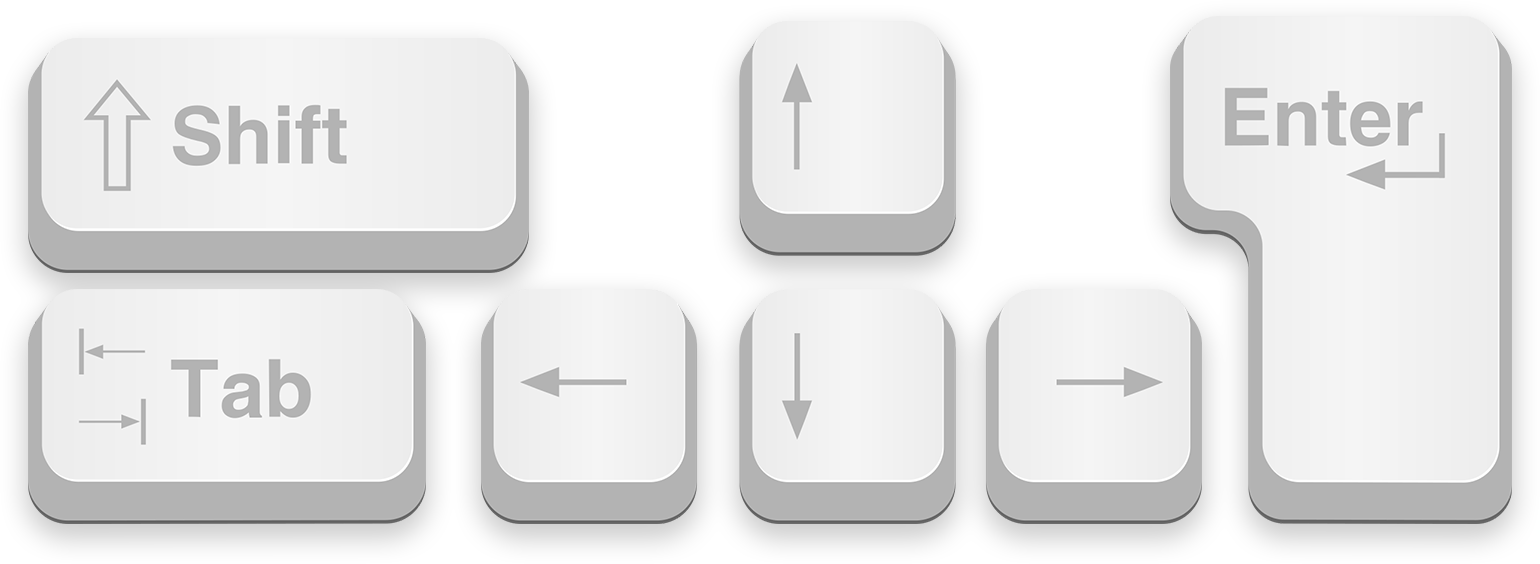
Keyboard navigation
You can navigate to the next box by pressing the Tab key. The selected value will be applied before moving forward. When needed, you can move backwards by pressing Shift and Tab simultaneously. The Arrow keys 🠄🠅🠆🠇 are also available for moving along the grid, even up and down.
If you wish to set a text value or change a number, simply type the new value and press Enter.