-
Overview of Archiving Estimation Projects
It is recommended that you archive the Estimation Projects stored on your SMART Estimator Enterprise server. As a result, the enterprise server will be reorganised and the system performance will be improved, making it easier for estimators (such as yourself) to locate relevant estimation projects on the enterprise server.
Please read this before you Archive Projects
When you archive your Enterprise Server, the process can take a very long time to complete. Therefore, we recommend either running the archive outside of working hours or archiving only a few projects at a time.
-
Launching the Server Tools
First, you must launch the SMART Estimator Server Tools, which you can do either by typing “Server Tools” in the Windows Desktop Searchbar, or by selecting the SMART Estimator Server Tools program from your SMART Estimator folder. By default, you can find this program by following the file path below.
“C:\Program Files\CADS\SMART Estimator 2024\Cads.SmartScaffolder.ServerTools.exe”
However, this path could vary depending on where you installed SMART Estimator.

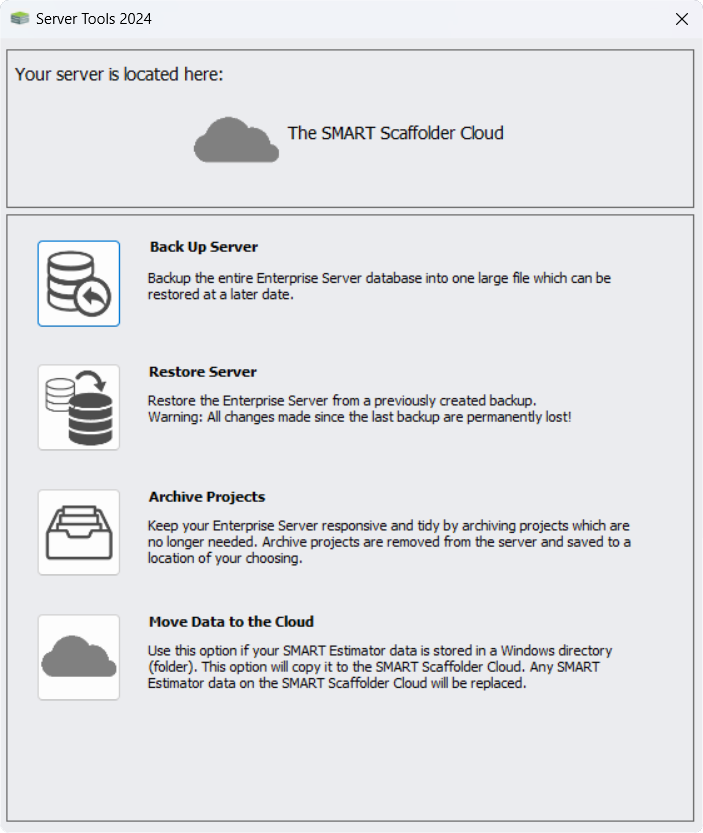
Once you’ve launched the program, you will be presented with the Server Tools 2024 window. Your current connection status to the Enterprise Server is shown above, and below you will find options to Backup your Server, Restore your Server, Archive your Estimation Projects, or Move local data to the Cloud.
-
Ensure you’re Connected to the Server
Before you proceed any further with this documentation, you must make sure that you’re connected to an Enterprise Server. Your current connection status can be viewed in the top section of the Server Tools window.
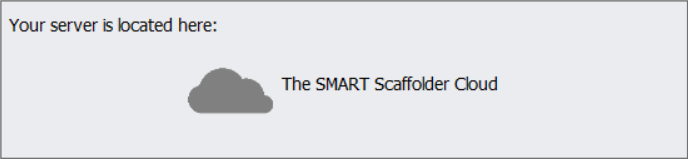
SMART Scaffolder Cloud
If you use the SMART Scaffolder Cloud and it is connected, the top of the SMART Estimator Server Tools window will look like this. You can proceed to the next step:
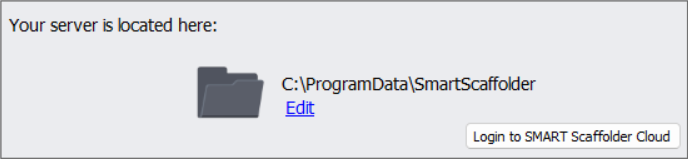
Local Enterprise Server
Alternatively, if your Enterprise Server is located in a Shared or Local directory and it is connected, the top of the SMART Estimator Server Tools window will look like this. If this is the right server, you can proceed to the next step:
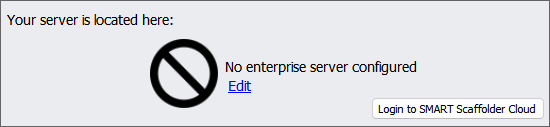
Not Configured / Issue
If the Enterprise Server has not been configured or if an issue has occurred with the Enterprise Server, you may see the following in the top window. If so, please set up the Cloud Server or contact Support before continuing further.
-
Click on the Archive Projects option
Upon launching the Server Tools, click on the Archive Projects option by clicking on the icon. The Archive Options dialog box will appear once you have completed this step.


-
Select the Archiving Option
The first step is to select an archive method within the dialog box, you can choose to either archive by contract number, by date, or manually.

- This project and all projects with a lower Contract Number;
- All Archive projects created on or before this date;
- The following projects only;
If you want to archive projects using only the lowest Contract Number, you can select this option and then select a contract number as a baseline. The ‘Central Section’ of the contract number determines whether it is higher or lower than another project. For example, “2020-0001-BC” is lower than “2019-0002-AB” because the central main body “0001” is a lower value.
You can choose this option if you want to archive projects before a specific date. As an example, you can archive all projects created on “June 22nd 2024” and prior.
When you only have a few projects you wish to archive, or when there is no particular order (I.E. Contract Number or Date). You can choose this option to manually select the projects you wish to archive. Since you can only view the contract numbers of the projects, it is advisable to prepare a list of the projects you wish to archive before selecting this option.
-
Copying and Moving Estimates
Once you have selected one of the three archive options, you may copy or move the estimation projects. Copying the items will create an exact replica of the items, while moving them will transfer them to a different location.

- Copy projects to the archive
- Move projects to the archive
To do this, uncheck the Remove these projects from the server after archiving them box. There will be no increase in performance or space available on the server as a result of this action.
To do this, check the Remove these projects from the server after archiving them box. The database will be reduced in size as a result.
-
Set the Directory to Archive
Next, you need to specify where the archived file should be stored. Upon clicking the triple dot search box, you will be presented with the file explorer. Navigate to the directory in which you wish to save the Archive File, enter the archive file name, and click Save.
Where to Archive the Estimations?
Consider selecting a secure, off-site, and regularly backed up location to ensure your archived estimations are not adversely affected by data loss or corruption.
Tips for Organising the Archives
It’s also advisable to use a directory structure that is readily accessible, well-organised and clearly labeled for easy retrieval of archived files.
-
Archived Projects: ZIP File
Finally, after completing all the steps, click on the Archive Projects button to save the archive in the directory you previously specified.

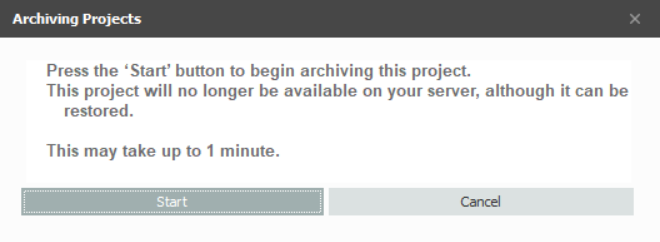
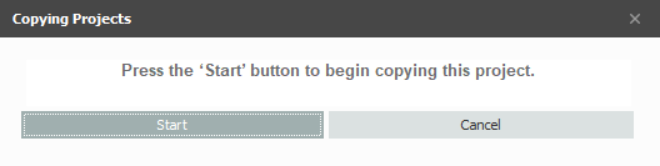
You’ll be redirected to a prompt to confirm whether you want to archive the projects. Now press Start to archive your projects. After the progress bar completes, a confirmation message will appear indicating that the archiving process has been successfully finished.
Depending on whether you’re Copying or Moving (Archiving) Estimates will change the prompt below.
Archive File Format
Archived projects will be stored in a single compressed (.zip) file with the name you specified. Within this zip folder, projects are saved in the form of SMART Estimator files (.mIT). Furthermore, they’re named using simple versions of their contract numbers (without hyphen characters or leading zero characters).


