-
Overview of Shared Lead-In Descriptions
As Lead-in Descriptions are automatically shared when they are created, it is very simple to share them. As long as the Estimator is connected to an Enterprise Server, either on-premises or in the cloud, any newly created Lead-in Descriptions are automatically shared with all other estimators.

-
Accessing the Lead-In Descriptions
To get started, navigate to the Quote IT module and locate the Lead-In Description SMARTText, which by default can typically be found within the Item Description section.
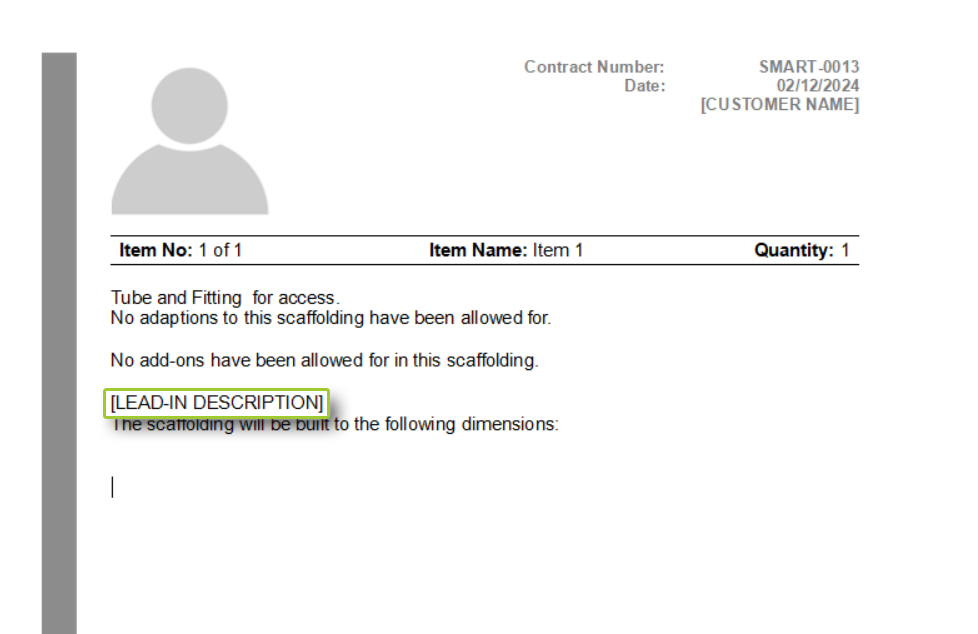
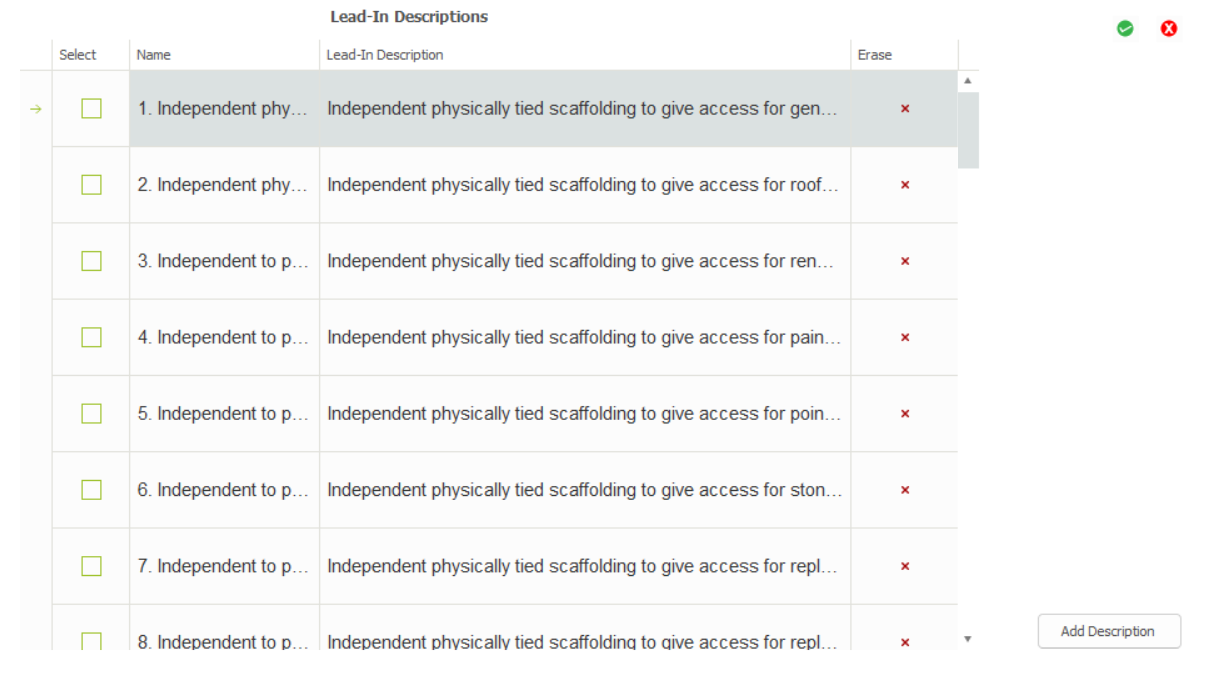
When you click on it, you will be presented with the Lead-In Description Dialog Box and a list of several Lead-In Descriptions available to you.
-
Creating your own Lead-In Descriptions
You can also create your own Lead-In Descriptions similar to the quotation using the toolbar above, simply click on the Add Description button on the Dialog to create your own Description.
You can do basic operations such as Bolding, Italicizing and Underlining, alongside advanced operations such as Bullet Points, Font size and type, Alignment as well as inserting images.

-
Editing the Lead-In Descriptions
You can edit text in an existing Lead-In Description by clicking on the box that contains the Lead-In Description Text, from here you can make your changes. When you are satisfied with the changes, click on the Green Tick button on the top right of the dialog box to save and use your modified description.
-
Removing a Lead-In Description
If you wish to remove a Lead-In Description, locate the Erase column on the right side of the table. Then click on the ‘Red Cross’ in the row corresponding to the Lead-In Description you wish to remove. A prompt will appear asking you to confirm whether you want to delete it. By clicking Yes, the Lead-In Description will be permanently deleted.
SMART Estimator
What’s new?
Getting Started
Setup and Configuration
-
Enterprise Server
-
Cloud Server Setup
Local Windows Server Setup
Adding Cloud server users
Server Back Up and Restore
Archiving Estimates from server
Migrating Local server to Cloud
Creating Folders in Enterprise Server
Using Server Tools from the Command Line
-
User software settings
User Address Settings and Yard
Scaffold Banner and Sheeting logo
Adding Watermarks
-
Setting up your Rates
Editing Shared Pricing Rates
Creating a rate setting template project
Importing and Exporting shared Rates
Creating an Estimate
Importing Drawings and Models
Scheduling Scaffolds
Creating 3D Scaffolds
-
3D Model Controls
Adding Independent scaffolds
Adding Circular Tank scaffolds
Adding Free Form Birdcages
Adding Birdcage & Lift shaft scaffolds
Adding Tied or Freestanding towers
Adding Stair towers, Ladders towers & Buttresses
Adding Loading bays
Adding Chimney scaffolds
Adding Temporary Roof
Adding Edge protection
Adding Pavement Gantry’s
System Scaffolds
Safety Decking
Using the Scaffold Library
Editing Scaffolds
Scaffold Add-ons & Options
-
Adding Gin wheels, Rubbish Chutes, Safety standards, Double standards and Lamps
Adding and Editing bridges/beam work
Adding Beams around Corners
Adding Cladding
Adding Cantilever protection fans
Adding Pavement Lifts
Adding Recesses and Infills
Building and Ground colour
Visual options (Tube, Ladder, System details and Grips)
Add a Pedestrian or Scaffolder
Copying pictures of the model
Material Lists and Drawings
Pricing and Estimation
Quotations
Enterprise Server
Troubleshooting


