-
Overview of Splitting Elevations
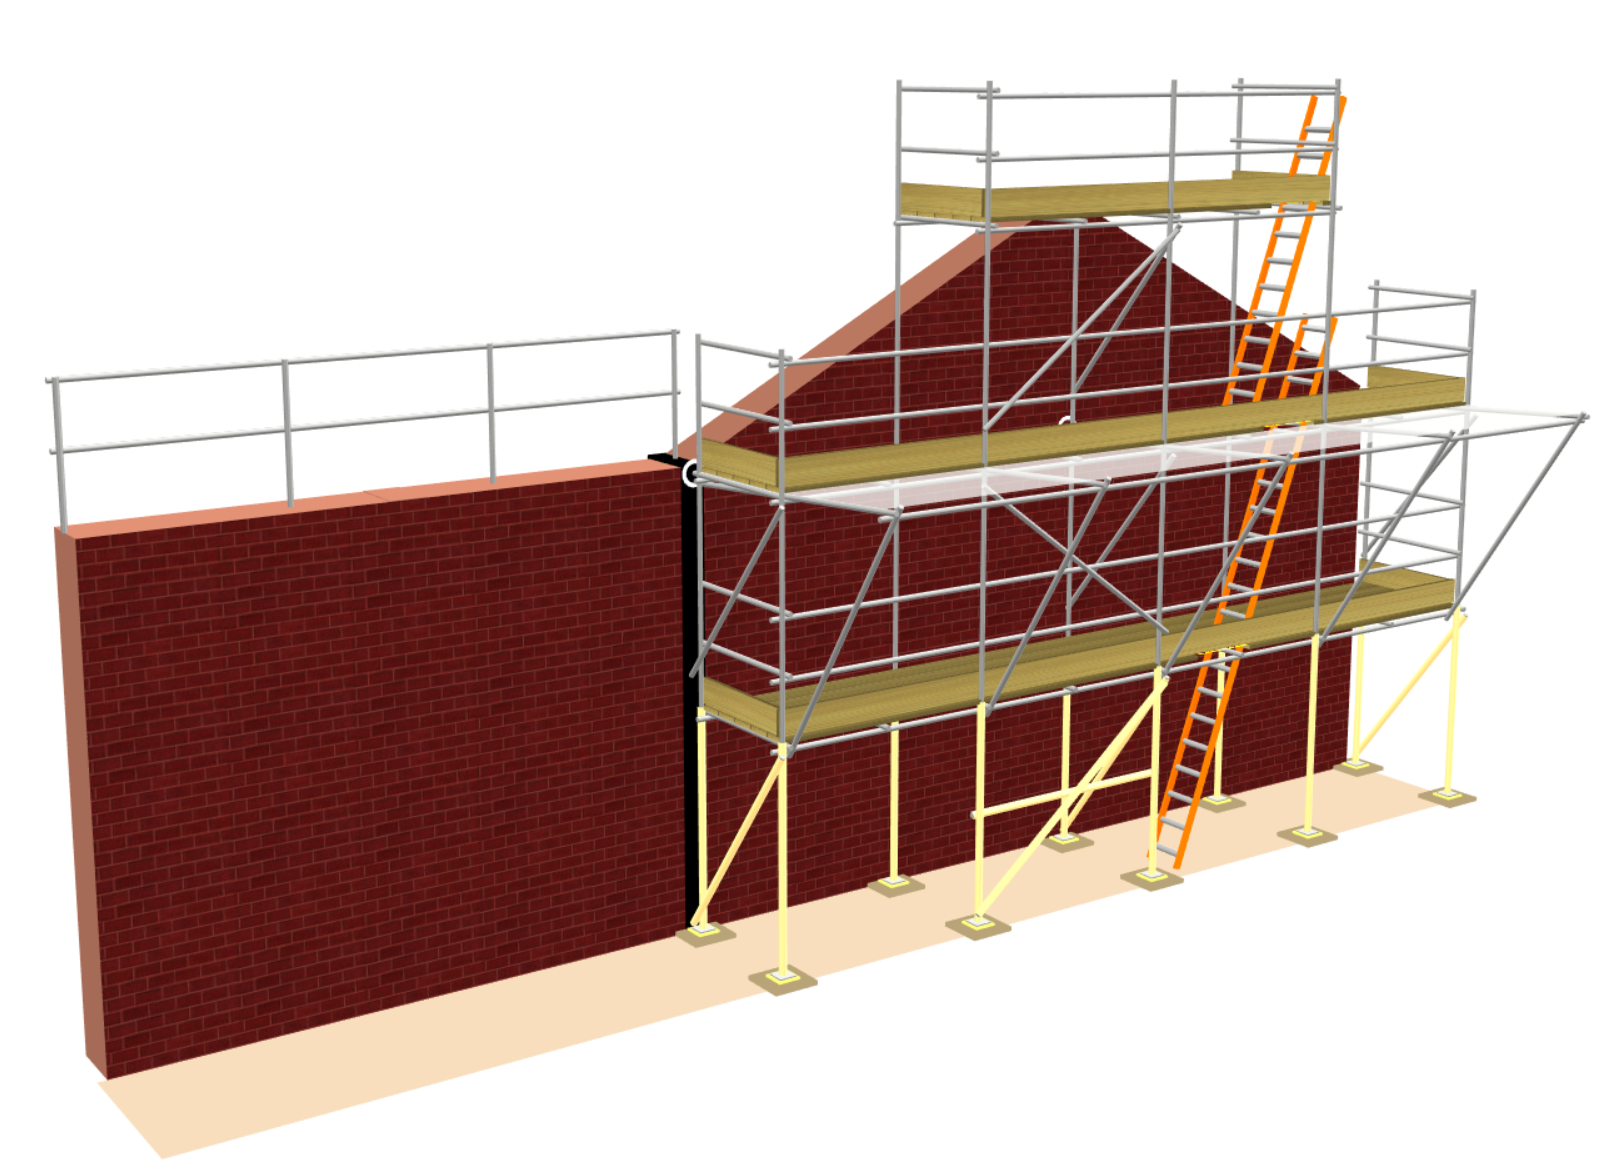
The Split Elevation Tool is designed to separate a single elevation into multiple sections. From there you can individually change each section. This tool is particularly useful for creating table lifts, multiple gable details, detailed ground conditions and more complex elevations.
-
Adding a Split Elevation
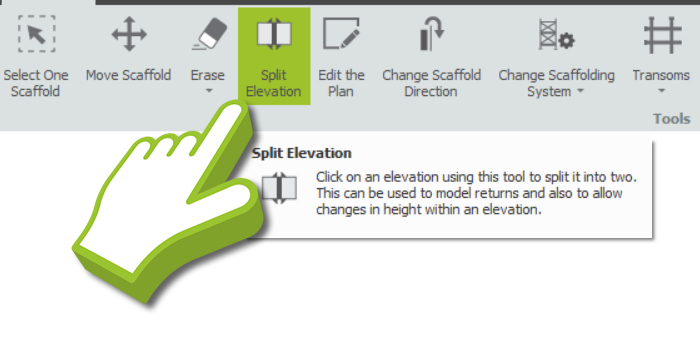
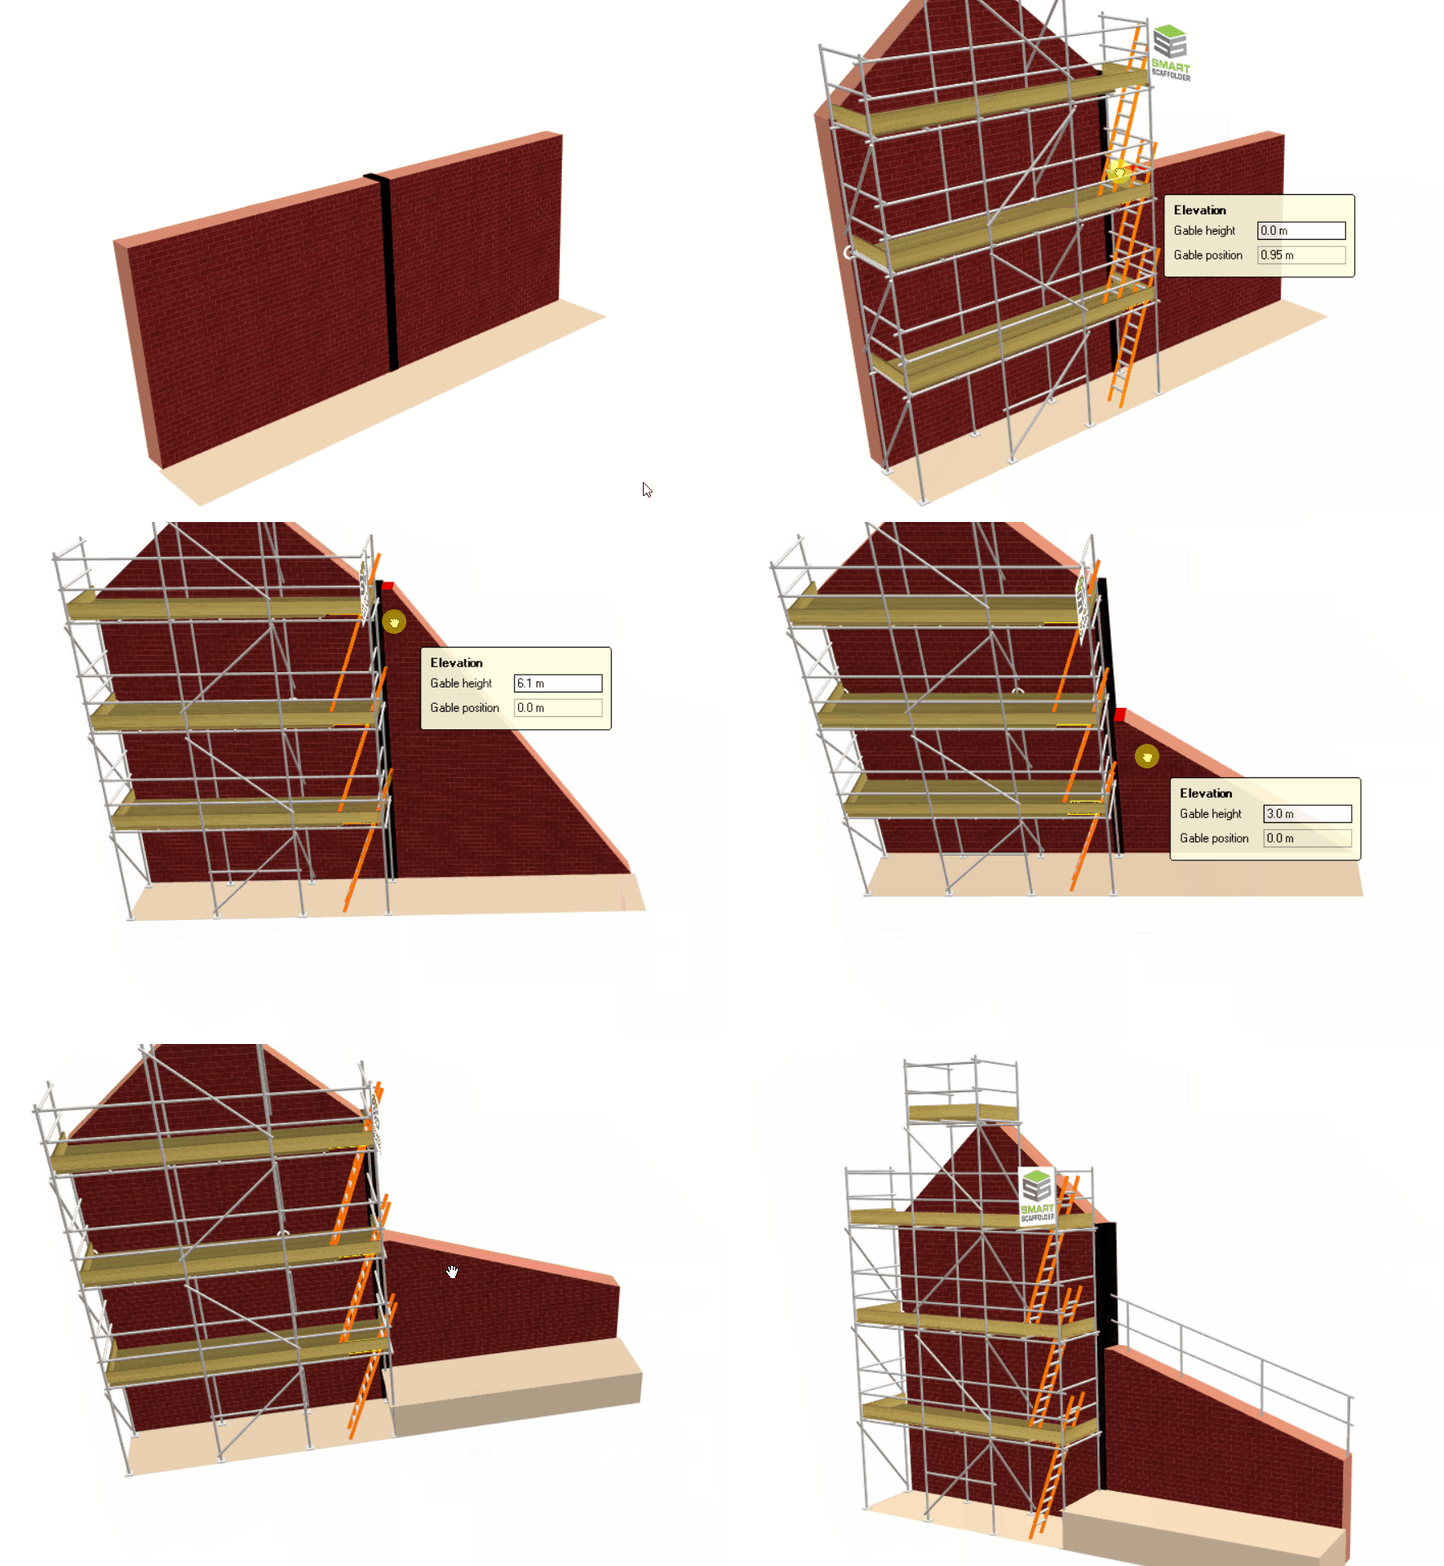
To split an elevation, navigate to the Tools view and select the Split Elevation tool button and place your cursor on the elevation, then click on it to split it. As soon as you click on the elevation, you should now see a black divider appear in the middle of the elevation.
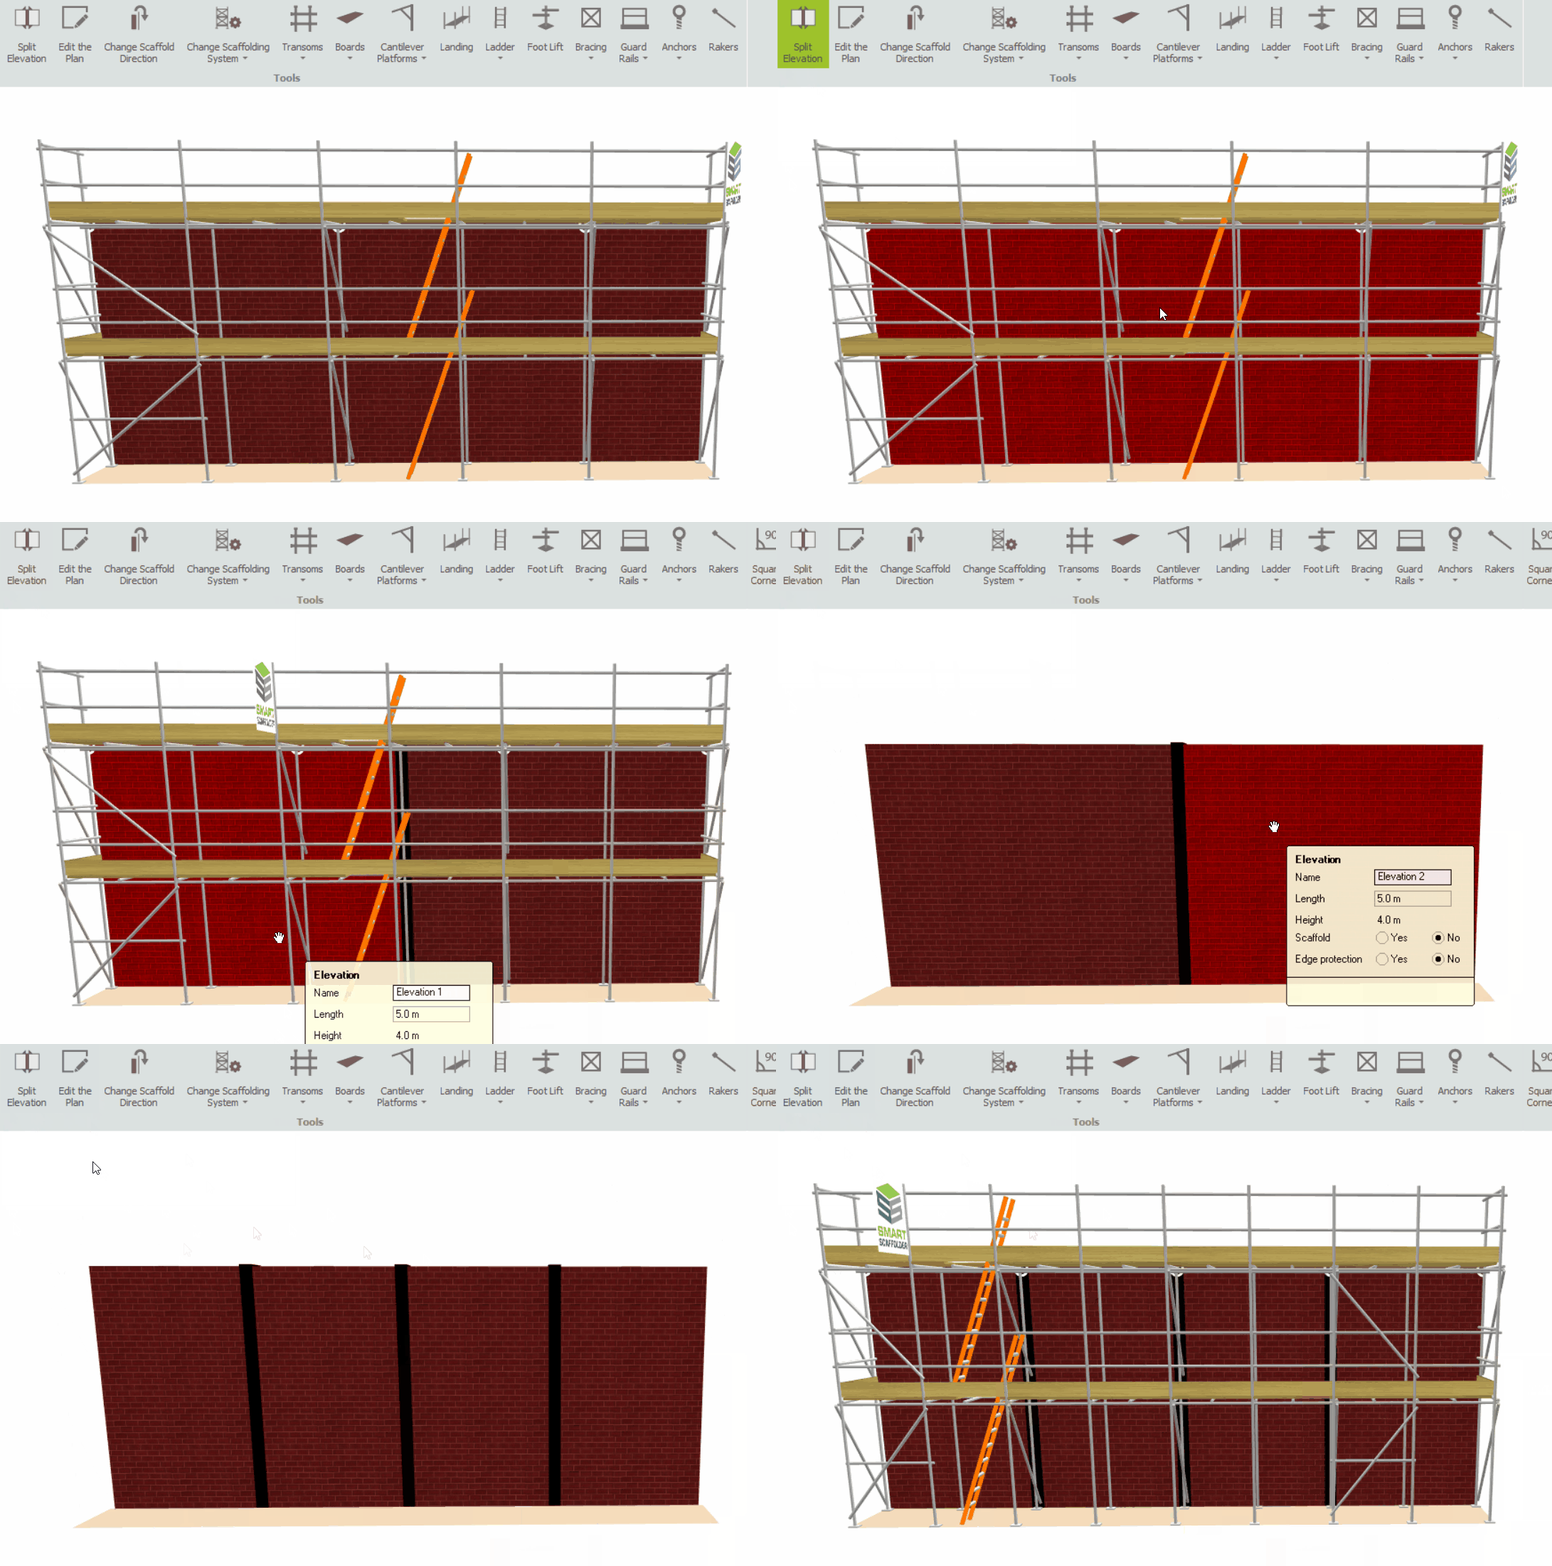
By doing so, the elevations are divided in half. As you move your mouse over each side of the elevation, they’ll be named independently, and only that part of the original elevation will be highlighted.
Splitting Elevations Multiple Times
An elevation can be split as many times as you wish, and any elevation can be pulled or pushed into any position you desire.
-
Adjusting the Split Elevation
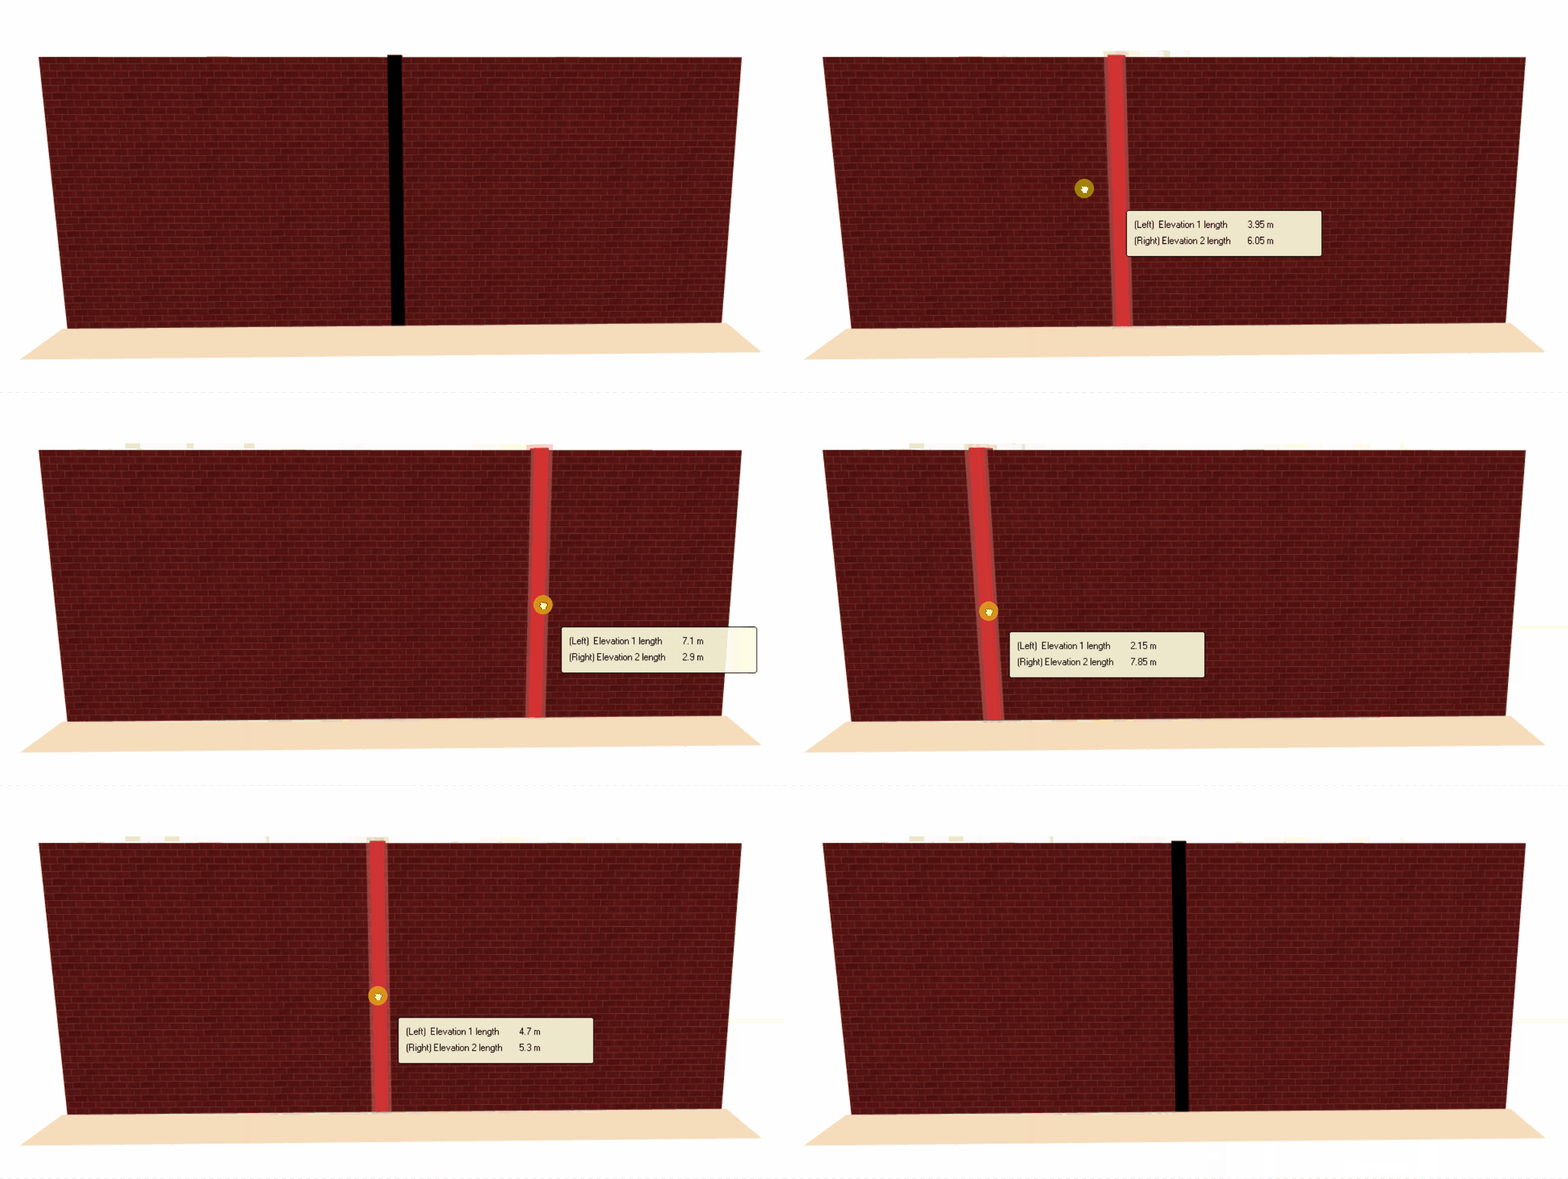
As you drag the black divider along the elevation, the size of the elevations on either side of the split changes accordingly. Upon adjusting the divider, the Toolbox Dialog will appear, and you will notice that the left and right sections allocate more space or less space according to where the divider is positioned.
-
Modifying the Split Elevation
Regarding modifications with the split elevation, when there is a split divider in between it, each side of the divider can be edited independently as if they were their own elevations, for example, you can apply scaffolding to one side of the split elevation while leaving the other side without scaffolding.
Creating Stepped Elevations
With the Ctrl key held down, stepped elevations or table lifts can be created by dragging and dropping the top of the elevation. This can also be done by setting the elevation to the desired height from the Toolbox dialog.
Ground height on one side of the elevation split
Splitting an elevation affects its ground conditions as well. You can adjust the ground height on each side of the split independently to reflect different terrain conditions. To do this, simply hold Ctrl and drag or set the highlighted ground.
Altering the ground slope on one side of the split
Additional slope controls are made on each side of the section. Multiple slopes can be created by modifying the ground conditions for each section.
-
Using Splits for Multiple Chimneys or Gables
As discussed previously, since each section is it’s own independent, it also creates its own individual gable for you to Modify, which allows you to create complex elevations for you to construct your scaffold. Moreover, you are able to add chimneys to each section of the Independent, allowing you to create multiple chimneys on the building.

Terraces (Rows of Buildings)
If your project involves Terraces (Terraced Houses), you can use the splits to create a singlular house for each section, allowing you to apply Chimney Scaffolds to each section.
-
Hiding the Split Elevations
If you wish to hide the Black Dividers from view, such as when you wish to take a screenshot of the scaffold for the Client in Quote IT, navigate to the Options View in Model IT and then select the Display Split Elevation Grips drop-down button, from here click Never.
Alternatively, if you wish to display the black dividers, select Always from the drop-down menu.
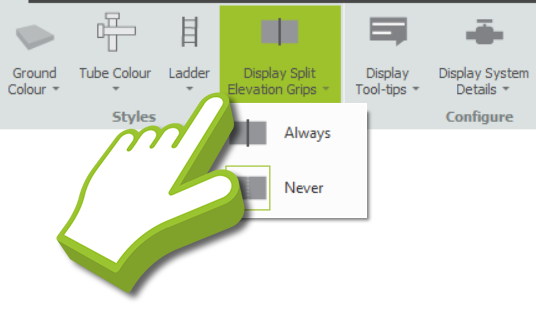

Always
Choose this option to show the split elevation grips.
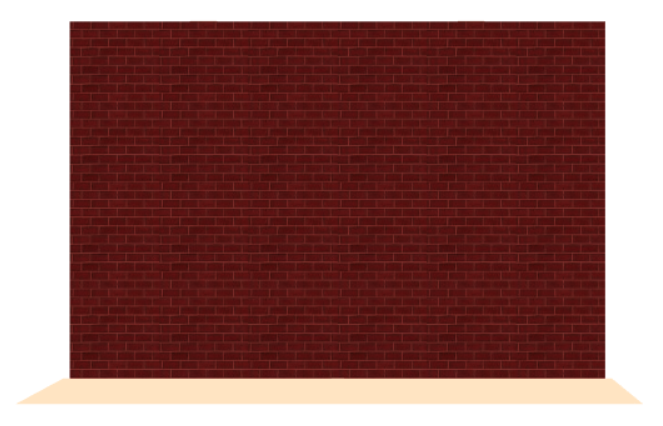
Never
Choose this option to hide the split elevation grips.
SMART Estimator
What’s new?
Getting Started
Setup and Configuration
-
Enterprise Server
-
Cloud Server Setup
Local Windows Server Setup
Adding Cloud server users
Server Back Up and Restore
Archiving Estimates from server
Migrating Local server to Cloud
Creating Folders in Enterprise Server
Using Server Tools from the Command Line
-
User software settings
User Address Settings and Yard
Scaffold Banner and Sheeting logo
Adding Watermarks
-
Setting up your Rates
Editing Shared Pricing Rates
Creating a rate setting template project
Importing and Exporting shared Rates
Creating an Estimate
Importing Drawings and Models
Scheduling Scaffolds
Creating 3D Scaffolds
-
3D Model Controls
Adding Independent scaffolds
Adding Circular Tank scaffolds
Adding Birdcage & Lift shaft scaffolds
Adding Tied or Freestanding towers
Adding Stair towers, Ladders towers & Buttresses
Adding Loading bays
Adding Chimney scaffolds
Adding Temporary Roof
Adding Edge protection
Adding Pavement Gantry’s
System Scaffolds
Safety Decking
Using the Scaffold Library
Editing Scaffolds
Scaffold Add-ons & Options
-
Adding Gin wheels, Rubbish Chutes, Safety standards, Double standards and Lamps
Adding and Editing bridges/beam work
Adding Beams around Corners
Adding Cladding
Adding Cantilever protection fans
Adding Pavement Lifts
Adding Recesses and Infills
Building and Ground colour
Visual options (Tube, Ladder, System details and Grips)
Add a Pedestrian or Scaffolder
Copying pictures of the model
Material Lists and Drawings
Pricing and Estimation
Quotations
Enterprise Server
Troubleshooting


