-
Safety Decking Overview
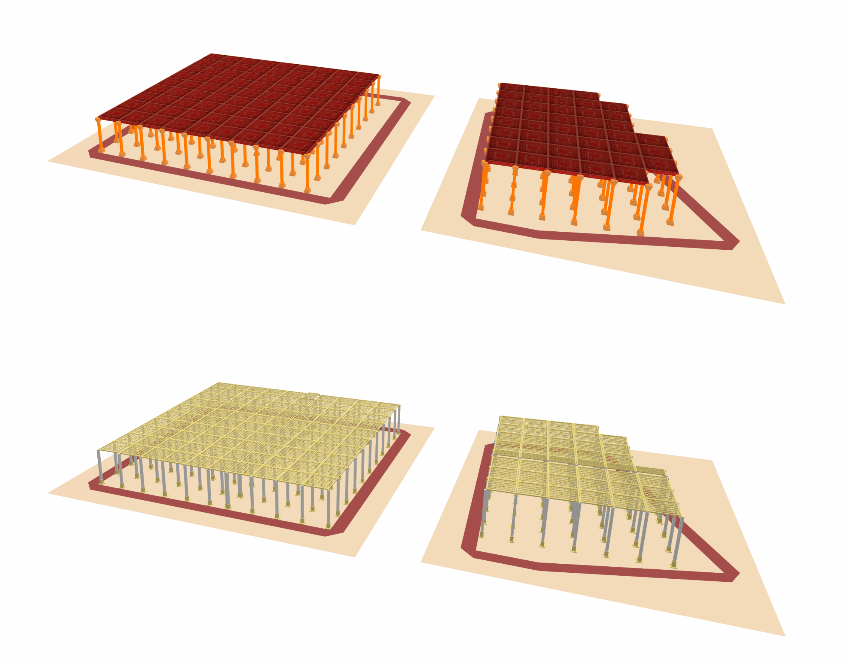
Safety Decking (also known as Crash Deck) is a temporary working platform system used for internal fall prevention and safe access for scaffolders working at height during the early stages of construction. SMART Estimator supports the integration of Macdeck, G-Deck and TRAD Deck (Releasing in a few weeks).

-
Creating a Safety Decking
To begin creating a safety decking, you must first switch to a Safety Decking Scaffold System. Once selected, follow these steps:
- Navigate to Model IT and select the Tools View.
- Click on the Change Scaffolding System dropdown button.
- Choose your preferred decking system from the list: MacDeck, G-Deck or TRAD Deck.

Once the appropriate scaffolding system is selected, you can now create your safety decking:
- In Model IT, switch to the Scaffolds View.
- Select either the Rectangular Birdcage or the Irregular Birdcage, depending on your project requirements.
- If you have chosen the Rectangular Birdcage then the Birdcage will appear on your screen automatically.
- If you have chosen the Irregular Birdcage– It’ll take you to the Draw Plan mode. You must first draw out the birdcage dimensions on the plan and then exit out of Draw Plan by clicking its corresponding button.

-
Adjusting the Safety Decking
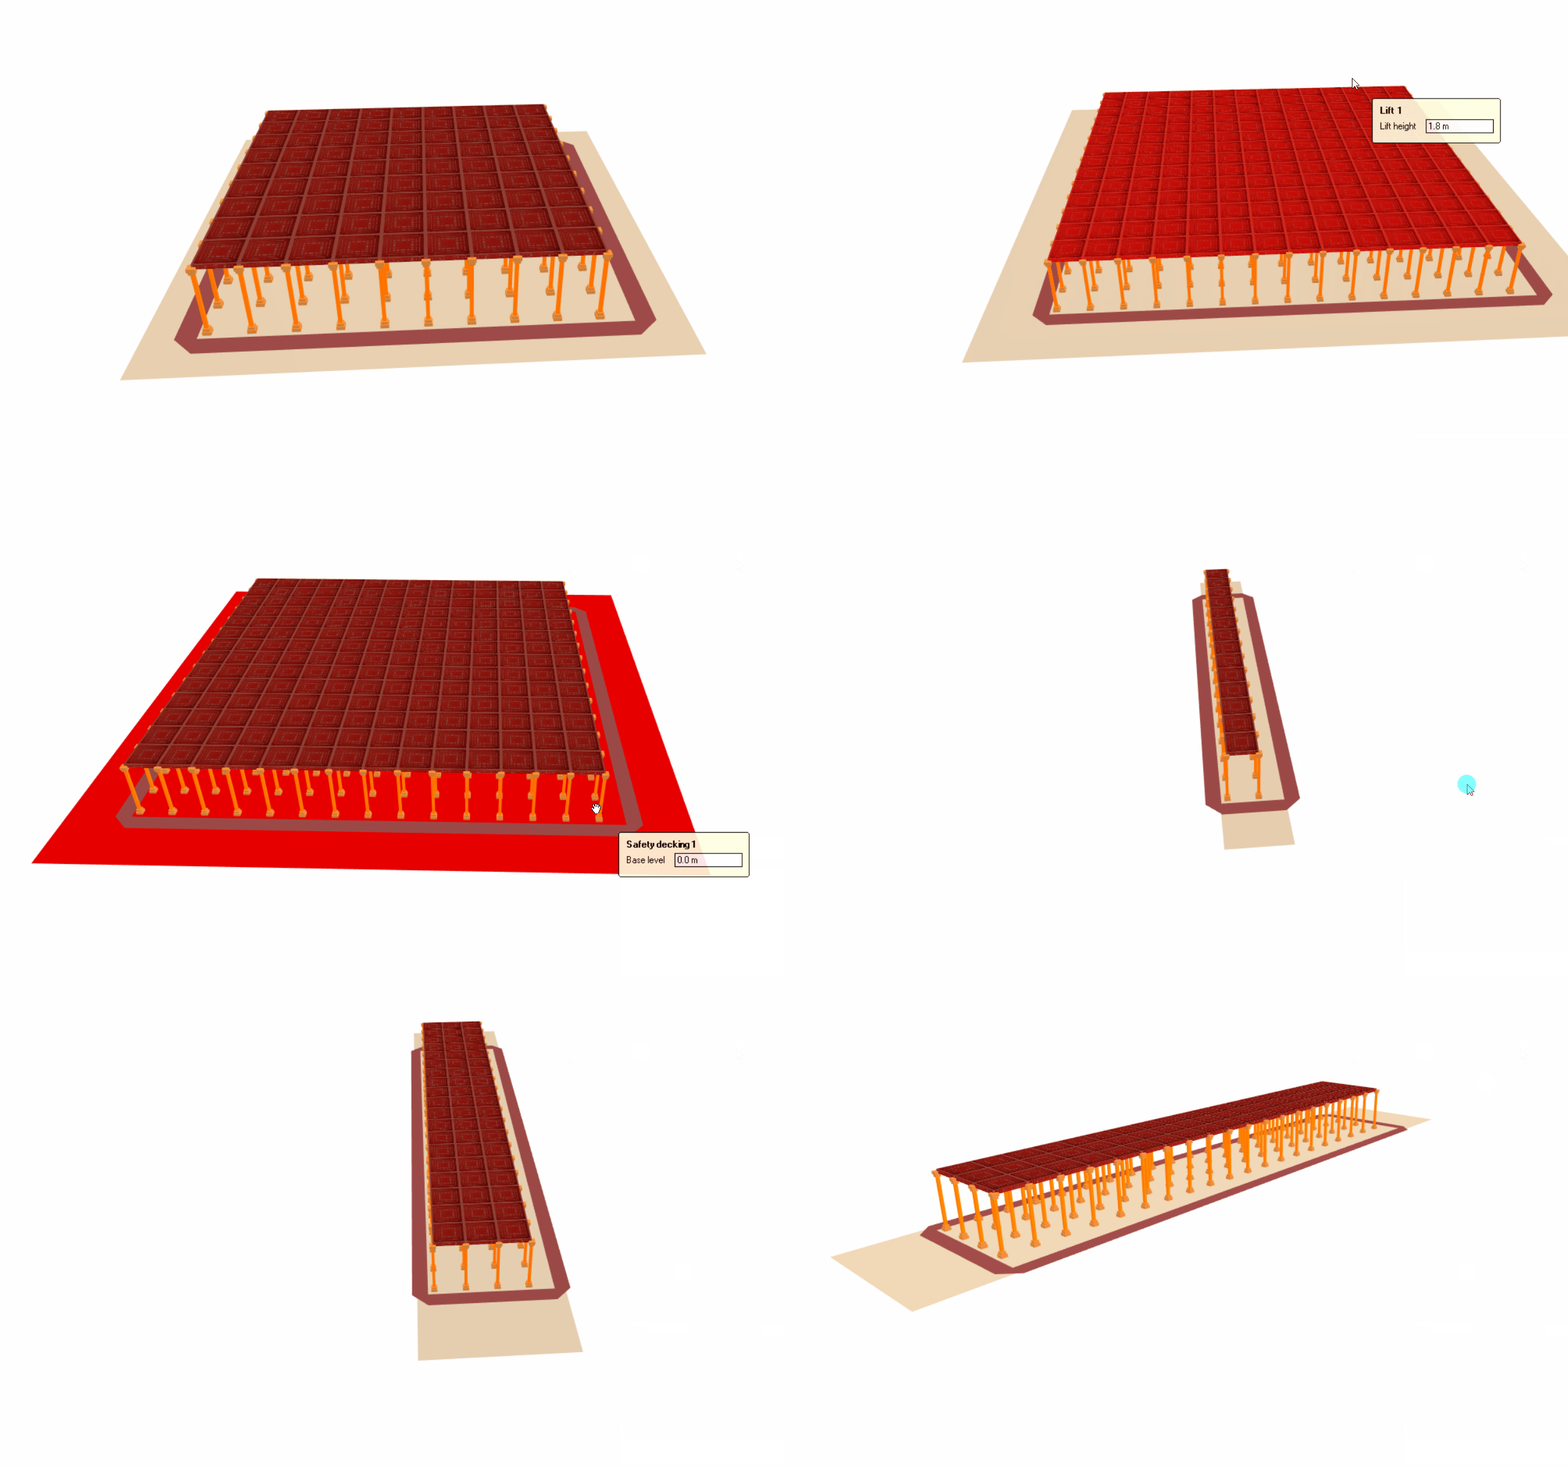
Safety Decking can be adjusted like a birdcage scaffold. The key dimensions you can modify include Height, Elevation Gap, and Length/Width. Below is a breakdown of how to make these adjustments.
Height / Lift Height:
To adjust the decking height:
- Hover your mouse over the Landing of the Safety Decking (Regular or Irregular Birdcage).
- Click and drag the platform up or down to set the desired height.
- Alternatively, in the Toolbox Dialog when you hover on the Landing, manually enter the required height, and press Enter to confirm.

Elevation Gap:
To modify the elevation gap:
- On the Rectangular or Irregular Birdcage, hover your mouse over the Scaffold Beam.
- In the Toolbox Dialog, cycle through the options till you reach ‘Elevation Gap’, if you’re using an Irregular Birdcage, then you do not need to cycle through.
- Type in the new Elevation Gap value and then press Enter.

Length and Width:
To adjust the length or width:
- On the Rectangular Birdcage, hover your mouse over the Scaffold Beam.
- In the Toolbox Dialog, cycle through the available dimensions: Height, Length, or Width and input the desired values to update each measurement.

-
Modifying the Safety Decking
This section covers the available add-ons and tools for customizing your Safety Decking setup. These include Cantilever Lap Panels, Infill Bays, and Change Bay Axis—each designed to enhance flexibility and adaptability within your scaffold models.
Cantilever Lap Panels
To apply Cantilever Lap Panels:
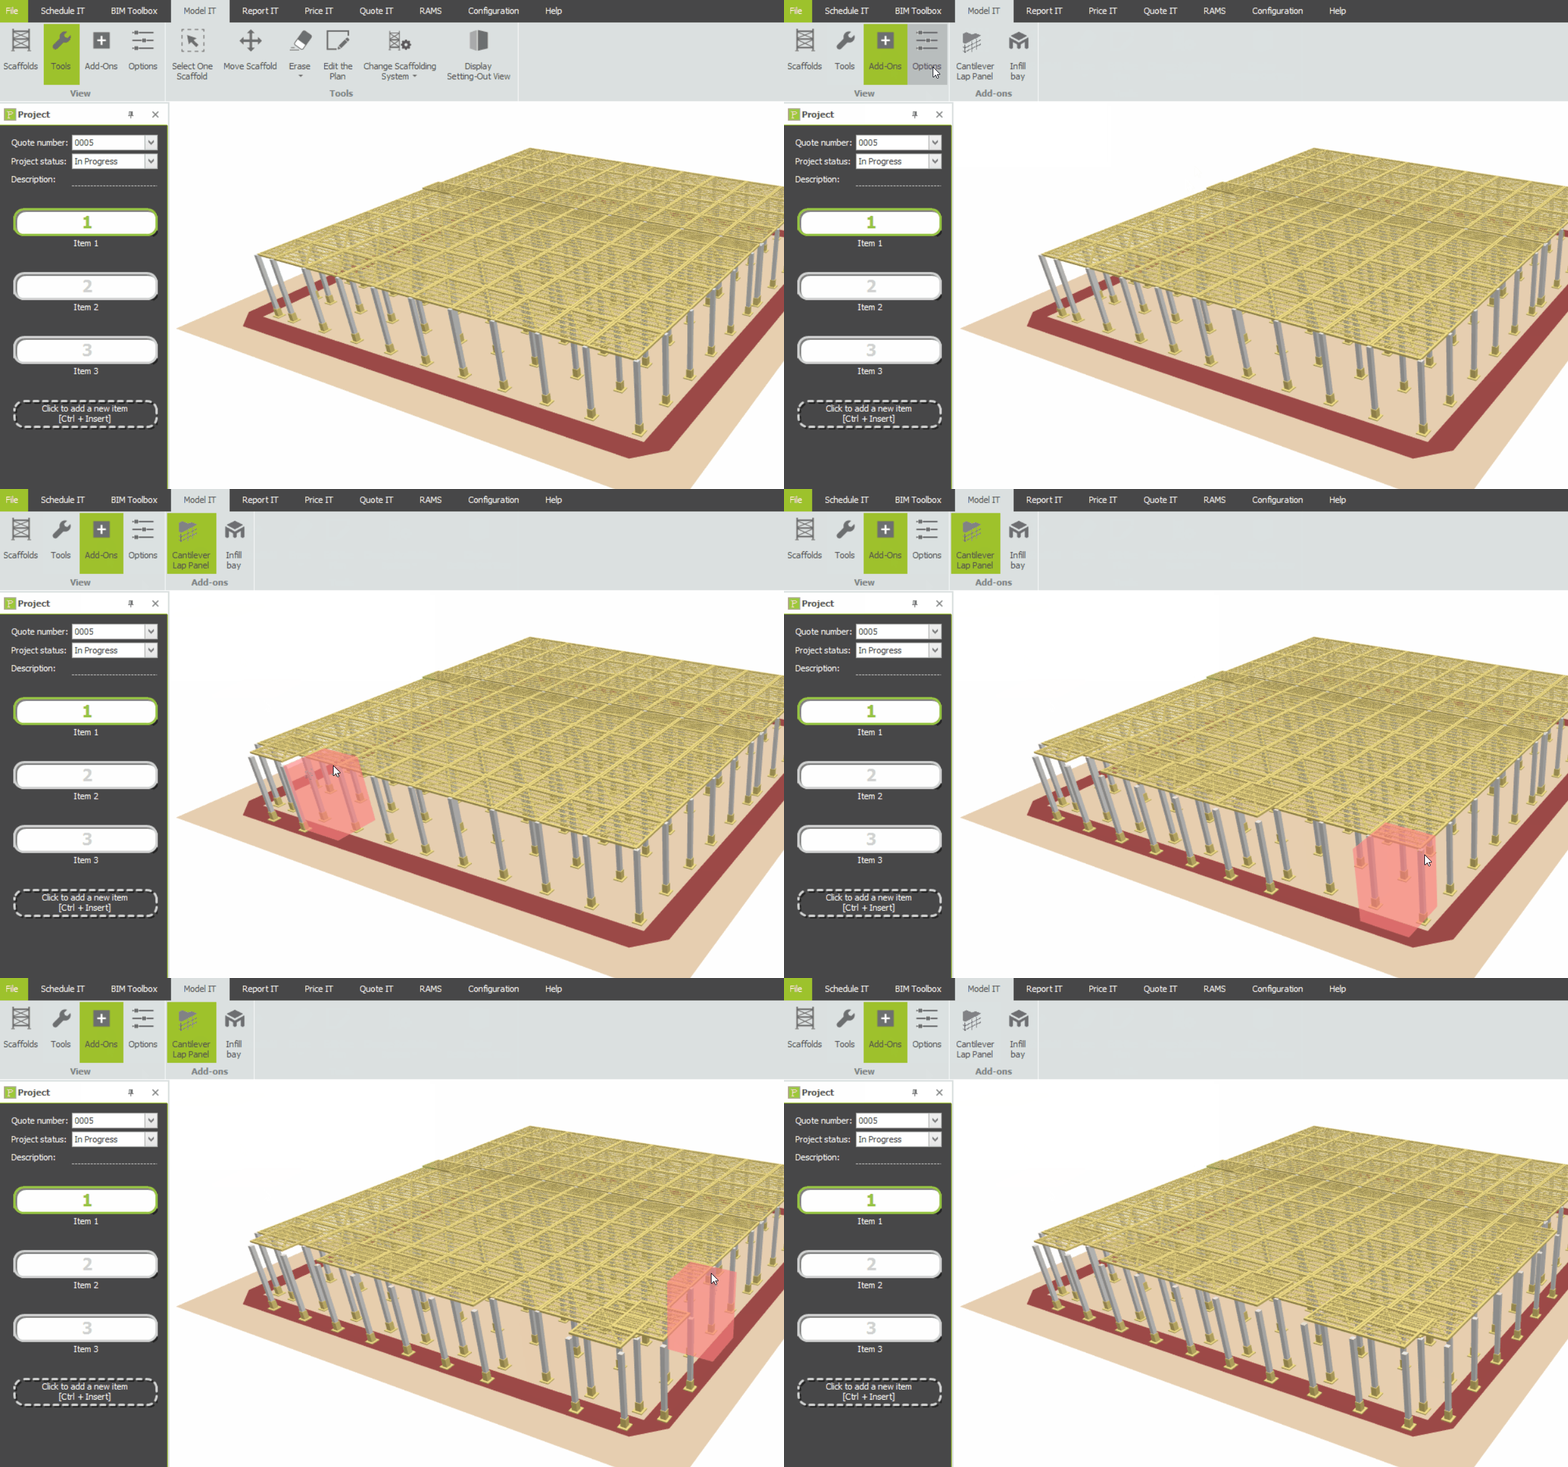
- Navigate to Model IT and switch to the Add-Ons View.
- Click on the Cantilever Lap Panel Tool.
- With the tool active, click on an Outer Bay of the Safety Decking to apply the cantilever extension.

Infill Bay
To insert an Infill Bay:
- Go to Model IT and select the Add-Ons View.
- Click on the Infill Bay Tool.
- Click directly on the Safety Deck Scaffold where the infill bay is required. The tool will add the bay in the selected position.

Change Bay Axis
The Change Bay Axis tool allows you to align a bay parallel to the selected elevation:
- Navigate to Model IT and open the Tools View.
- Click on the Change Bay Axis Tool.
- Next, Select one of the Elevations (On the ground, unless you modified it’s height). Your safety deck’s bay axis will now align parallel to the selected elevation.

-
Setting-Out View
Much like System Scaffolding for a Birdcage, you’re able to utilise the Setting-Out view to adjust the bay length and bay width of the safety decking. Simply go to the Tools view and click on the Display Setting-Out View.

SMART Estimator
What’s new?
Getting Started
Setup and Configuration
-
Enterprise Server
-
Cloud Server Setup
Local Windows Server Setup
Adding Cloud server users
Server Back Up and Restore
Archiving Estimates from server
Migrating Local server to Cloud
Creating Folders in Enterprise Server
Using Server Tools from the Command Line
-
User software settings
User Address Settings and Yard
Scaffold Banner and Sheeting logo
Adding Watermarks
-
Setting up your Rates
Editing Shared Pricing Rates
Creating a rate setting template project
Importing and Exporting shared Rates
Creating an Estimate
Importing Drawings and Models
Scheduling Scaffolds
Creating 3D Scaffolds
-
3D Model Controls
Adding Independent scaffolds
Adding Circular Tank scaffolds
Adding Birdcage & Lift shaft scaffolds
Adding Tied or Freestanding towers
Adding Stair towers, Ladders towers & Buttresses
Adding Loading bays
Adding Chimney scaffolds
Adding Temporary Roof
Adding Edge protection
Adding Pavement Gantry’s
System Scaffolds
Safety Decking
Using the Scaffold Library
Editing Scaffolds
Scaffold Add-ons & Options
-
Adding Gin wheels, Rubbish Chutes, Safety standards, Double standards and Lamps
Adding and Editing bridges/beam work
Adding Beams around Corners
Adding Cladding
Adding Cantilever protection fans
Adding Pavement Lifts
Adding Recesses and Infills
Building and Ground colour
Visual options (Tube, Ladder, System details and Grips)
Add a Pedestrian or Scaffolder
Copying pictures of the model
Material Lists and Drawings
Pricing and Estimation
Quotations
Enterprise Server
Troubleshooting


