-
Overview of Chimney scaffolds
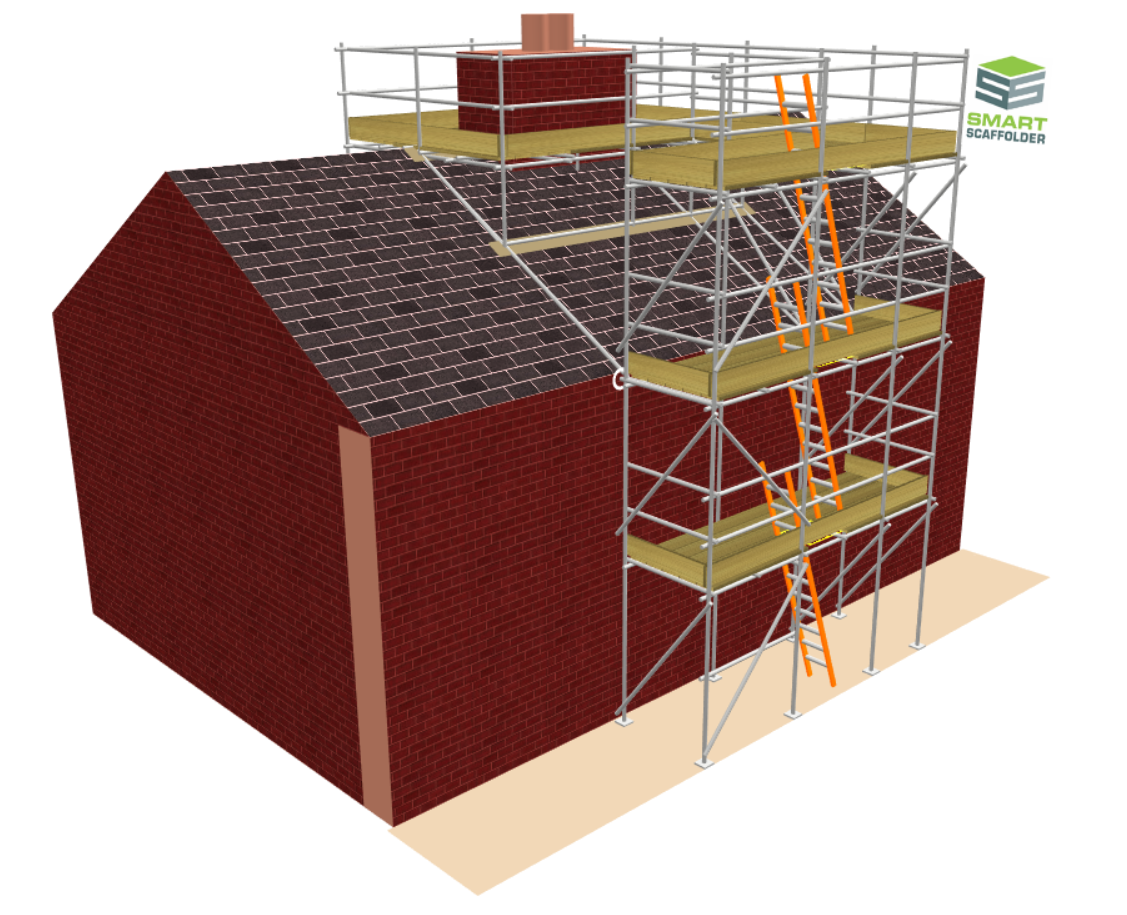
Chimney stacks provide access and egress for the maintenance and rebuilding of brickwork chimneys. Typically, chimney scaffolds extend to the height of the chimney stack, providing both a walkway and a working platform.
There are Two Types of Chimney Scaffolds
In terms of SMART Estimator, Chimney Stacks can be attached to any Independent façade or Tied Tower using it for access to reach the top working platform. This also includes freeform scaffolds created through BIM Toolbox or Draw Plan. You may also create a standalone non-attached chimney scaffold.
-
Adding an Attached Chimney Scaffold
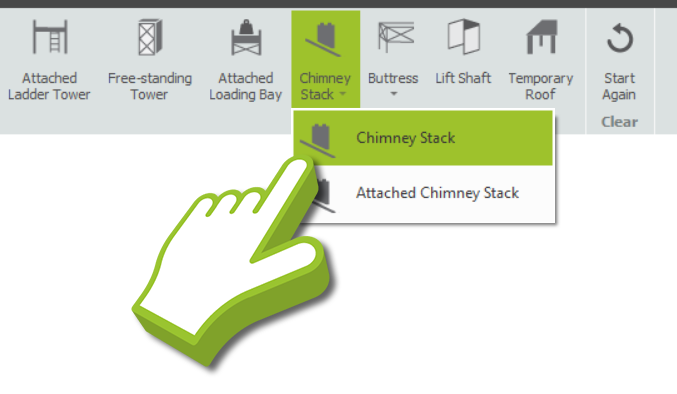
When using Model IT, navigate to the Scaffolds view. An Attached Chimney Scaffold can be created by clicking on the Chimney Stack drop-down menu and selecting the Attached Chimney Stack option.
When you have done this, your cursor will be holding a chimney scaffold. Simply hover your mouse over the elevation where the chimney stack should be applied and click on it.


Schedule IT: Temporary Roof
You are also able to make a Chimney Stack in Schedule IT by clicking on the Chimney Stack option located in the Scaffolds View. In this way, you can tailor the dimensions, materials, and other specifications to your needs.
For more detailed instructions, please refer to the Schedule IT: User Guide.
-
Adjusting Chimney Scaffolds
Relocating the Chimney Stack
If you wish to reposition the Chimney Stack, all you need to do is hover your mouse over the chimney sides. The chimney can be moved across the eaves and along the roof edge by clicking and dragging it, in which case the scaffold will be adjusted accordingly.
Adjusting the Chimney Stack
The chimney stack’s dimensions can be manipulated by hovering your mouse over the chimney side until a toolbox dialog appears, and then manually setting the Stack Length, Stack Height or Stack Width to the desired length.
The chimney height can also be adjusted by clicking and dragging the chimney top until the desired height is reached.
Roof Dimensions
In order to make the overall elevation wider, simply hover your mouse over the roof of the chimney stack, and on the toolbox dialog you can set the roof’s width. Once this is done, the length of the walkway will also be adjusted.
Furthermore, if you wish to extend the elevation, simply drag the edge of the elevation or set the elevation manually.

Modifying the Walkway Length
While you cannot directly adjust the Walkway Length, you can do so in Schedule IT. Keep in mind that the length of the walkway is determined by the location of the chimney on the building and the length of the roof.
Gable Height
Changing the Gable Height is much like changing a Gable on an independent. It can be accomplished by clicking and dragging the roof upward or downward. In addition, you can manually set it through the toolbox dialog that appears when you hover over the gable.
Number of Boards
In order to change the number of boards on the Chimney Stack, hover your mouse over the toeboards and then set the number of boards you desire. Moreover, you can also set how many Inside Boards surround the Chimney by pressing Tab until the Inside Boards property has been cycled through.
-
Modifying Chimney Access
The access platform can be modified so that the scaffold around the chimney can be accessed from only the front side, from both sides and the front, or from all sides.
You can do this by hovering your mouse over the Chimney, pressing Tab until the Stack Access property has been cycled through, selecting either Single, Three or Four side options, and pressing Enter.
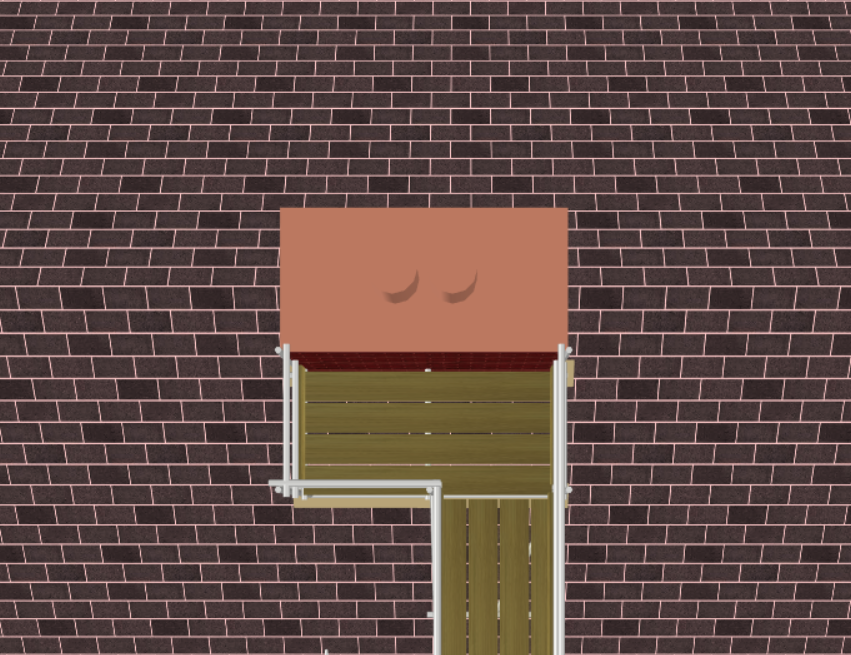
Single Side Access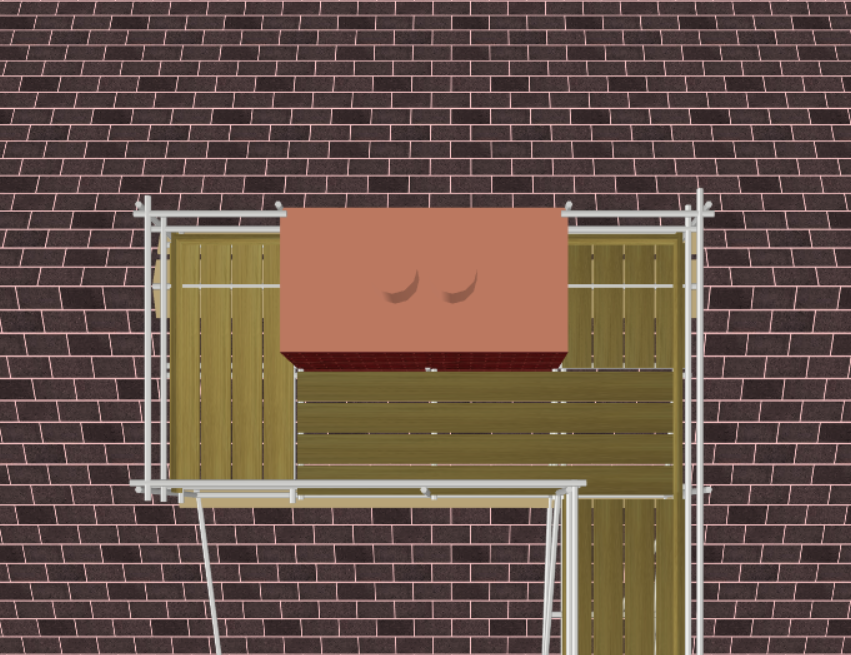
Three Sides Access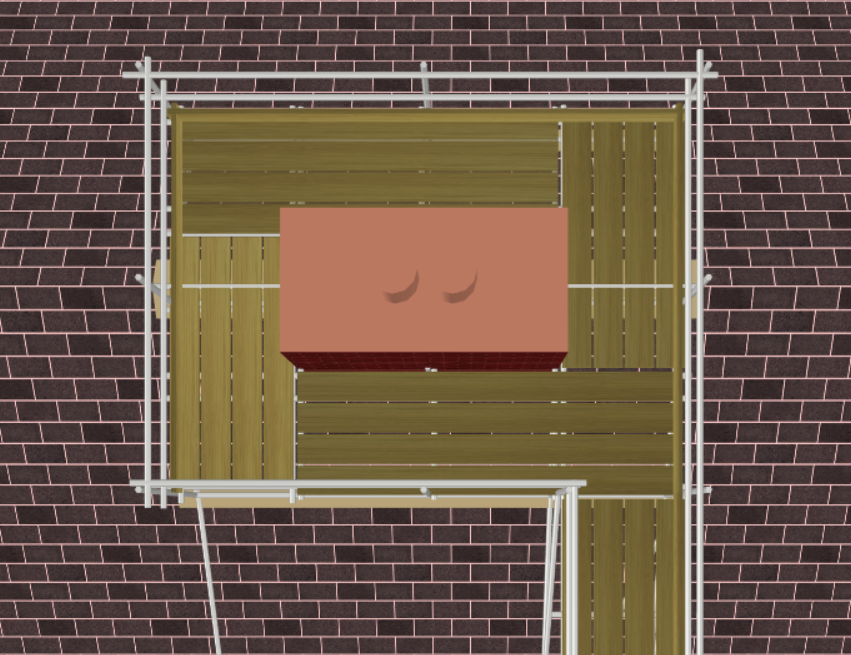
Four Sides Access -
Access from the Gables or Eaves
In order to change the Access Direction so the scaffold is attached to either the eaves or the gable, hover your mouse over the chimney, press Tab until the Access Direction property is selected.
Then use the 🠄 and 🠆 Arrow keys to select either option and press Enter.
Summary of Chimney Stacks and Access
Do note that this setting will only adjust the Access Direction, so the roof will adjust its alignment. If it’s accessed through the Gables, then it’ll be tied to the Gable End and the chimney itself is constrained along the Ridge of the Roof.
However, if it is attached to the Eaves of the roof, you may relocate it anywhere along the eaves, ridge or edge of the roof.
-
Adding an Non-Attached Chimney Scaffold
You can also create a Chimney Scaffold with a Tied Tower as a standalone scaffold. Navigate to the Scaffolds view, then by clicking on the Chimney Stack drop-down menu and selecting the Chimney Stack option, you’re able to create a non-attached Chimney Scaffold.