-
What does this Documentation cover?
As part of this documentation, we will cover the basics of how to create an estimate from scratch, save it for future reference, and open it from the Enterprise Server or as a Standalone file.
-
Create your First Estimate
The first step in creating an estimate in SMART Estimator is to create a Project. Once you’re on the home screen, click on the New Enterprise Server Project option. When you create a new enterprise server project (quote), a new Contract Number will be assigned automatically to the project.
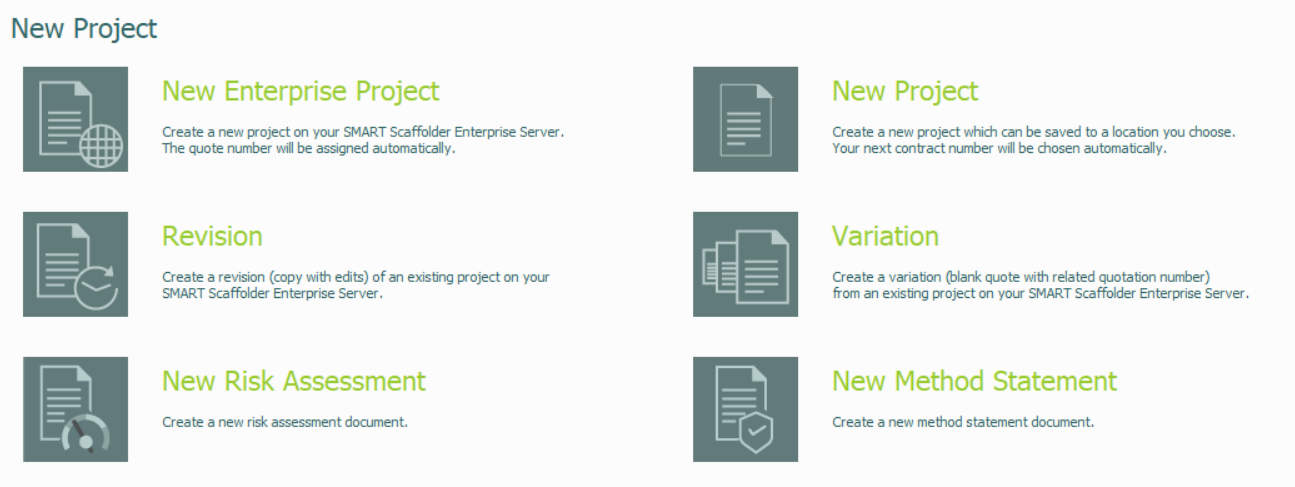
Options available to you:
- New Enterprise Server Project (Recommended)
- New Project
- Revision
- Variation
Clicking on this will create a new blank estimation project within the Enterprise Server in your shared project list. This option is only available if the Enterprise Server is online and SMART Estimator software is connected to it.
Using this option will create a new blank estimation project as a standalone file. This file can be saved to a location of your choosing. Due to the fact that the project is not stored in the cloud, you should only use this option when the server is unavailable or when testing.
Use this option if you have received feedback from a prospective client and wish to make a Revision of an existing quotation. This will create a copy of an existing estimate, which must be saved in the project list. This copy will have an amended contract number.
Use this option if you have been asked to quote for additional work, or to create a Variation of an existing quote. Much like Revision, this will create a copy of an existing estimate. However it’ll start with the last item on your project and generate a blank quotation.
-
Enter your Quote Details
Now you’ll be redirected to the Job Creation screen. From here set the Quote Number, Dates, Pricing Rates (In the event that Standard is the only pricing rate you have, choose it and leave it as is.), Quote Description, Customer Address and Site Address.
Once you’re satisfied click on the Create New Project button to create the project file.
Customer & Site Address
Both Customer and Site Address have substantial functionality within SMART Estimator. It is possible to group and create multiple customers quickly. Further information can be found in the Address Book Documentation.
What is the Follow-Up Date?
If you enter a follow-up date, SMART Estimator will remind you to follow-up with the customer regarding this project when you launch SMART Estimator on the selected date.

-
Setup your Quotation Items
The next step is to create and setup the specifics of the items within Schedule IT. For more information, please refer to the Setting up Quotation items documentation.
-
Save your New Estimate
You should always save your estimate as you work on it, and you should do so frequently. If you wish to quickly save your project, click on the Save (Floppy Disk) Icon, which you can find above the ribbon.
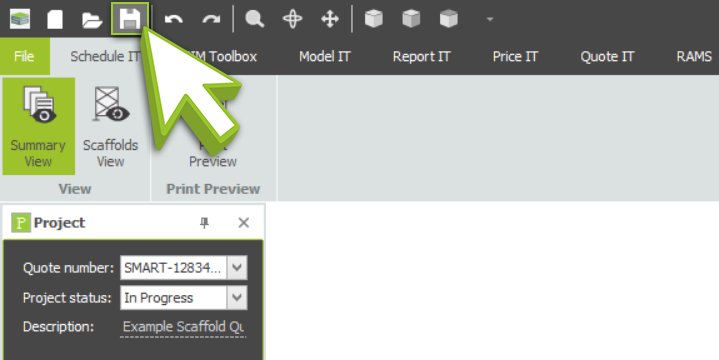
Where are my Projects stored?
If you are using an Enterprise Project, the record will simply be updated on the server. If it’s a standalone project, the first time you click on the Save Button, it’ll ask where you want to save your file. After that, it’ll update that saved file.
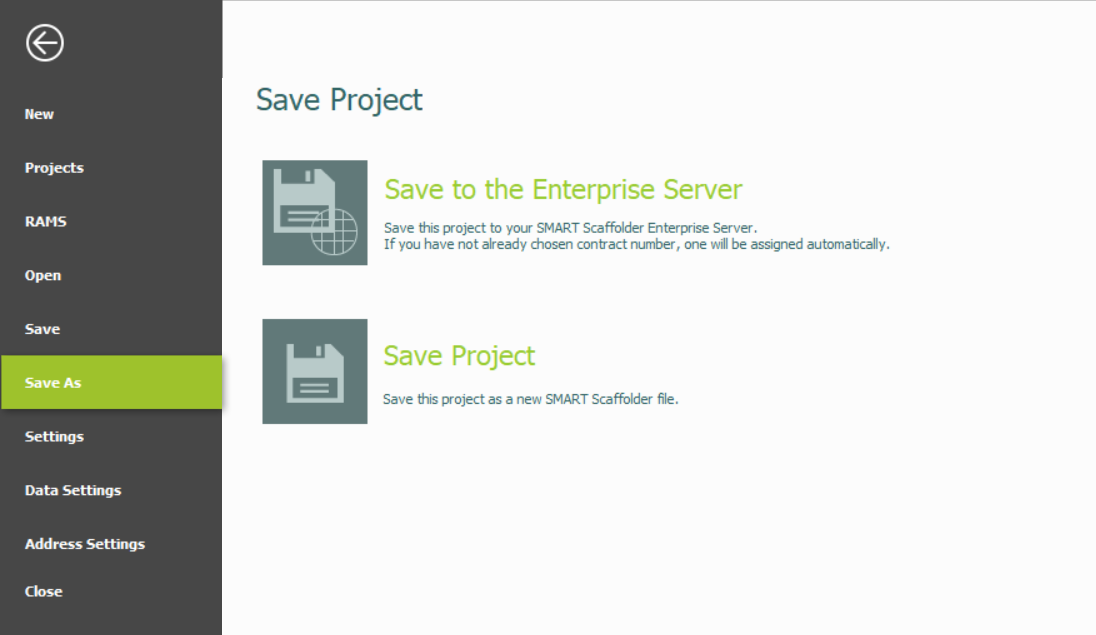
Standalone to Enterprise, and vice versa
Simply click on File and then navigate to Save As and from here you’re presented with two options. You can either Save to Enterprise to add it to the server or Save Project which saves it locally on your computer as a standalone file.
-
Opening your Estimate
If you wish to open an estimate from SMART Estimator, simply navigate to the home screen and click on Open. From here you’ll be presented with three options to choose from.
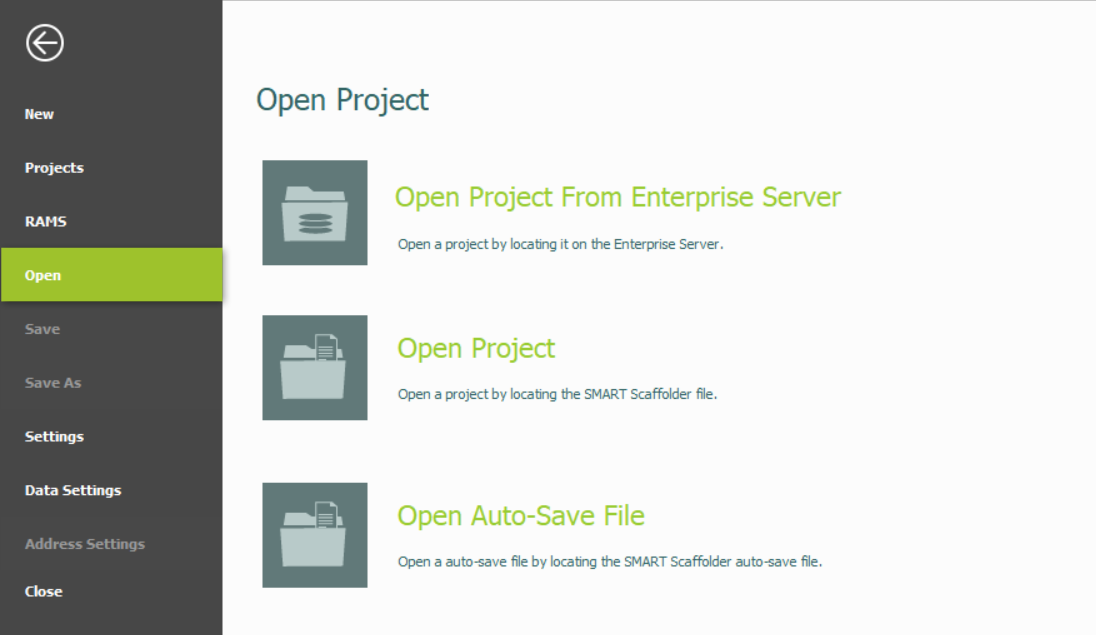
Options available to you:
- Open Project From Enterprise Server
- Open Project
- Open Auto-Save File
Once you click on this option, you’ll head over to the Enterprise Server Project List. From here you can select your project and click Open.
If you click this button, the File Explorer will open and from there you can browse for your project file and Open it.
As default, SMART Estimator automatically saves every half hour. In the event that you encounter a problem that leads to the loss of some work, you may wish to click on this option to open the Autosave Directory, select your project, and click Open. Then, you can save the project and overwrite it.
Re-open your project
In the future, anytime you open SMART Estimator and save a project before closing it down, an option called continue where I left off will appear on the home screen.
As the name suggests, if you click on it, it’ll take you to the last project you saved so that you can resume from where you left off.


