-
Overview of Anchor Ties and Rakers
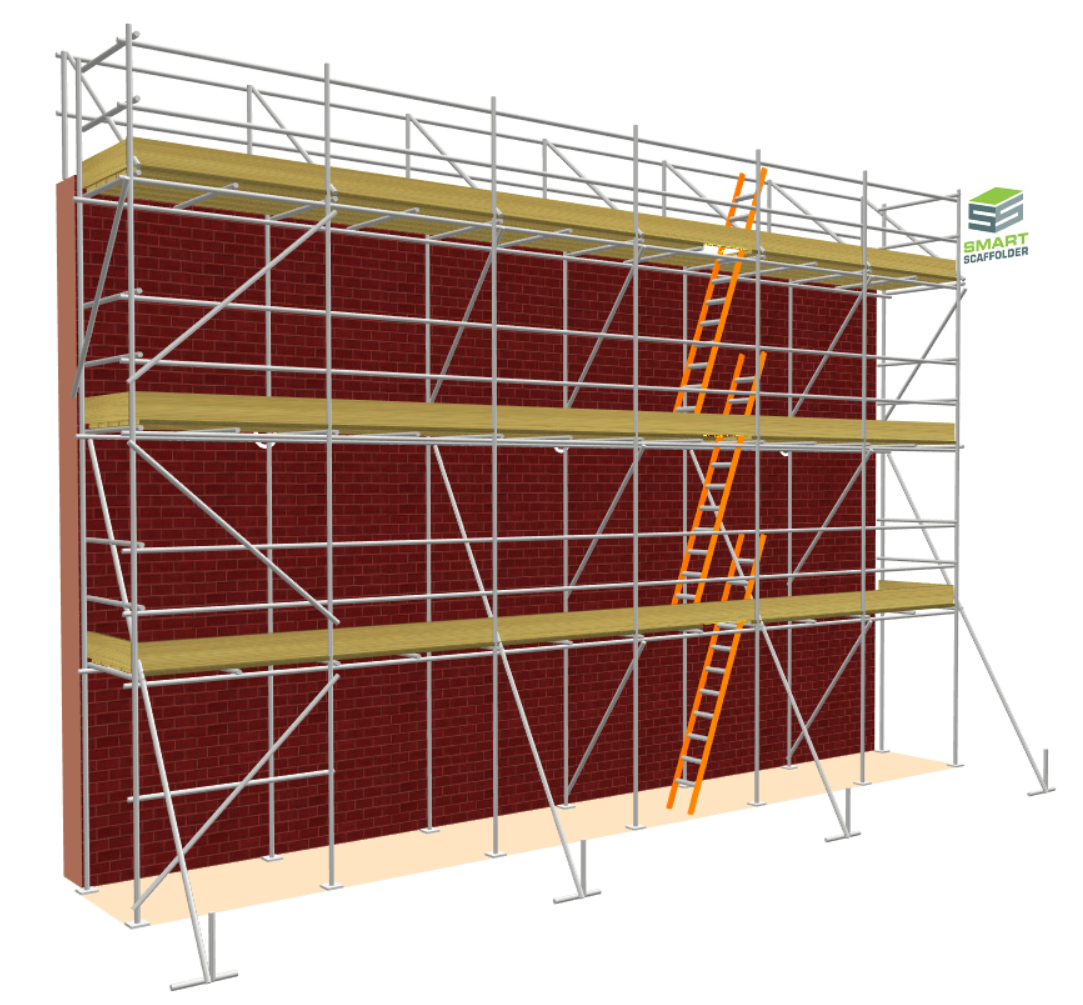
Anchor Ties and Rakers are essential components in securely attaching scaffold structures to the building façade, providing stability and support. In this documentation for SMART Estimator, you will learn how to adjust the Anchor Ties and apply Rakers to a scaffold for an elevation.
-
Adjusting the Anchor Ties
A scaffold is automatically tied with Anchor Ties when created in SMART Estimator. It is possible to specify the position of the Anchor Ties, thereby determining where the scaffold will be attached to the façade.
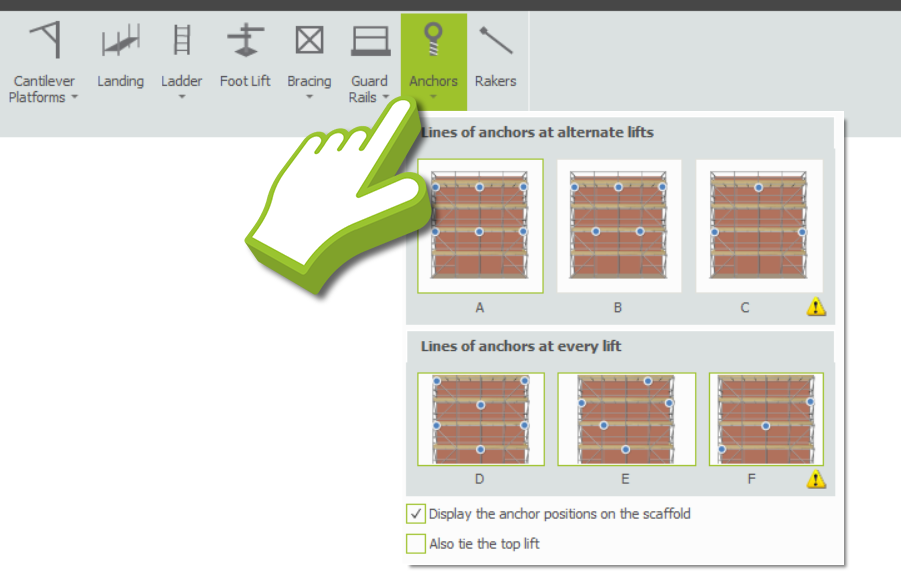
To adjust the arrangement of Anchor Ties on the scaffold façade, select the Anchors option and choose one of the available tie patterns. The available tie patterns include six TG20 patterns, which are available for tube-and-fitting scaffolding and the system scaffolding tie patterns, which are based on its manufacturer’s guidance.
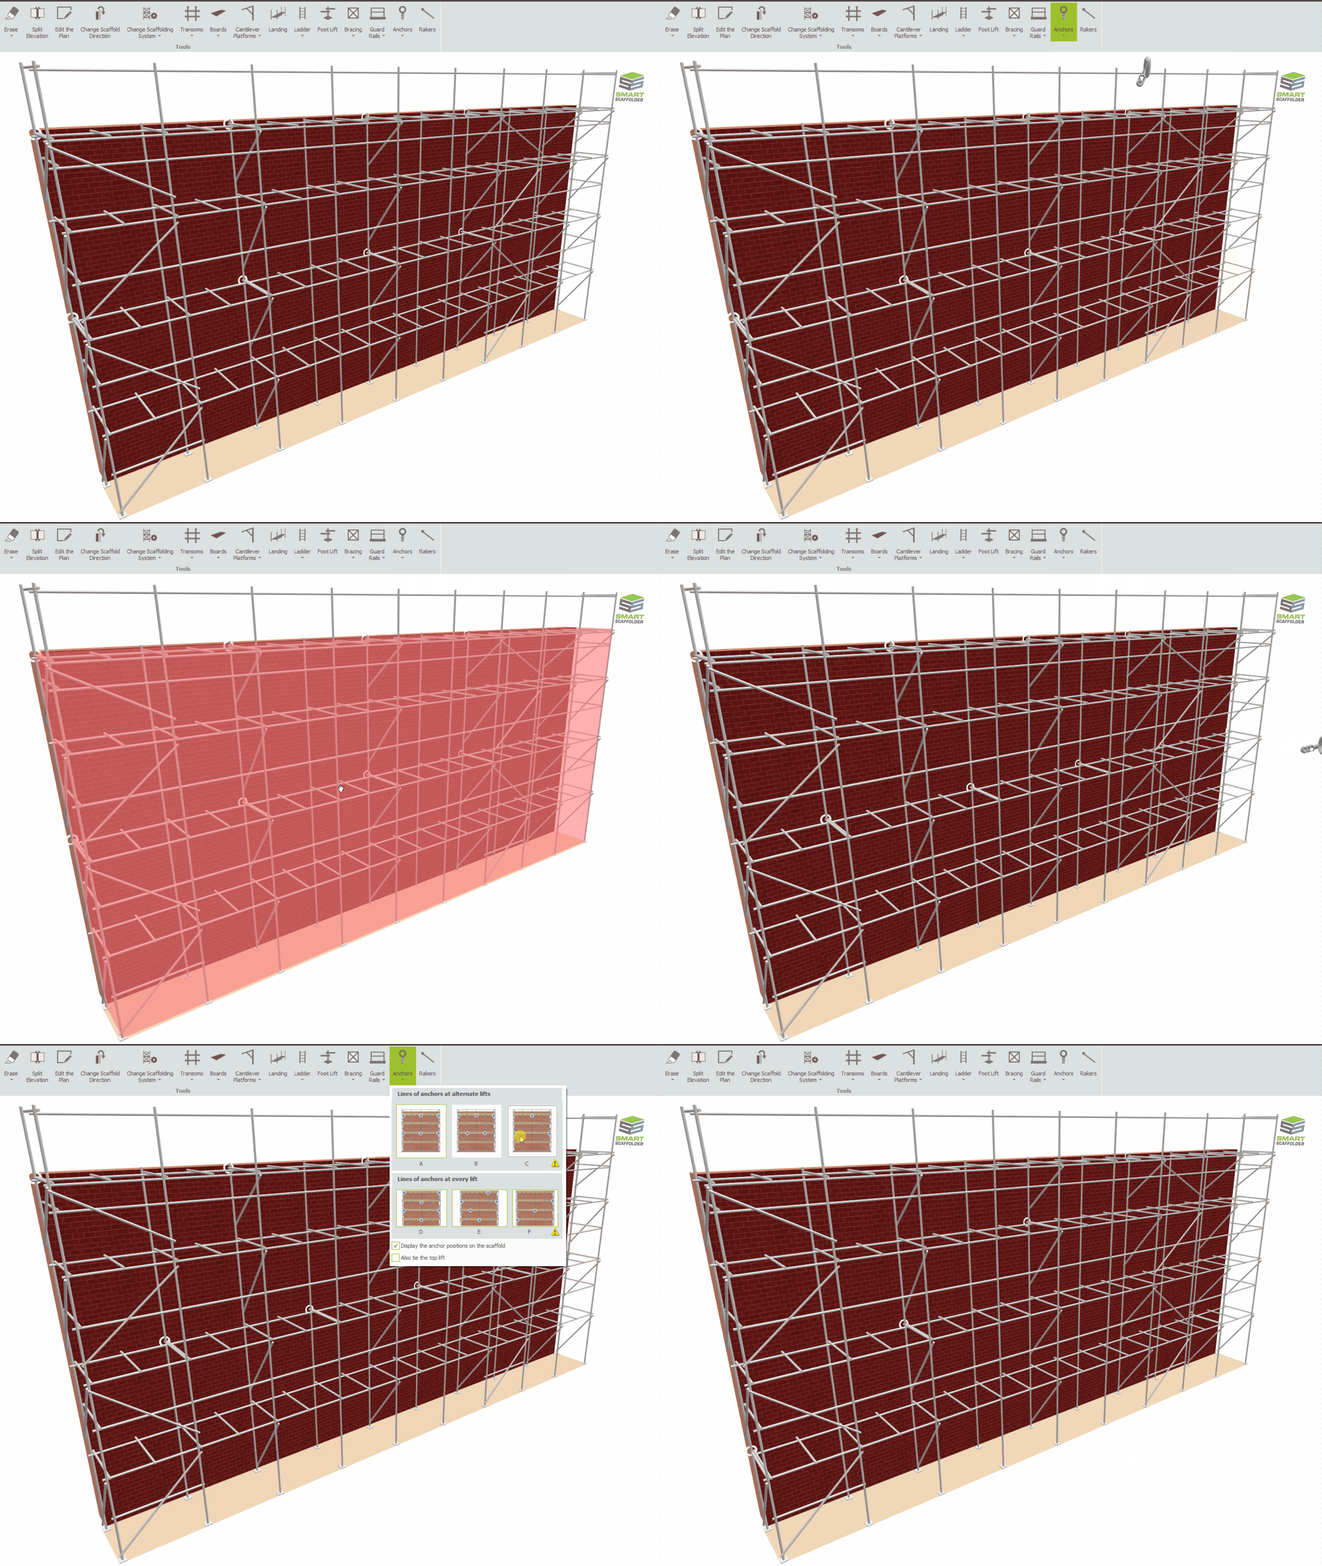
From there, simply apply it to the scaffold to change the tie pattern of that scaffold. You can also use Ctrl before applying the configuration to isolate it to one elevation.
Identifying which anchors are which?
Standard anchors are represented with a circle whilst double (‘V’) anchors are represented with a triangle. When you zoom in closely at the elevation, you will be able to see these shapes.
How many Anchors are there in my Item?
The total quantity of anchors is also displayed in the Quantities Display Bar for use when estimating. This can be found at the bottom left hand side of SMART Estimator.
Tube and Fitting: Cladding / Pavement Lifts
The anchor positions for tube-and-fitting scaffolding automatically account for the rules for extra tie points where a scaffold is sheeted or has a pavement lift (where ledger bracing is excluded from ground level for access).
Erase Anchors from the Scaffold
Using the Erasure Tool, hover your mouse over the anchors until they are highlighted, and then remove them. This will effectively convert the scaffold into a freestanding structure.
Inner and Outer Anchor Ties
If certain conditions are present, such as wind exposure at the site, scaffold cladding (e.g. sheeting or debris netting), scaffold height, and facade permeability (whether a solid building shields the scaffold from the wind or whether there are significant openings), it may be necessary to connect the tie tubes to the inner and outer faces to add extra rigidity to the scaffold structure.
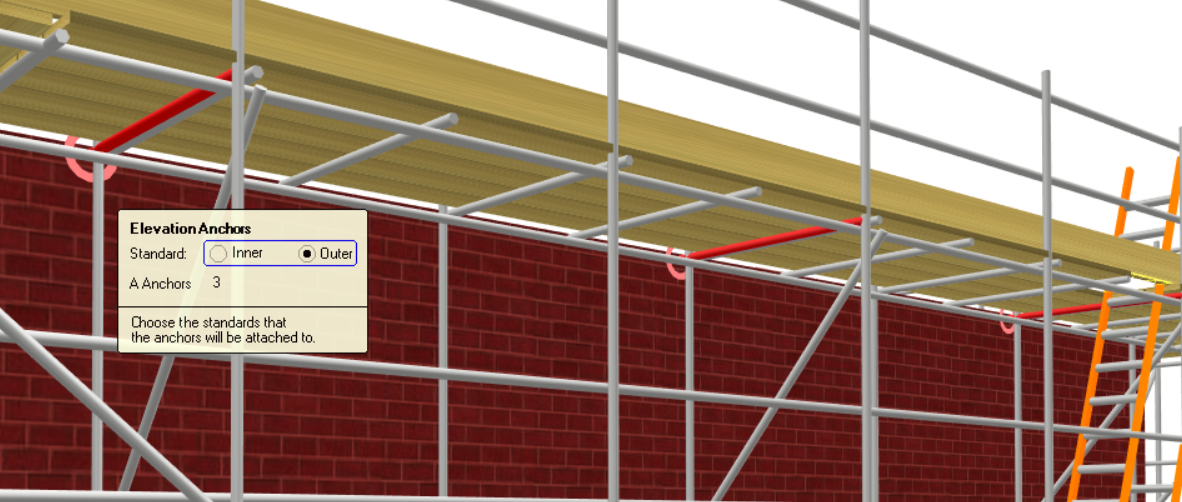
Simply hover your mouse over the Anchor Tie until the Elevation Anchors toolbox dialog appears. From here you can press Tab to cycle through Inner and Outer anchor options, and then press Enter to change the anchors. If you wish to isolate the anchor change to a single elevation, you can hold down the Ctrl key prior to modifying the anchor.
-
Adding Rakers
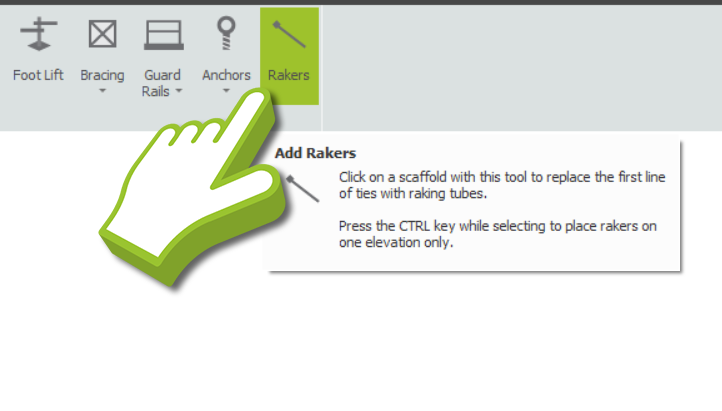
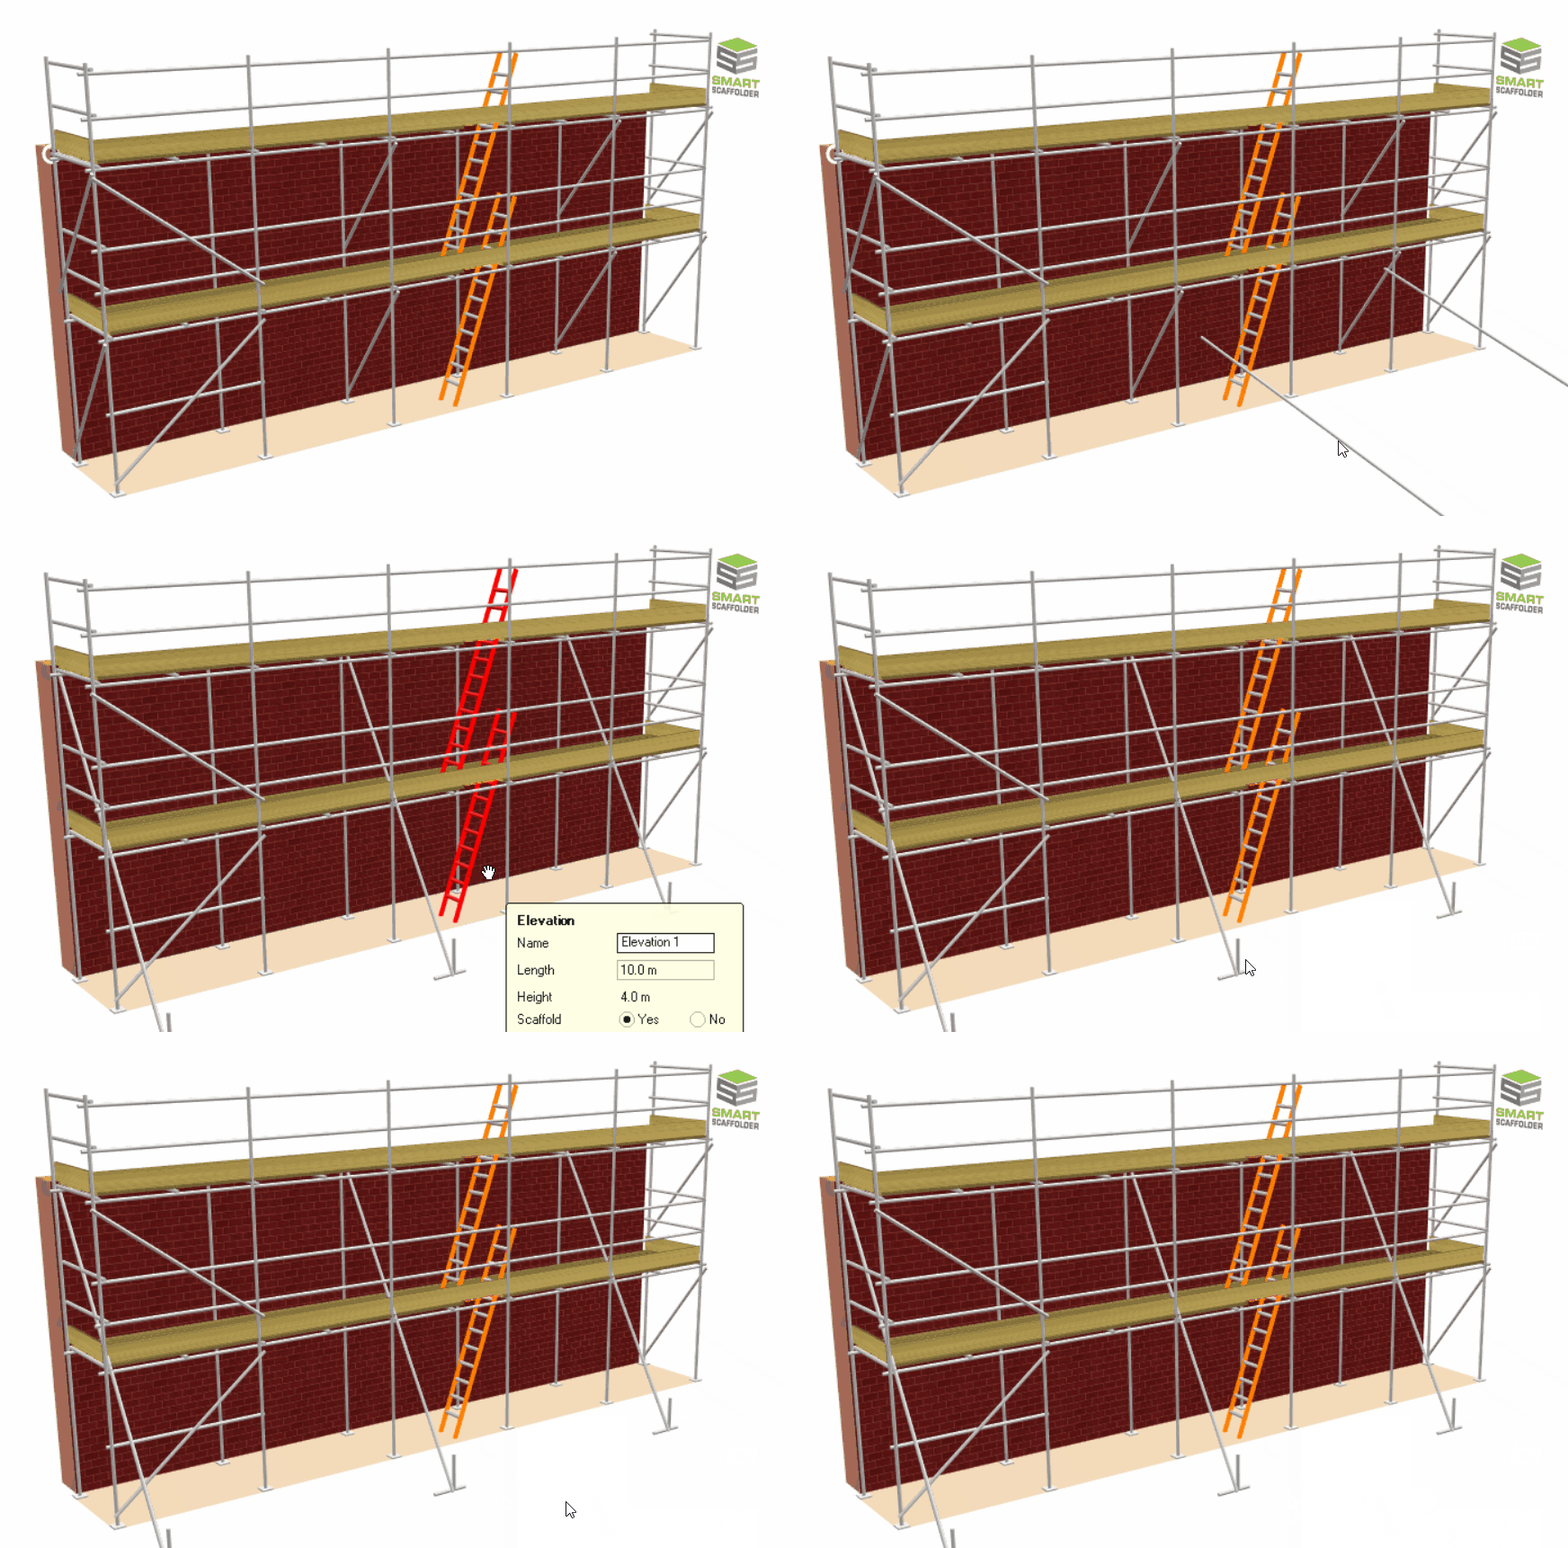
The Rakers can be applied to an elevation by navigating to the Tools View on the far right of the Toolbar. From there, click on the Rakers Tool and apply it to the entire scaffold or hold Ctrl before applying it to one elevation.
When rakers are applied to the scaffold, they replace the first line of ledger bracing with raking tubes, extending up to the second lift and being restrained at the base whilst also being spaced apart by two bays.
SMART Estimator
What’s new?
Getting Started
Setup and Configuration
-
Enterprise Server
-
Cloud Server Setup
Local Windows Server Setup
Adding Cloud server users
Server Back Up and Restore
Archiving Estimates from server
Migrating Local server to Cloud
Creating Folders in Enterprise Server
Using Server Tools from the Command Line
-
User software settings
User Address Settings and Yard
Scaffold Banner and Sheeting logo
Adding Watermarks
-
Setting up your Rates
Editing Shared Pricing Rates
Creating a rate setting template project
Importing and Exporting shared Rates
Creating an Estimate
Importing Drawings and Models
Scheduling Scaffolds
Creating 3D Scaffolds
-
3D Model Controls
Adding Independent scaffolds
Adding Circular Tank scaffolds
Adding Birdcage & Lift shaft scaffolds
Adding Tied or Freestanding towers
Adding Stair towers, Ladders towers & Buttresses
Adding Loading bays
Adding Chimney scaffolds
Adding Temporary Roof
Adding Edge protection
Adding Pavement Gantry’s
System Scaffolds
Safety Decking
Using the Scaffold Library
Editing Scaffolds
Scaffold Add-ons & Options
-
Adding Gin wheels, Rubbish Chutes, Safety standards, Double standards and Lamps
Adding and Editing bridges/beam work
Adding Beams around Corners
Adding Cladding
Adding Cantilever protection fans
Adding Pavement Lifts
Adding Recesses and Infills
Building and Ground colour
Visual options (Tube, Ladder, System details and Grips)
Add a Pedestrian or Scaffolder
Copying pictures of the model
Material Lists and Drawings
Pricing and Estimation
Quotations
Enterprise Server
Troubleshooting
