-
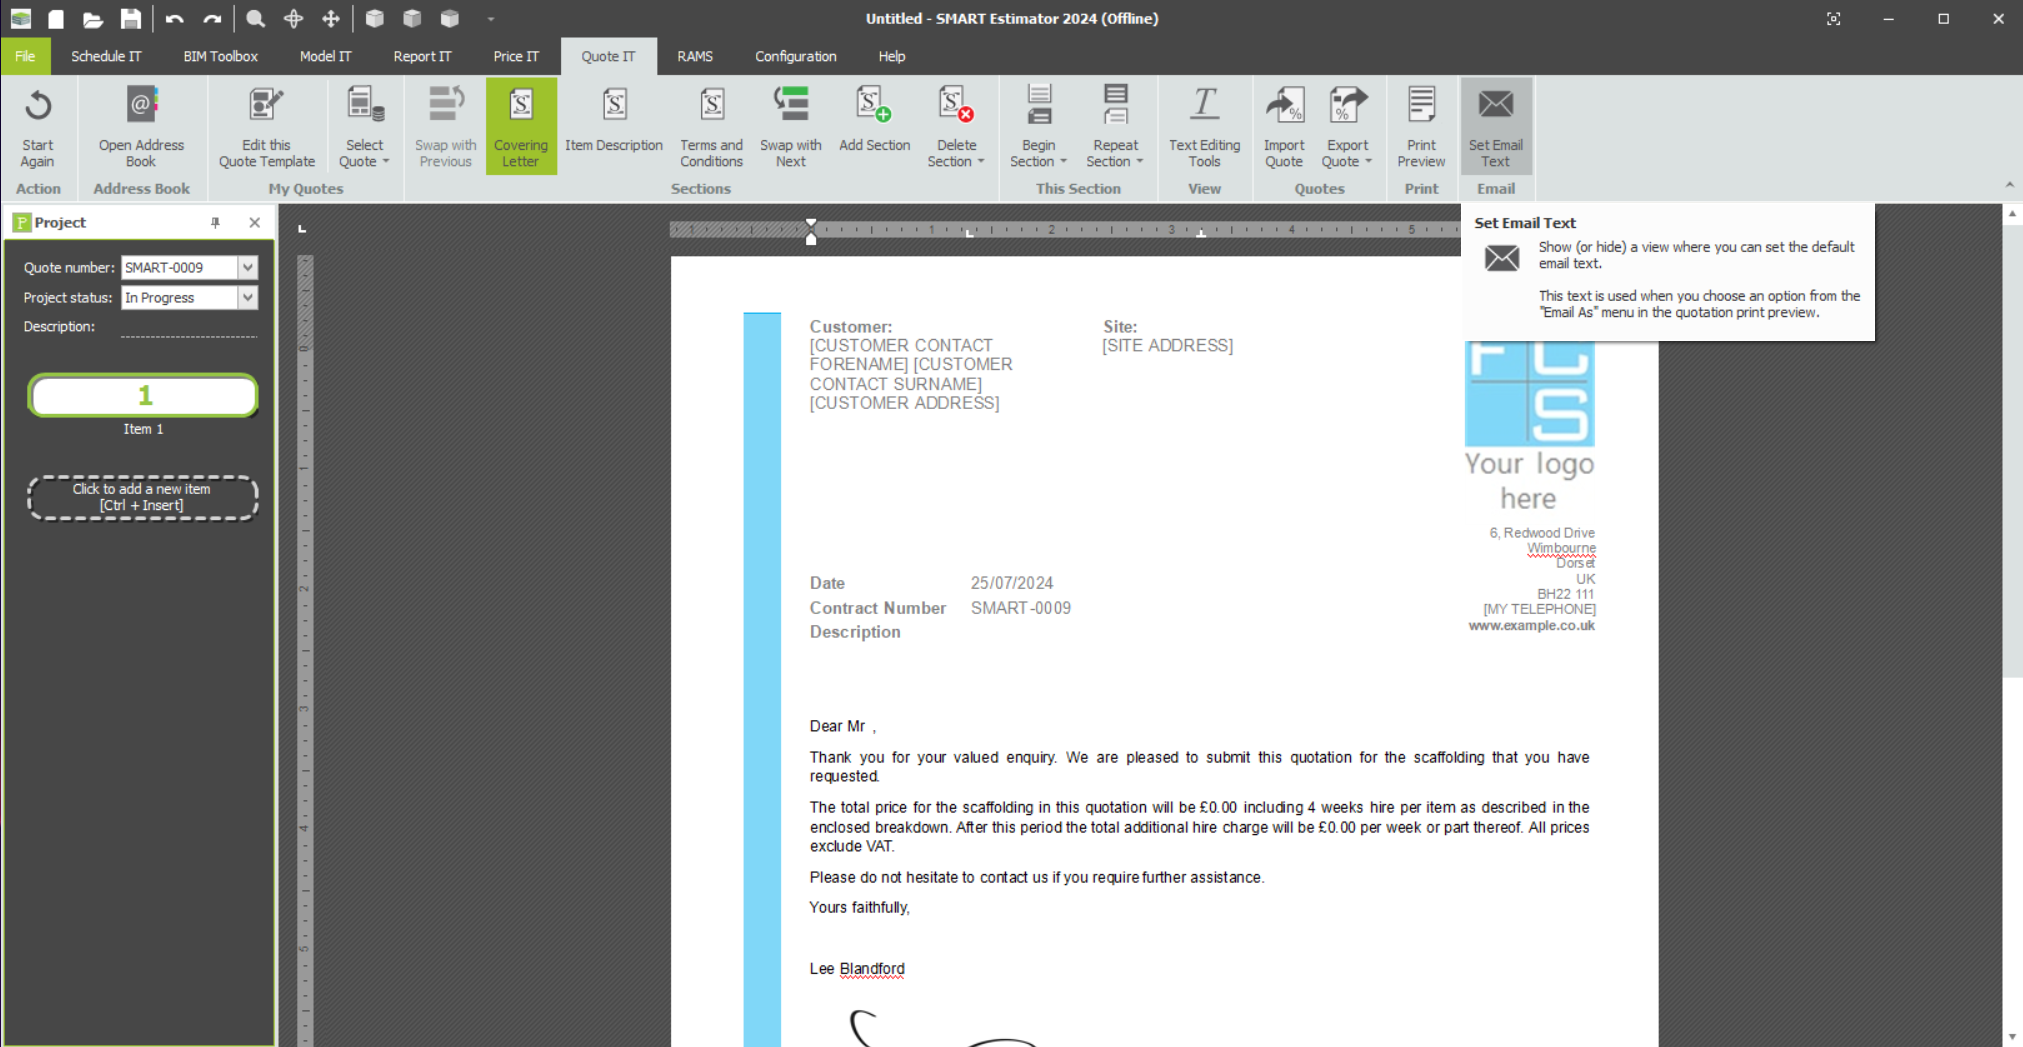
Click on the Email Button
Once you have a Quote Template, you can send it to the customer as an email from within the software. Furthermore you can automatically insert any SMARTText, which are automatic placeholders that pull in relevant data such as the customer’s name, project details, and the price.
On the ribbon, you will find a button labeled Set Email Text. Click on that button to access the email template editor.
-
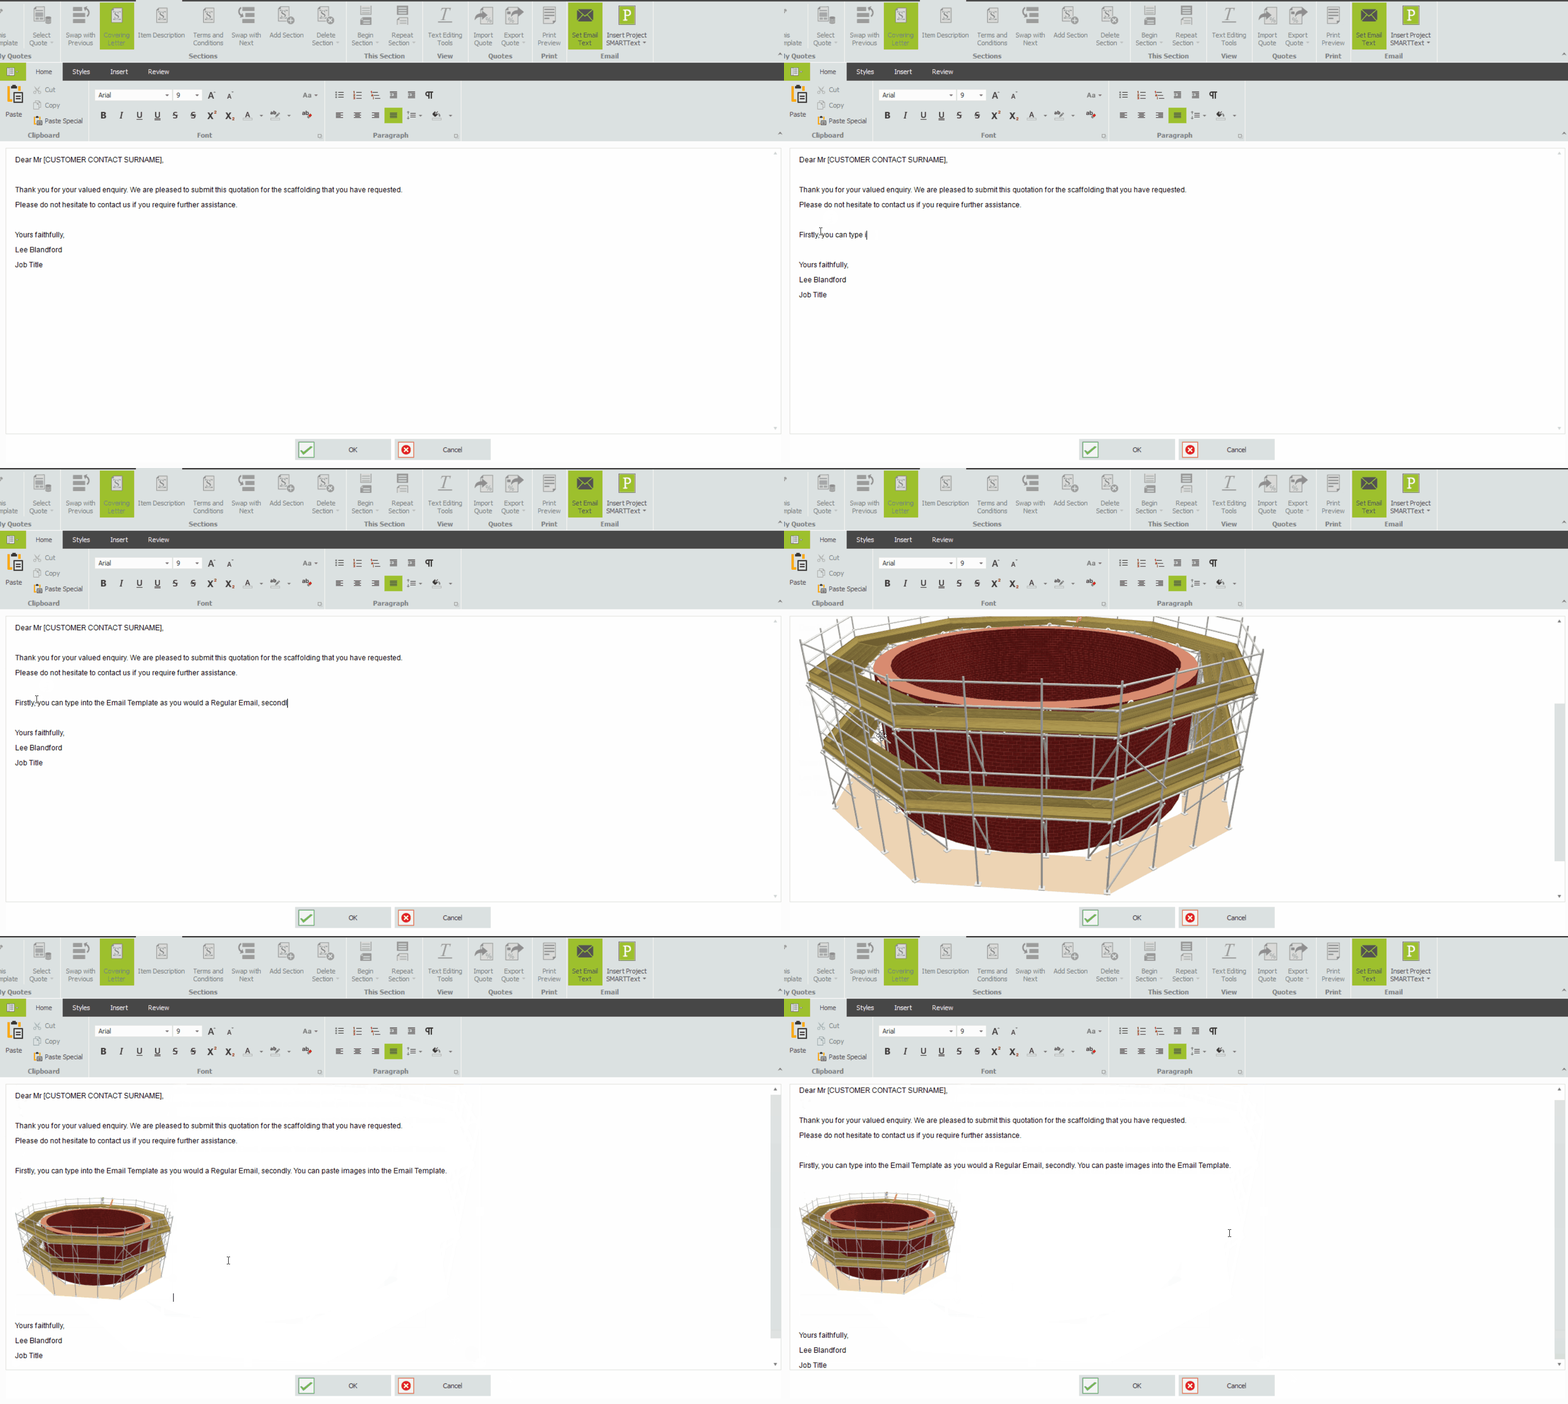
Draft the Email Template
As soon as you reach the editor, you may customise the email template body to suit your needs. Text can be done by typing directly into the editor or pasting from another document or by clicking on the Insert Image button on the toolbar and choosing the image file on your computer. It’s advisable to draft the email content with automation in mind.
Once you are satisfied with the layout, proceed to the next step to learn more about automation.
-
Automate the Email Template
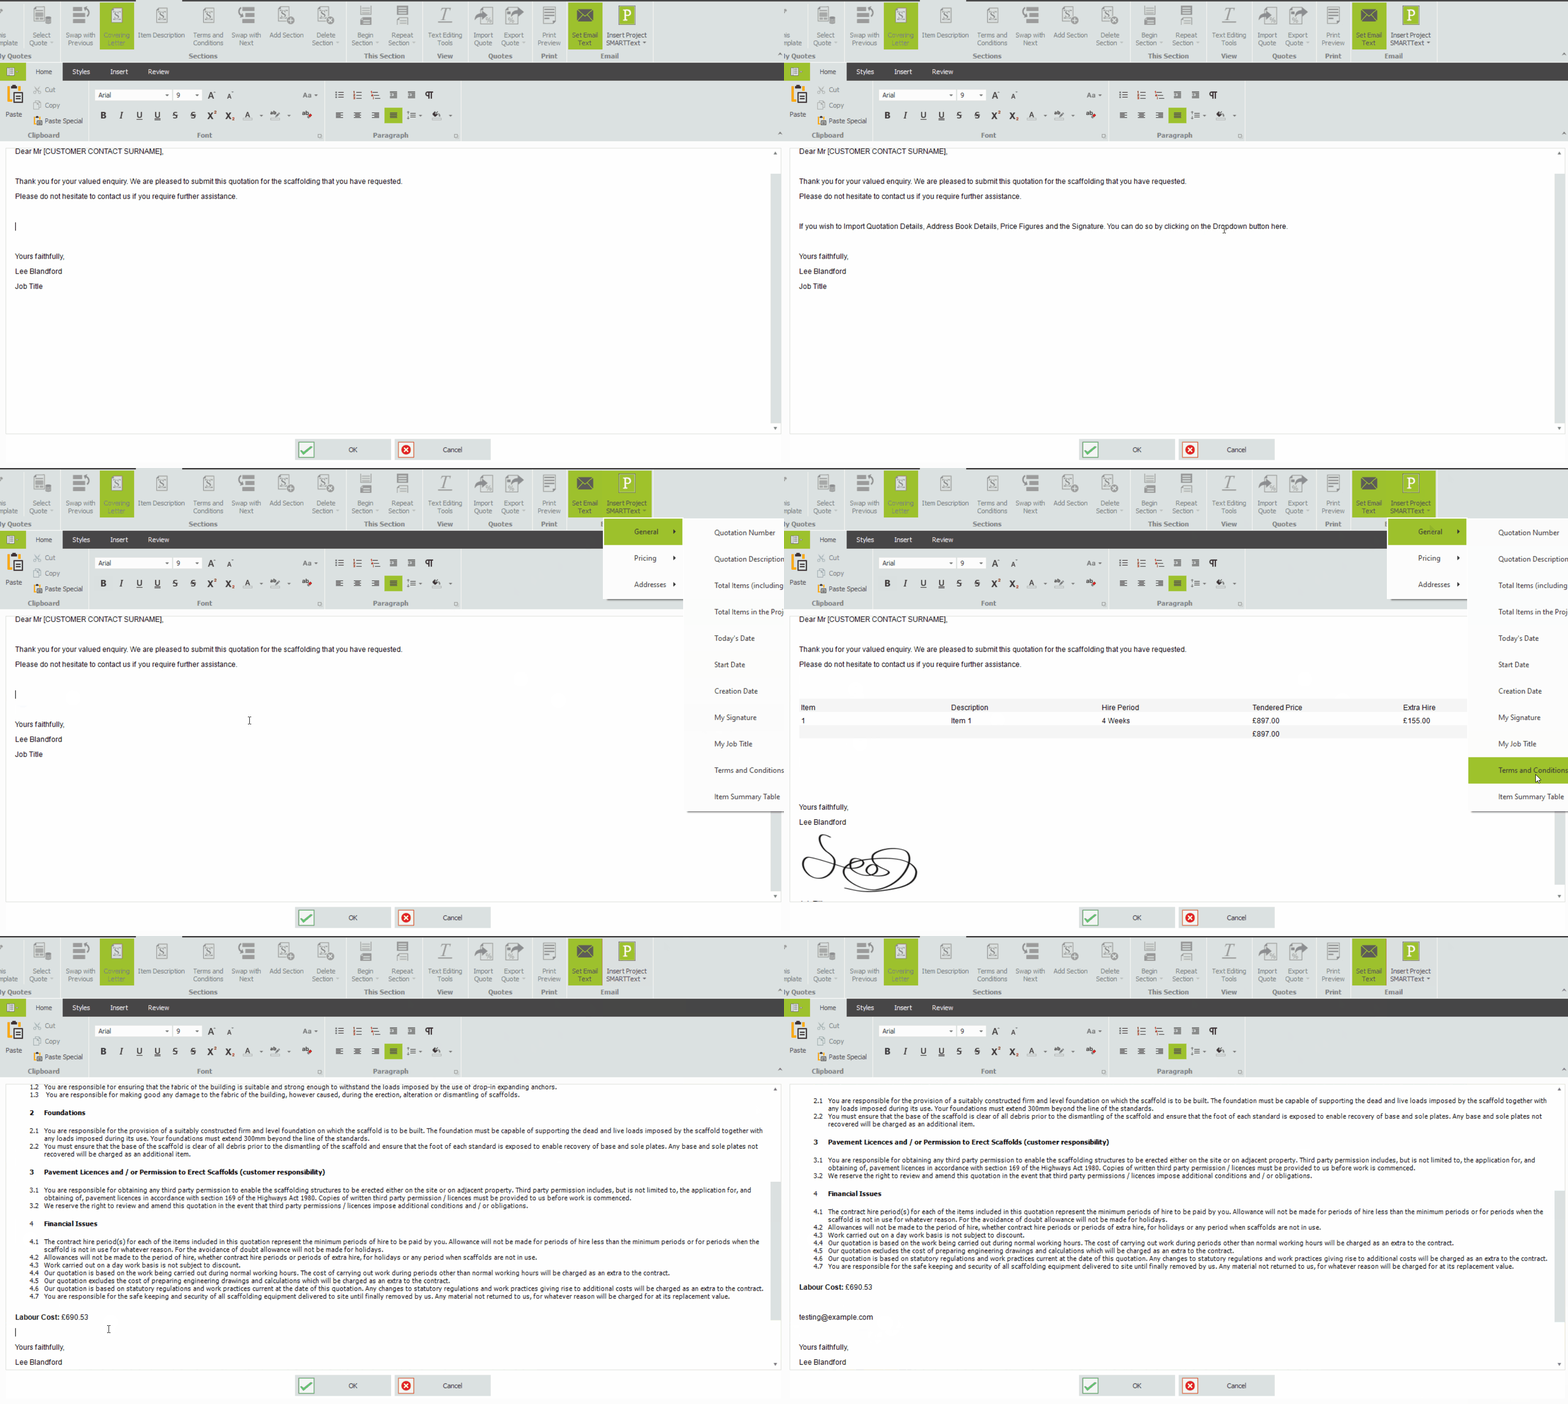
We can embed project details into the email template using SMARTText. When you click the Insert Project SMARTText button, a field of SMARTText will be inserted into your email. Any SMARTText shown on the Quote can also be inserted into the email template.
As an example, we can add the customer’s name, site location, item summary table, terms and conditions as well as the cost figures, signature, and even contact information.
-
Saving the Email Template
Once you’re satisfied with the modifications and the final look. Click the OK button at the bottom of the editor to save your changes for future use.
-
Verify your Email Template’s accuracy
Before using the Email Template extensively with your customers, ensure that all SMARTText fields are properly populated and displayed. It is also advisable to create an estimate and ensure that the price figures are correctly aligned with the quote template.
SMART Estimator
What’s new?
Getting Started
Setup and Configuration
-
Enterprise Server
-
Cloud Server Setup
Local Windows Server Setup
Adding Cloud server users
Server Back Up and Restore
Archiving Estimates from server
Migrating Local server to Cloud
Creating Folders in Enterprise Server
Using Server Tools from the Command Line
-
User software settings
User Address Settings and Yard
Scaffold Banner and Sheeting logo
Adding Watermarks
-
Setting up your Rates
Editing Shared Pricing Rates
Creating a rate setting template project
Importing and Exporting shared Rates
Creating an Estimate
Importing Drawings and Models
Scheduling Scaffolds
Creating 3D Scaffolds
-
3D Model Controls
Adding Independent scaffolds
Adding Circular Tank scaffolds
Adding Birdcage & Lift shaft scaffolds
Adding Tied or Freestanding towers
Adding Stair towers, Ladders towers & Buttresses
Adding Loading bays
Adding Chimney scaffolds
Adding Temporary Roof
Adding Edge protection
Adding Pavement Gantry’s
System Scaffolds
Safety Decking
Using the Scaffold Library
Editing Scaffolds
Scaffold Add-ons & Options
-
Adding Gin wheels, Rubbish Chutes, Safety standards, Double standards and Lamps
Adding and Editing bridges/beam work
Adding Beams around Corners
Adding Cladding
Adding Cantilever protection fans
Adding Pavement Lifts
Adding Recesses and Infills
Building and Ground colour
Visual options (Tube, Ladder, System details and Grips)
Add a Pedestrian or Scaffolder
Copying pictures of the model
Material Lists and Drawings
Pricing and Estimation
Quotations
Enterprise Server
Troubleshooting


