-
How do I install SMART Estimator?
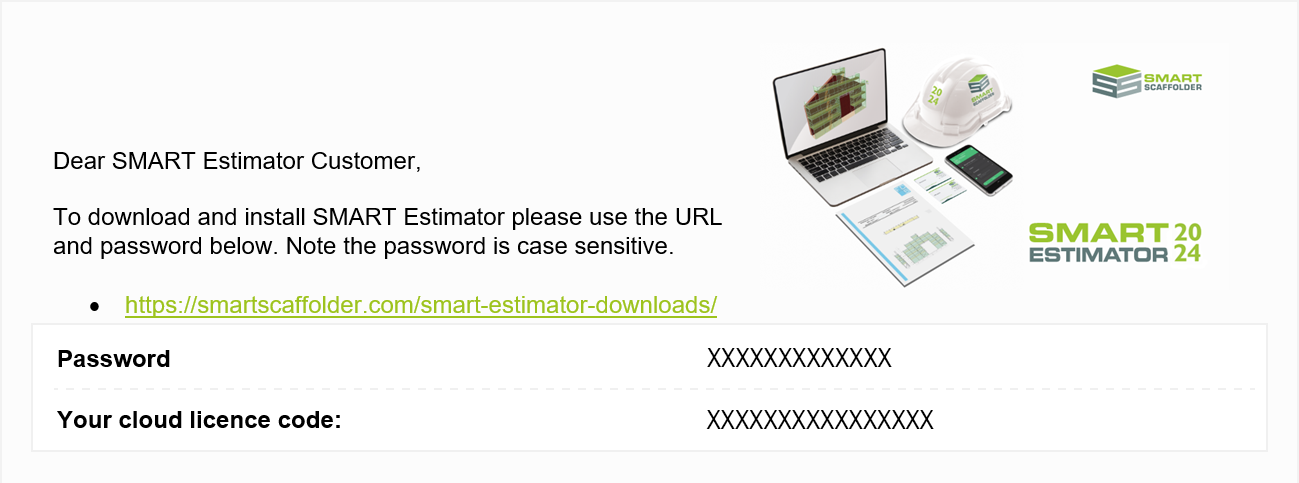
You will have been sent an email containing a link and password to download and install SMART Estimator. Click on the link using your preferred web browser.
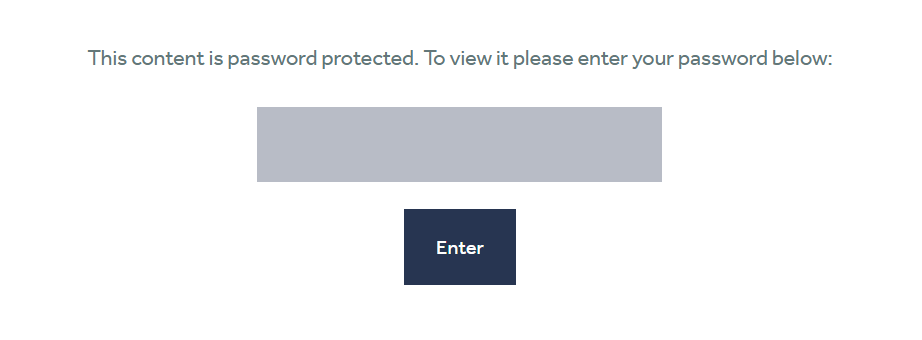
As soon as the page is opened, you will be prompted to enter a password. Once you have entered the password that you received in your email, you will be taken to the SMART Estimator download page.
-
Download the SMART Estimator Installer
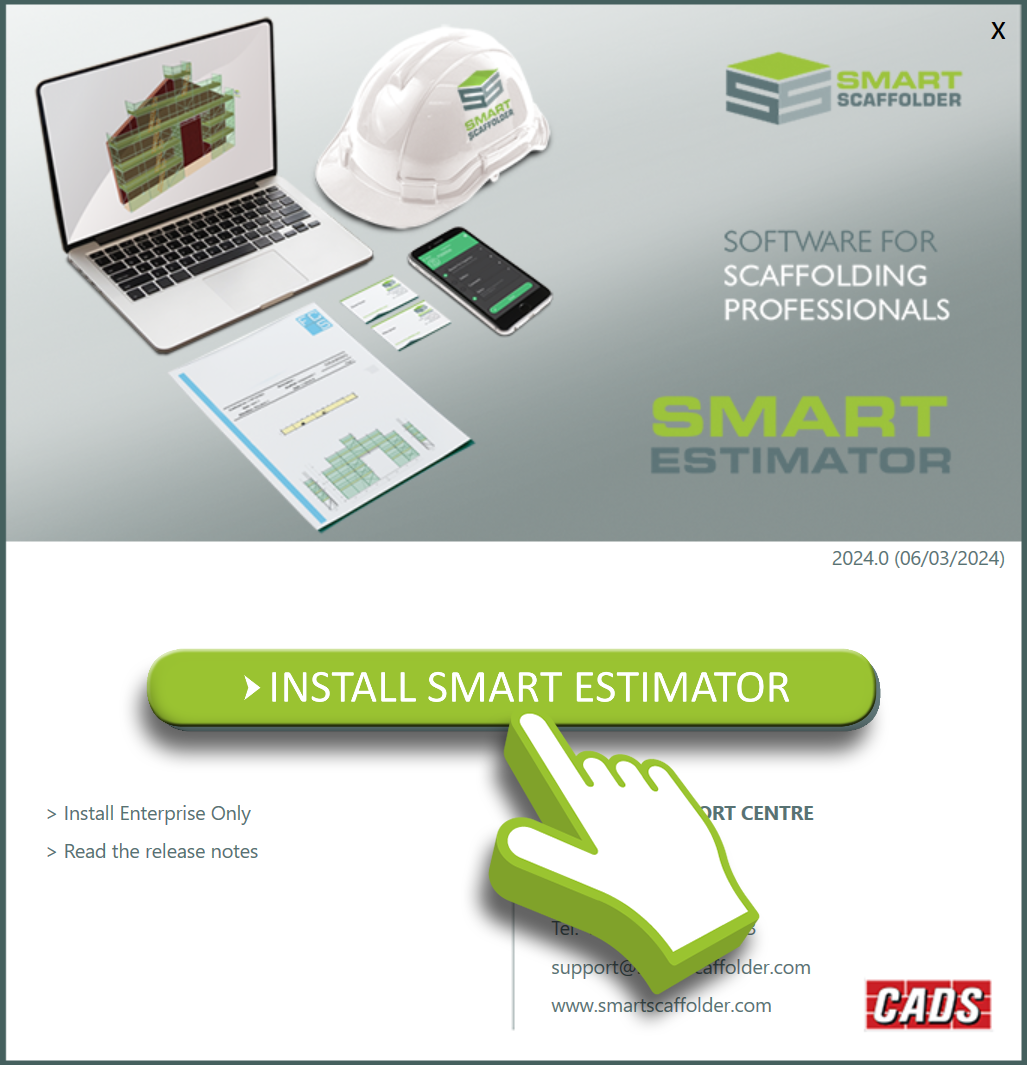
Now press the Install SMART Estimator button on the website to download the SMART Estimator installer.
The installer will not download or run
If you’re experiencing issues downloading or running the SMART Estimator installer, it could be due to your antivirus software blocking the installation. When downloading the installer, make sure to select Allow.
Depending on the antivirus software settings, SMART Estimator may be automatically blocked. You may have to adjust your antivirus settings to allow installation.
-
Beginning the installation process
Once the installer has been downloaded, run it and you will be directed to the download screen. We will be covering the Standalone Installation of SMART Estimator and SMART Estimator Enterprise Server.
Click on the green Install SMART Estimator button to begin. This will take you to the next step.
-
Installation Location
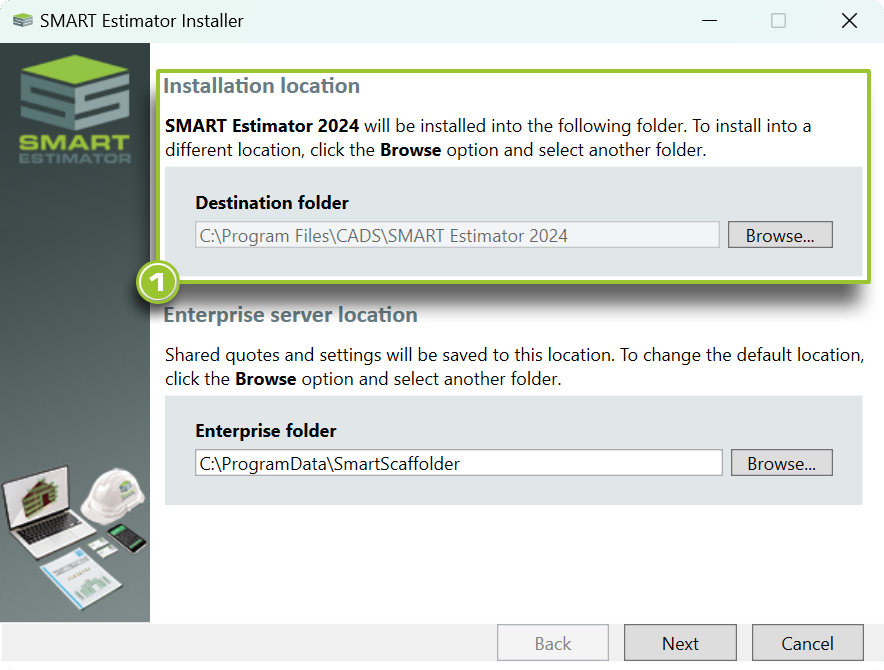
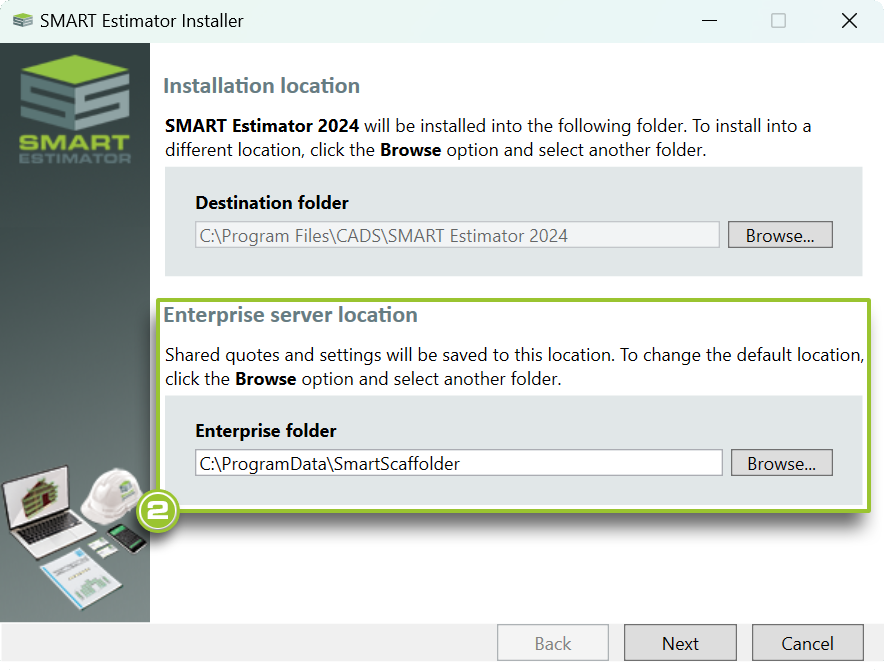
In most cases, the destination folder is the appropriate location and does not need to be changed. You may select a different location on your computer by clicking on the Browse button if you wish to change the directory where SMART Estimator will be installed.
SMART Estimator is a 64-bit application.
If you have a 64-bit edition of Windows, SMART Estimator cannot be installed in the Program Files (x86) directory. You can install it into any other directory, including Program Files.
-
Enterprise Server Location
Generally, we use the cloud licensing option, so the default server location is appropriate and is not required to be changed. If you have a Specified Shared Location, you can change the default location to a dedicated folder by clicking on the Browse button.
Please read this if you are not using the Cloud Licensing Option
If you do not intend to use the cloud licensing option , we recommend setting up an Enterprise Server before proceeding with this documentation.
To set up an Enterprise Server for SMART Estimator, see the Setting Up your Shared Server documentation to learn more.
Once you’re happy with the installation location and enterprise server location settings, click on the Next button to proceed with the installation process.
-
License Agreement Section
The next step is to review and accept the License Agreement. This is a standard procedure that ensures you comply with the terms and conditions of using SMART Estimator. Make sure to read the agreement carefully before proceeding with the installation.
After reviewing and accepting the License Agreement by ticking the checkbox, you can begin the installation process by clicking on the Install button.
-
SMART Estimator has been successfully installed
Congratulations! SMART Estimator has been successfully installed on your computer. To get started with SMART Estimator, refer to the Quick Start documentation.
SMART Estimator
What’s new?
Getting Started
Setup and Configuration
-
Enterprise Server
-
Cloud Server Setup
Local Windows Server Setup
Adding Cloud server users
Server Back Up and Restore
Archiving Estimates from server
Migrating Local server to Cloud
Creating Folders in Enterprise Server
Using Server Tools from the Command Line
-
User software settings
User Address Settings and Yard
Scaffold Banner and Sheeting logo
Adding Watermarks
-
Setting up your Rates
Editing Shared Pricing Rates
Creating a rate setting template project
Importing and Exporting shared Rates
Creating an Estimate
Importing Drawings and Models
Scheduling Scaffolds
Creating 3D Scaffolds
-
3D Model Controls
Adding Independent scaffolds
Adding Circular Tank scaffolds
Adding Birdcage & Lift shaft scaffolds
Adding Tied or Freestanding towers
Adding Stair towers, Ladders towers & Buttresses
Adding Loading bays
Adding Chimney scaffolds
Adding Temporary Roof
Adding Edge protection
Adding Pavement Gantry’s
System Scaffolds
Safety Decking
Using the Scaffold Library
Editing Scaffolds
Scaffold Add-ons & Options
-
Adding Gin wheels, Rubbish Chutes, Safety standards, Double standards and Lamps
Adding and Editing bridges/beam work
Adding Beams around Corners
Adding Cladding
Adding Cantilever protection fans
Adding Pavement Lifts
Adding Recesses and Infills
Building and Ground colour
Visual options (Tube, Ladder, System details and Grips)
Add a Pedestrian or Scaffolder
Copying pictures of the model
Material Lists and Drawings
Pricing and Estimation
Quotations
Enterprise Server
Troubleshooting
