-
Address Book Overview
When you create a new project with a new address, you do not need to manually add the address to your customer or site address books. Once a unique customer or site address has been filled out, the software will automatically prompt you to save it, thereby completing your address book organically.
-
Accessing your Address Book
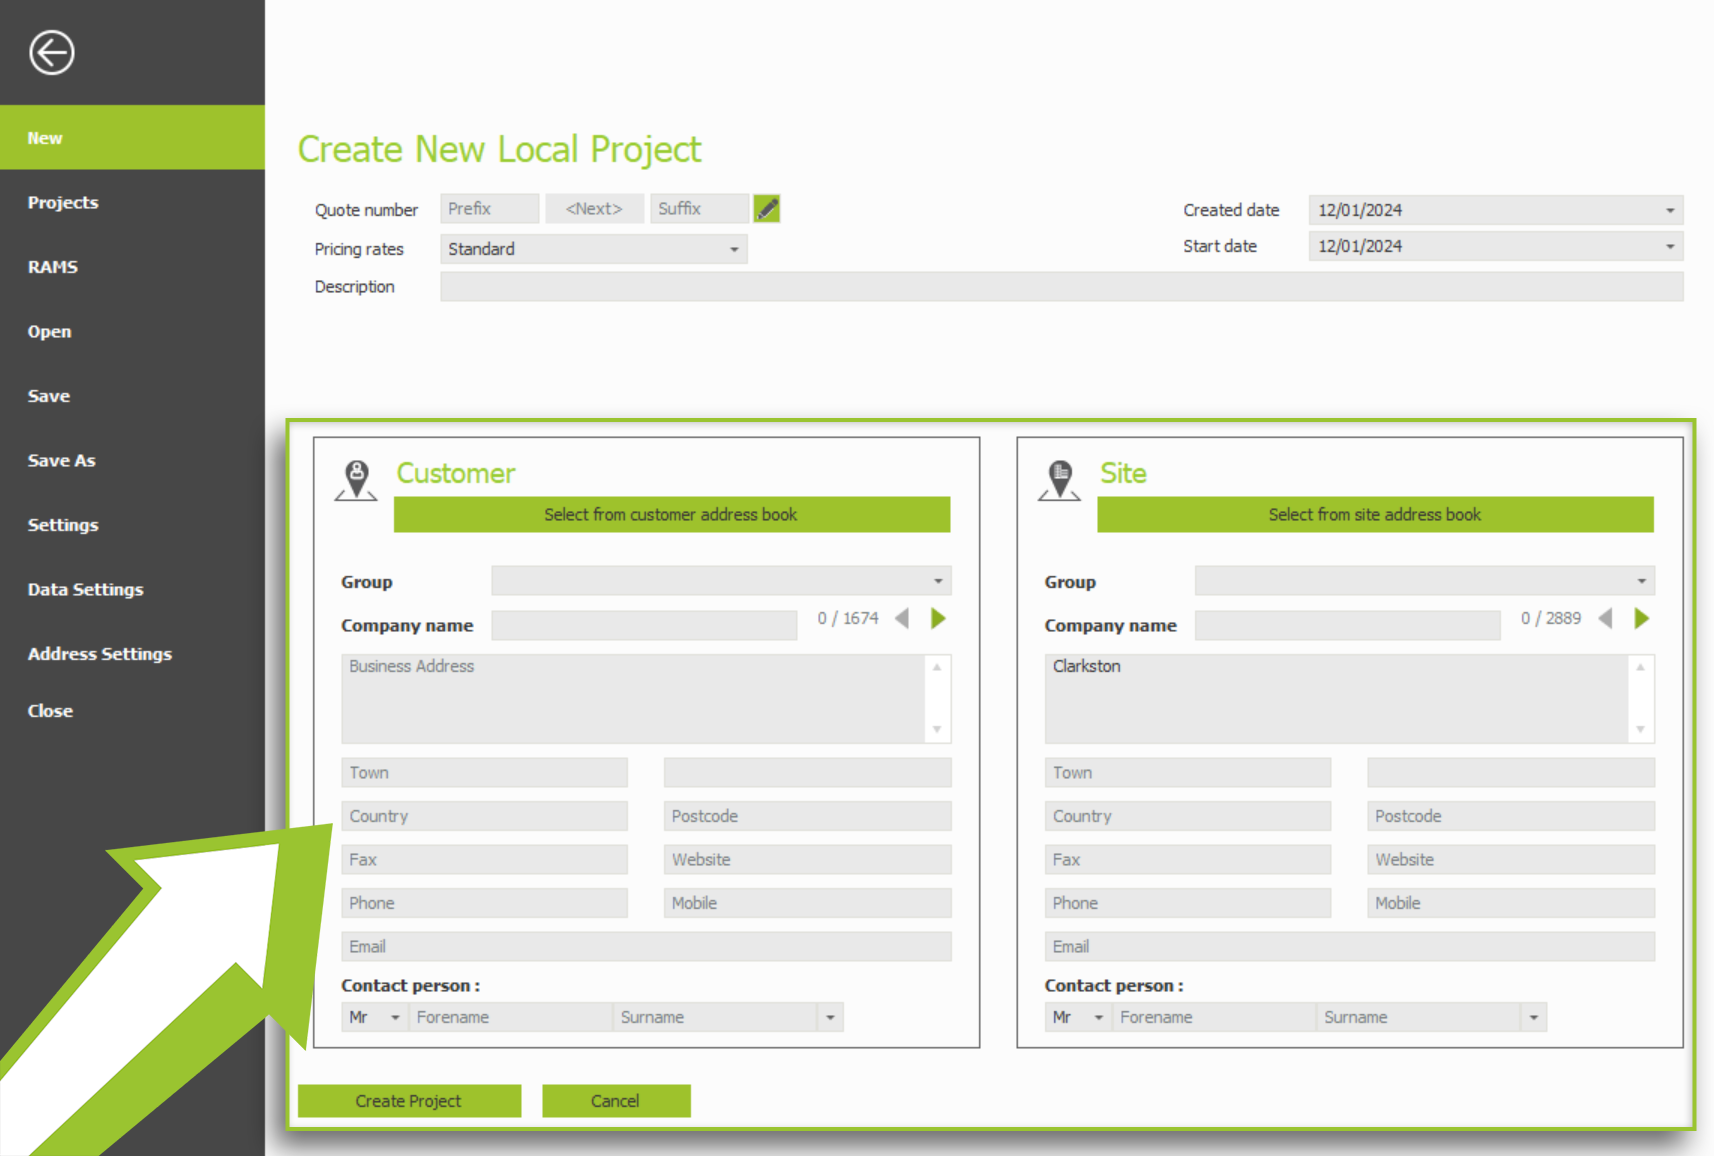
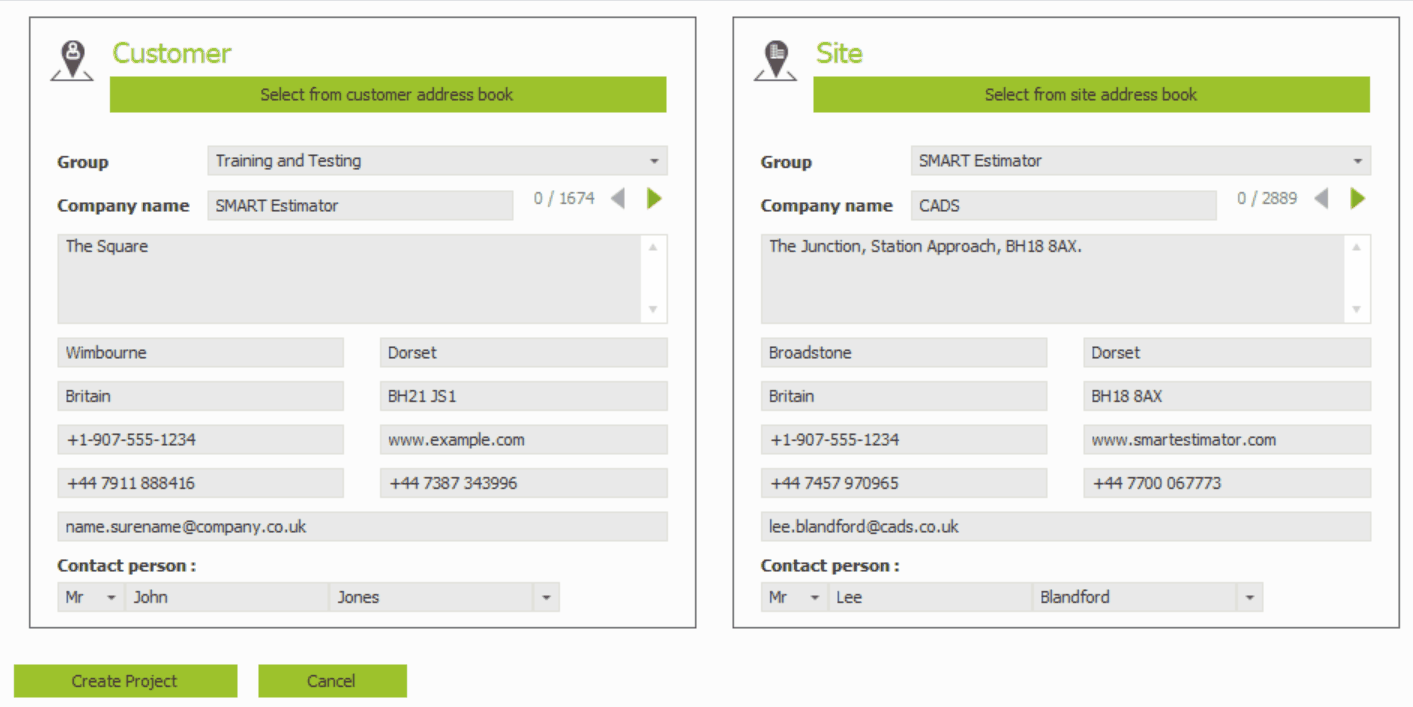
You can add an address directly to the address book or multiple addresses to the address book when creating a new project. The address books can be accessed from the create project screen by clicking either ‘select’ from the customer’s address book or ‘select’ from the site’s address book.
Address Book access for BIM Toolbox, Quote IT, and Price IT
It is possible to access both the customer address book and the site address book within BIM Toolbox. When you click on the satellite photo drop-down menu and then click on ‘Site Address,’ you can edit or access your customer address book and site address book.
The Quote IT module also provides access to the customer address book and the site address book through the main toolbar or by double-clicking on either of the addresses in the quotation document.
Lastly, within Price IT, you may access both address books by selecting ‘Site Address’ from the transport options drop-down menu.
-
Utilising the Address Book
When you open the address book, all your addresses will be displayed as a list by default. You can add blank addresses to the address book, remove addresses from the address book, or filter through your address book using the search function.
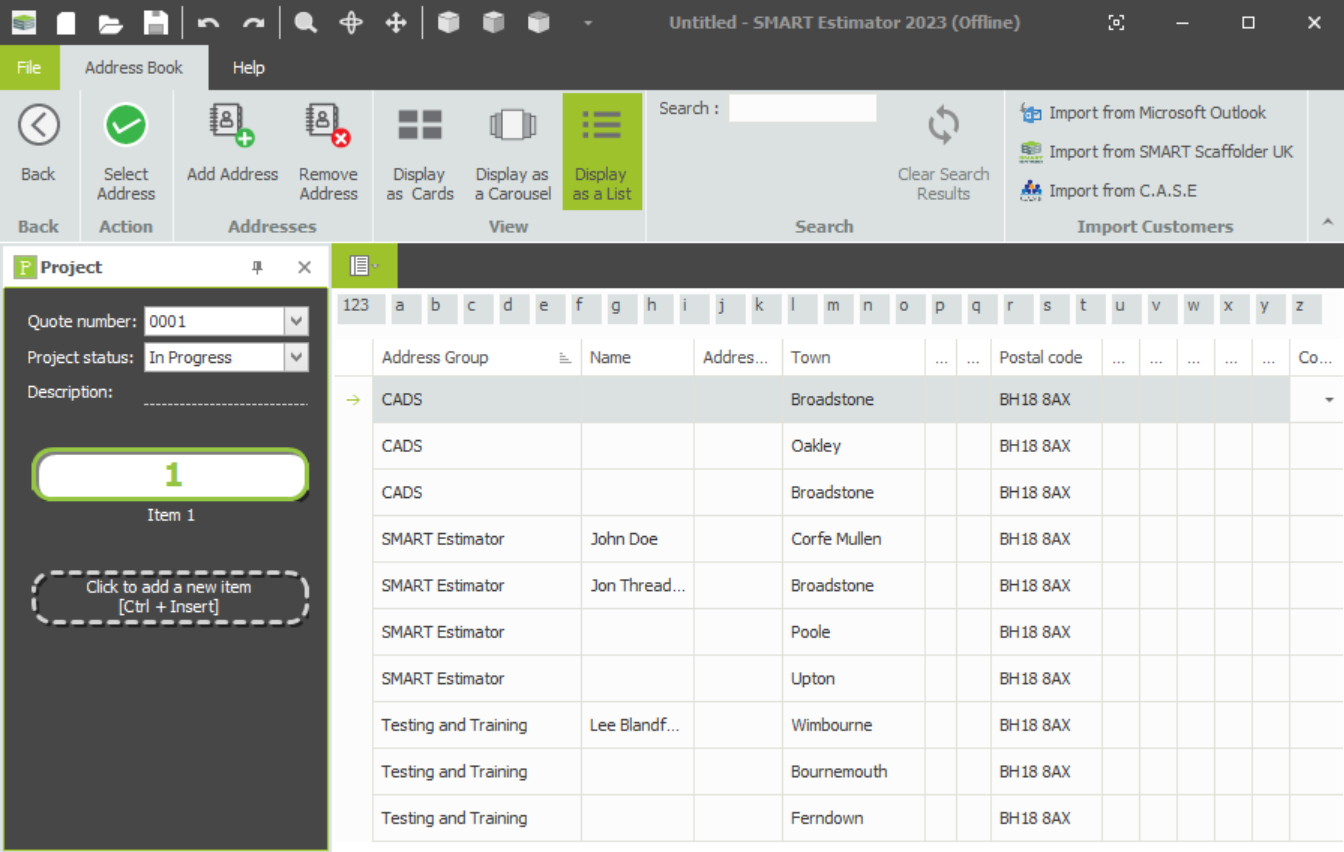
Adding an Address
In order to add an address to your address book, you must click on the top toolbar and click on ‘add address’ to create a blank address for you to fill in. The details are automatically saved, so when you have filled in all the details, you are ready to go.

Change the display
You can change the display of how the addresses look in SMART Estimator from a list to separate cards or a carousel-like display by clicking on any of the ‘Display as’ buttons on the top toolbar.

-
Editing the Address Book
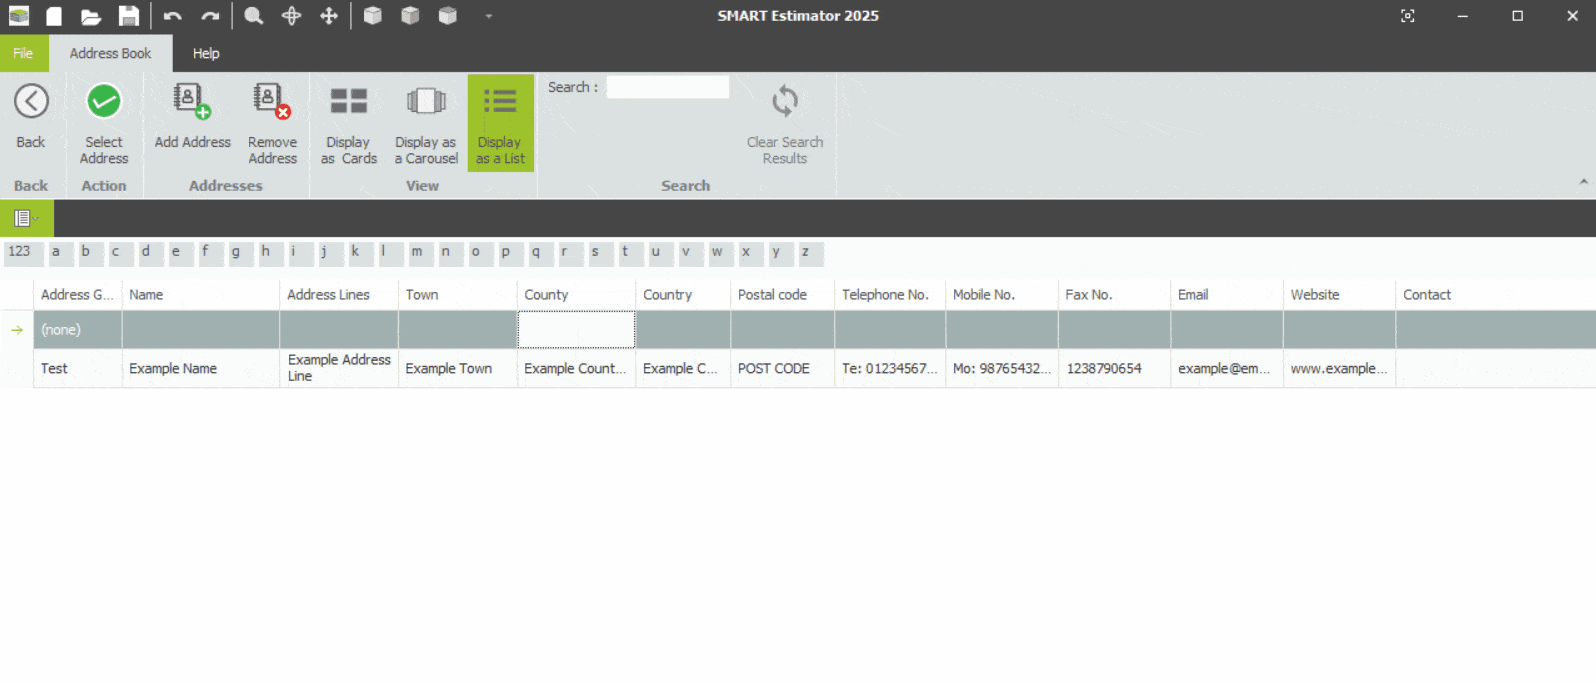
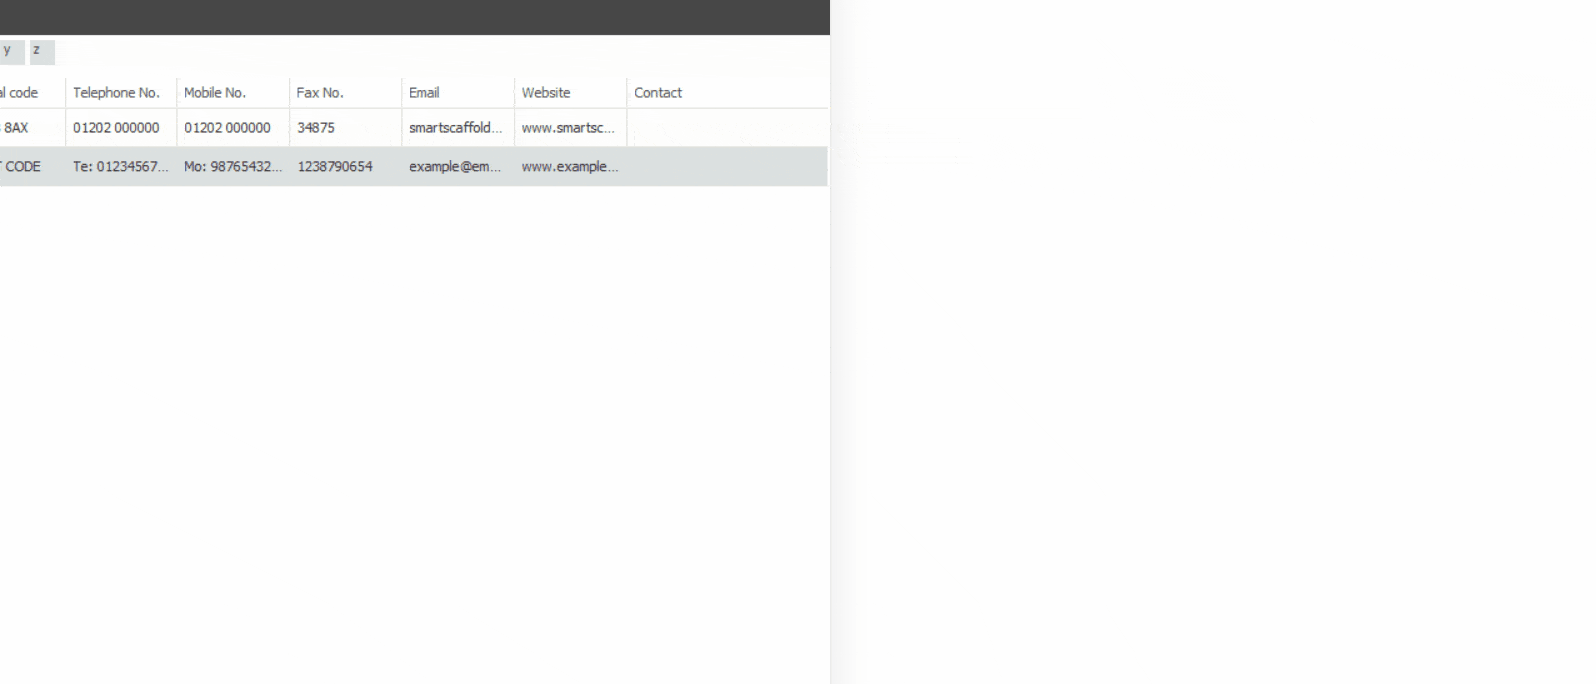
Now that you’ve added a few blank addresses, editing an address is straightforward. The Address Book works very similarly to an Excel spreadsheet, using a fixed table with editable cells. Each row represents a singular address with a separate table for multiple contacts.
Editing the Addresses
Firstly, locate the blank / filled address you want to edit, then click once inside the relevant cell (For example: Address Group, Name, Address Lines, Town, County, etc). The cell will become active, allowing you to type or modify the existing information. Now move on to the next field by pressing the Tab key. It’s recommended that you separate your address based on each cell, rather than putting it all in the Address Line, so that it works optimally with Quote IT. Once you updated the field, it’s automatically saved for that address.
Navigating the Address Book
Much like Schedule IT, you can also use the Arrow keys 🠄🠅🠆🠇 to move along the grid, you can also move backwards by pressing Shift and Tab simultaneously.
Editing the Contact Information
Now to access and edit the contact details, find the row that address relevant to the contact information. Now click on the contact-related cell within the row, this is located at the end of the row. A separate editing box will open automatically underneath with another table. To add a contact, simply edit the blank field and a new one will generate. Update the title, forename, surename, telephone number, mobile number and E-Mail. Once your contact is filled out, click on the cell before the title to enable them as the Primary contact. Click Ok and your contact has been saved for that address.
SMART Estimator
What’s new?
Getting Started
Setup and Configuration
-
Enterprise Server
-
Cloud Server Setup
Local Windows Server Setup
Adding Cloud server users
Server Back Up and Restore
Archiving Estimates from server
Migrating Local server to Cloud
Creating Folders in Enterprise Server
Using Server Tools from the Command Line
-
User software settings
User Address Settings and Yard
Scaffold Banner and Sheeting logo
Adding Watermarks
-
Setting up your Rates
Editing Shared Pricing Rates
Creating a rate setting template project
Importing and Exporting shared Rates
Creating an Estimate
Importing Drawings and Models
Scheduling Scaffolds
Creating 3D Scaffolds
-
3D Model Controls
Adding Independent scaffolds
Adding Circular Tank scaffolds
Adding Free Form Birdcages
Adding Birdcage & Lift shaft scaffolds
Adding Tied or Freestanding towers
Adding Stair towers, Ladders towers & Buttresses
Adding Loading bays
Adding Chimney scaffolds
Adding Temporary Roof
Adding Edge protection
Adding Pavement Gantry’s
System Scaffolds
Safety Decking
Using the Scaffold Library
Editing Scaffolds
Scaffold Add-ons & Options
-
Adding Gin wheels, Rubbish Chutes, Safety standards, Double standards and Lamps
Adding and Editing bridges/beam work
Adding Beams around Corners
Adding Cladding
Adding Cantilever protection fans
Adding Pavement Lifts
Adding Recesses and Infills
Building and Ground colour
Visual options (Tube, Ladder, System details and Grips)
Add a Pedestrian or Scaffolder
Copying pictures of the model
Material Lists and Drawings
Pricing and Estimation
Quotations
Enterprise Server
Troubleshooting


