SMART Estimator
-
Enterprise Server
-
Cloud Server Setup
Local Windows Server Setup
Adding Cloud server users
Server Back Up and Restore
Archiving Estimates from server
Migrating Local server to Cloud
Creating Folders in Enterprise Server
Using Server Tools from the Command Line
-
User software settings
User Address Settings and Yard
Scaffold Banner and Sheeting logo
Adding Watermarks
-
Setting up your Rates
Editing Shared Pricing Rates
Creating a rate setting template project
Importing and Exporting shared Rates
-
3D Model Controls
Adding Independent scaffolds
Adding Circular Tank scaffolds
Adding Birdcage & Lift shaft scaffolds
Adding Tied or Freestanding towers
Adding Stair towers, Ladders towers & Buttresses
Adding Loading bays
Adding Chimney scaffolds
Adding Temporary Roof
Adding Edge protection
Adding Pavement Gantry’s
System Scaffolds
Safety Decking
Using the Scaffold Library
-
Adding Gin wheels, Rubbish Chutes, Safety standards, Double standards and Lamps
Adding and Editing bridges/beam work
Adding Beams around Corners
Adding Cladding
Adding Cantilever protection fans
Adding Pavement Lifts
Adding Recesses and Infills
Building and Ground colour
Visual options (Tube, Ladder, System details and Grips)
Add a Pedestrian or Scaffolder
Copying pictures of the model
-
Importing an IFC into SMART Estimator
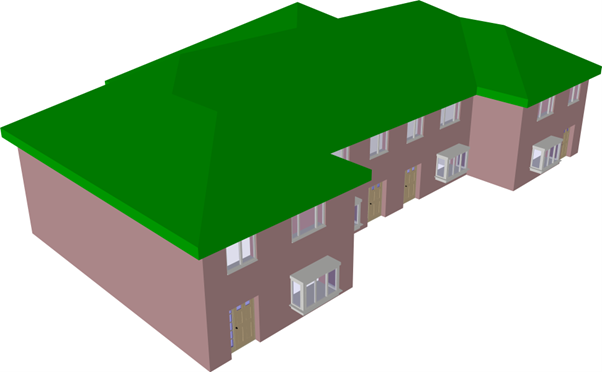
3D building models can be added to SMART Estimator from an existing file. SMART Estimator supports and is able to import IFC 2×3 files.
SMART Estimator only supports IFC 2×3
IFC stands for Industry Foundation Classes. IFC is the international standard for BIM files.
2×3 is the version of IFC file SMART Estimator supports. This is sometimes referred to as “version 3”.
-
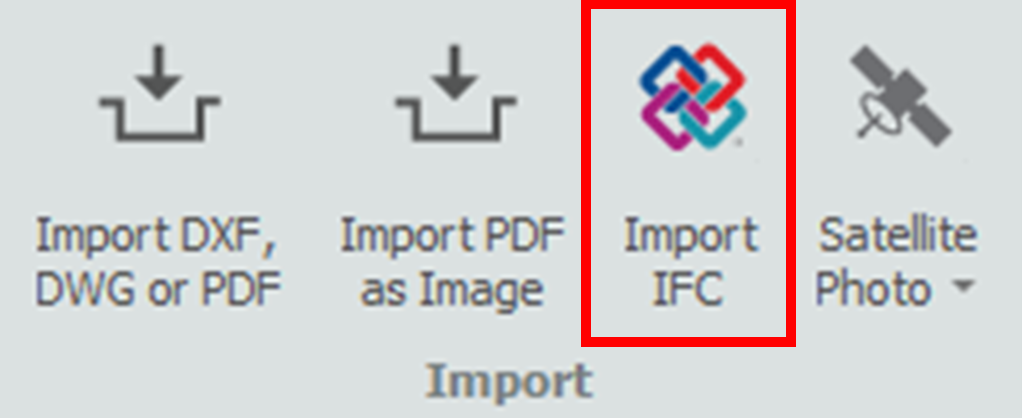
Select the Import button
To import the site plan as a traceable 3D Model, select the Import IFC button along the BIM Toolbox Ribbon.
-
Locate your File
Locate the IFC file on your computer that you want to import into SMART Estimator. Select the model you wish to import, and then click on the “Open” button.
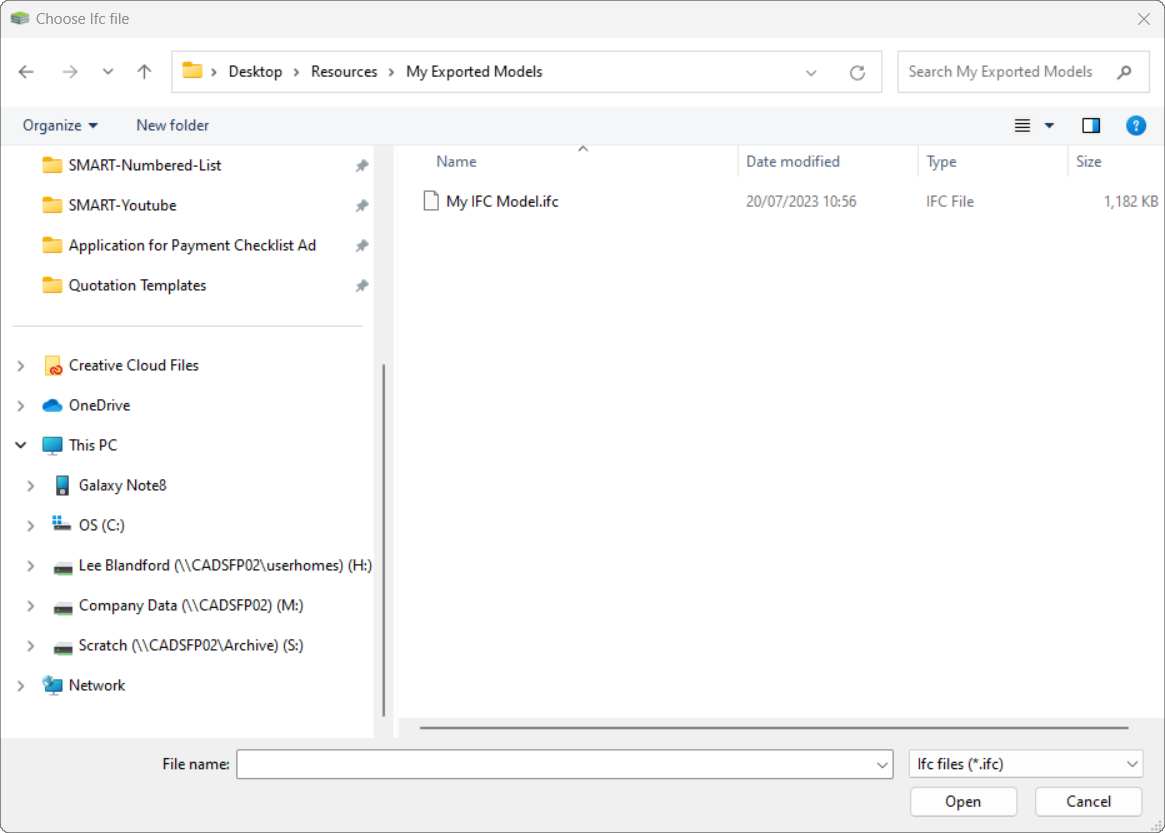
SMART Estimator will begin importing the site plan once it has opened. During this process, a progress bar will appear at the centre of the screen.

-
Choose IFC Types
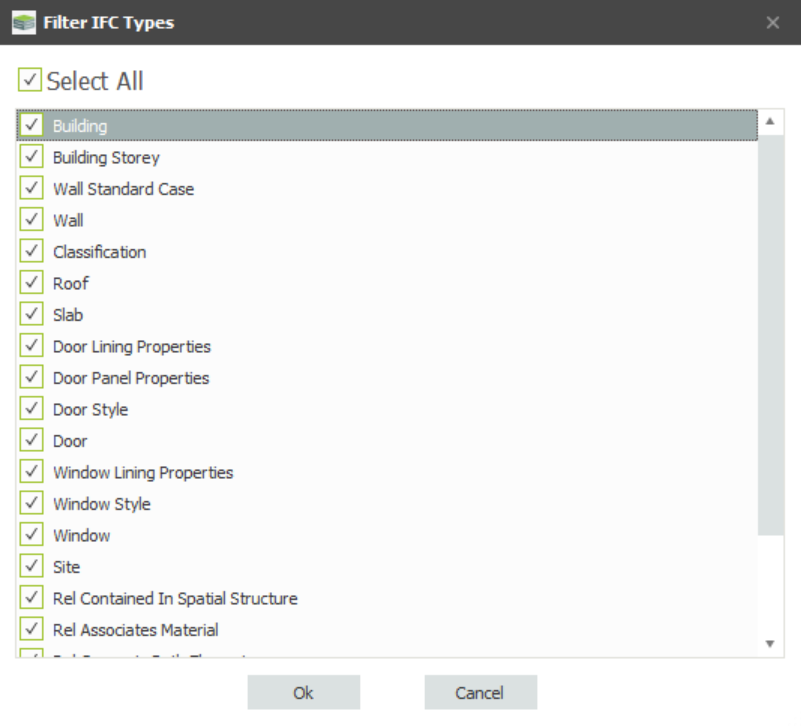
If you choose to import an IFC file, the file may be very large, or contain information that you do not need. To help with this (and to bring the site plan in faster), please choose only the IFC types that you need, then press Ok.
-
Set the Scale {Optional}
You can skip this step if it’s necessary.
NOTE. Vast majority of IFC models contain accurate scaling information already, should you wish to set the scale, you can do so with the process below.
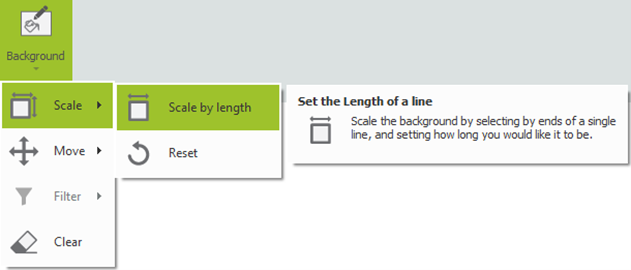
To set the scale for the site plan, you will need to know one of the dimensions for something in the site plan. Knowing the length of one elevation or object, select the Scale menu and then select the Scale by Length option. This is available from the Background drop-down menu.
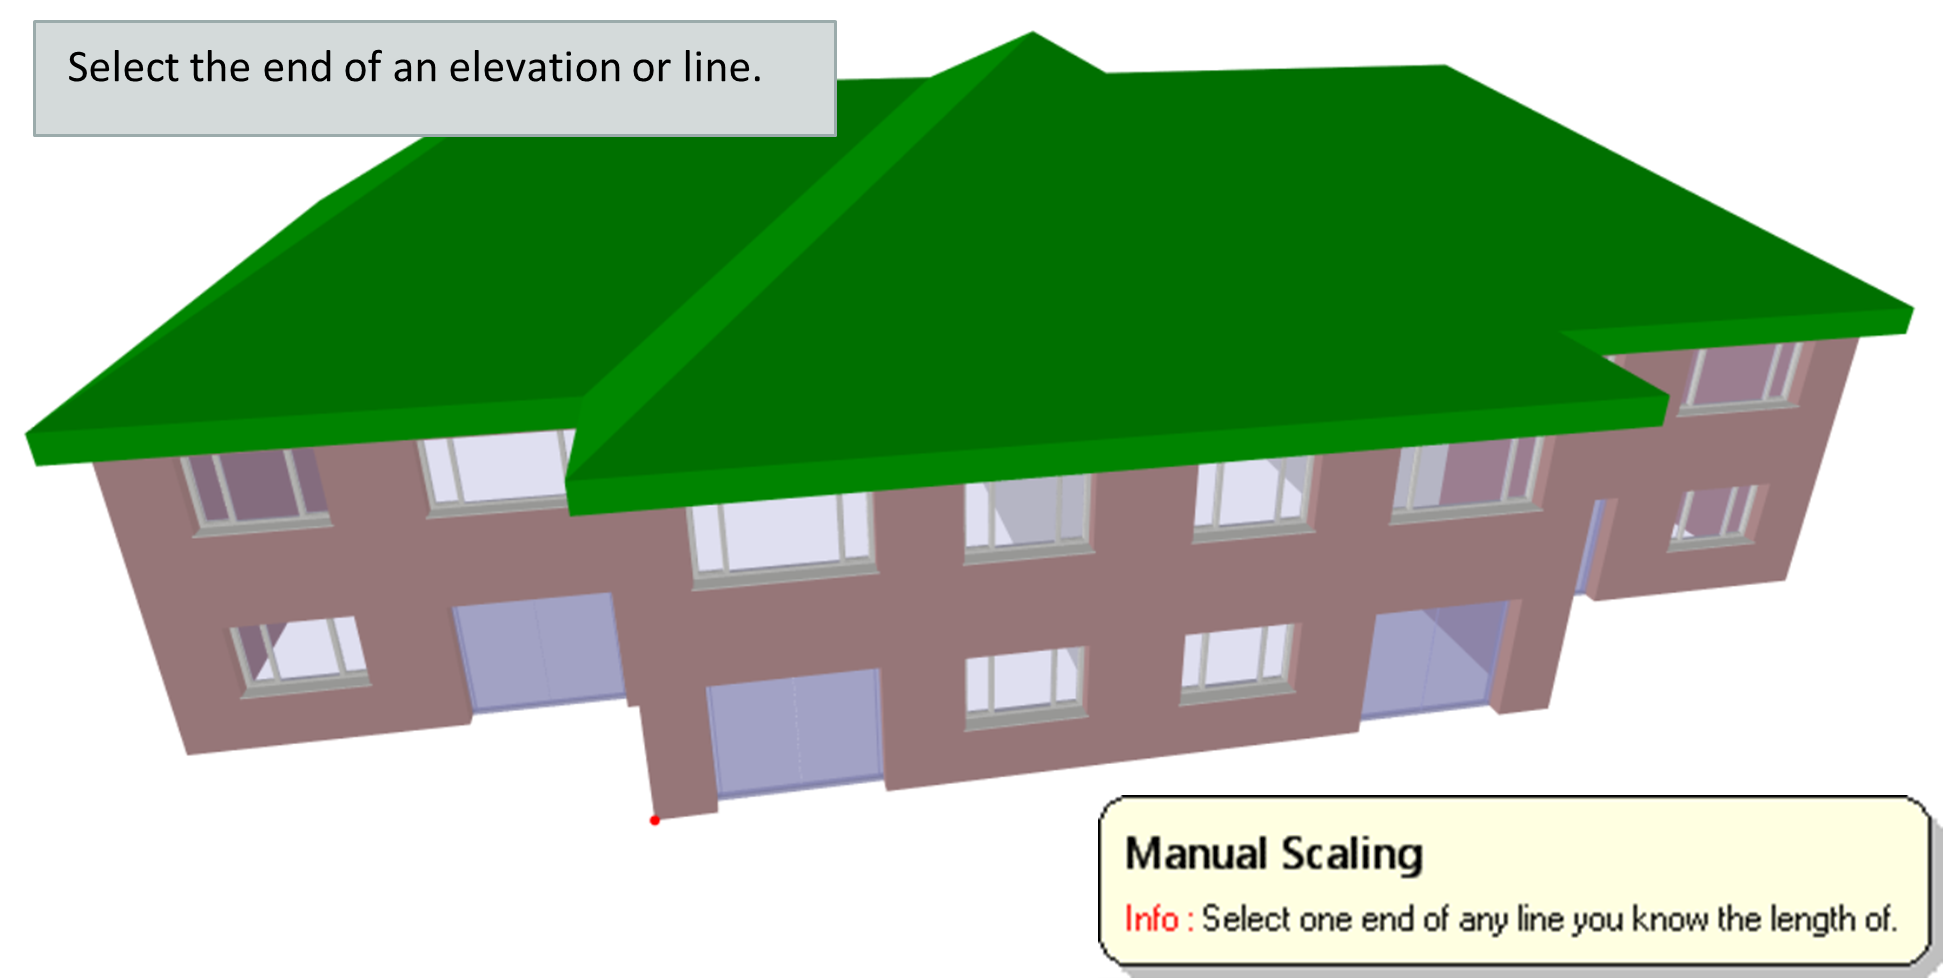
Then use the tool to select both ends of a line and set its length:
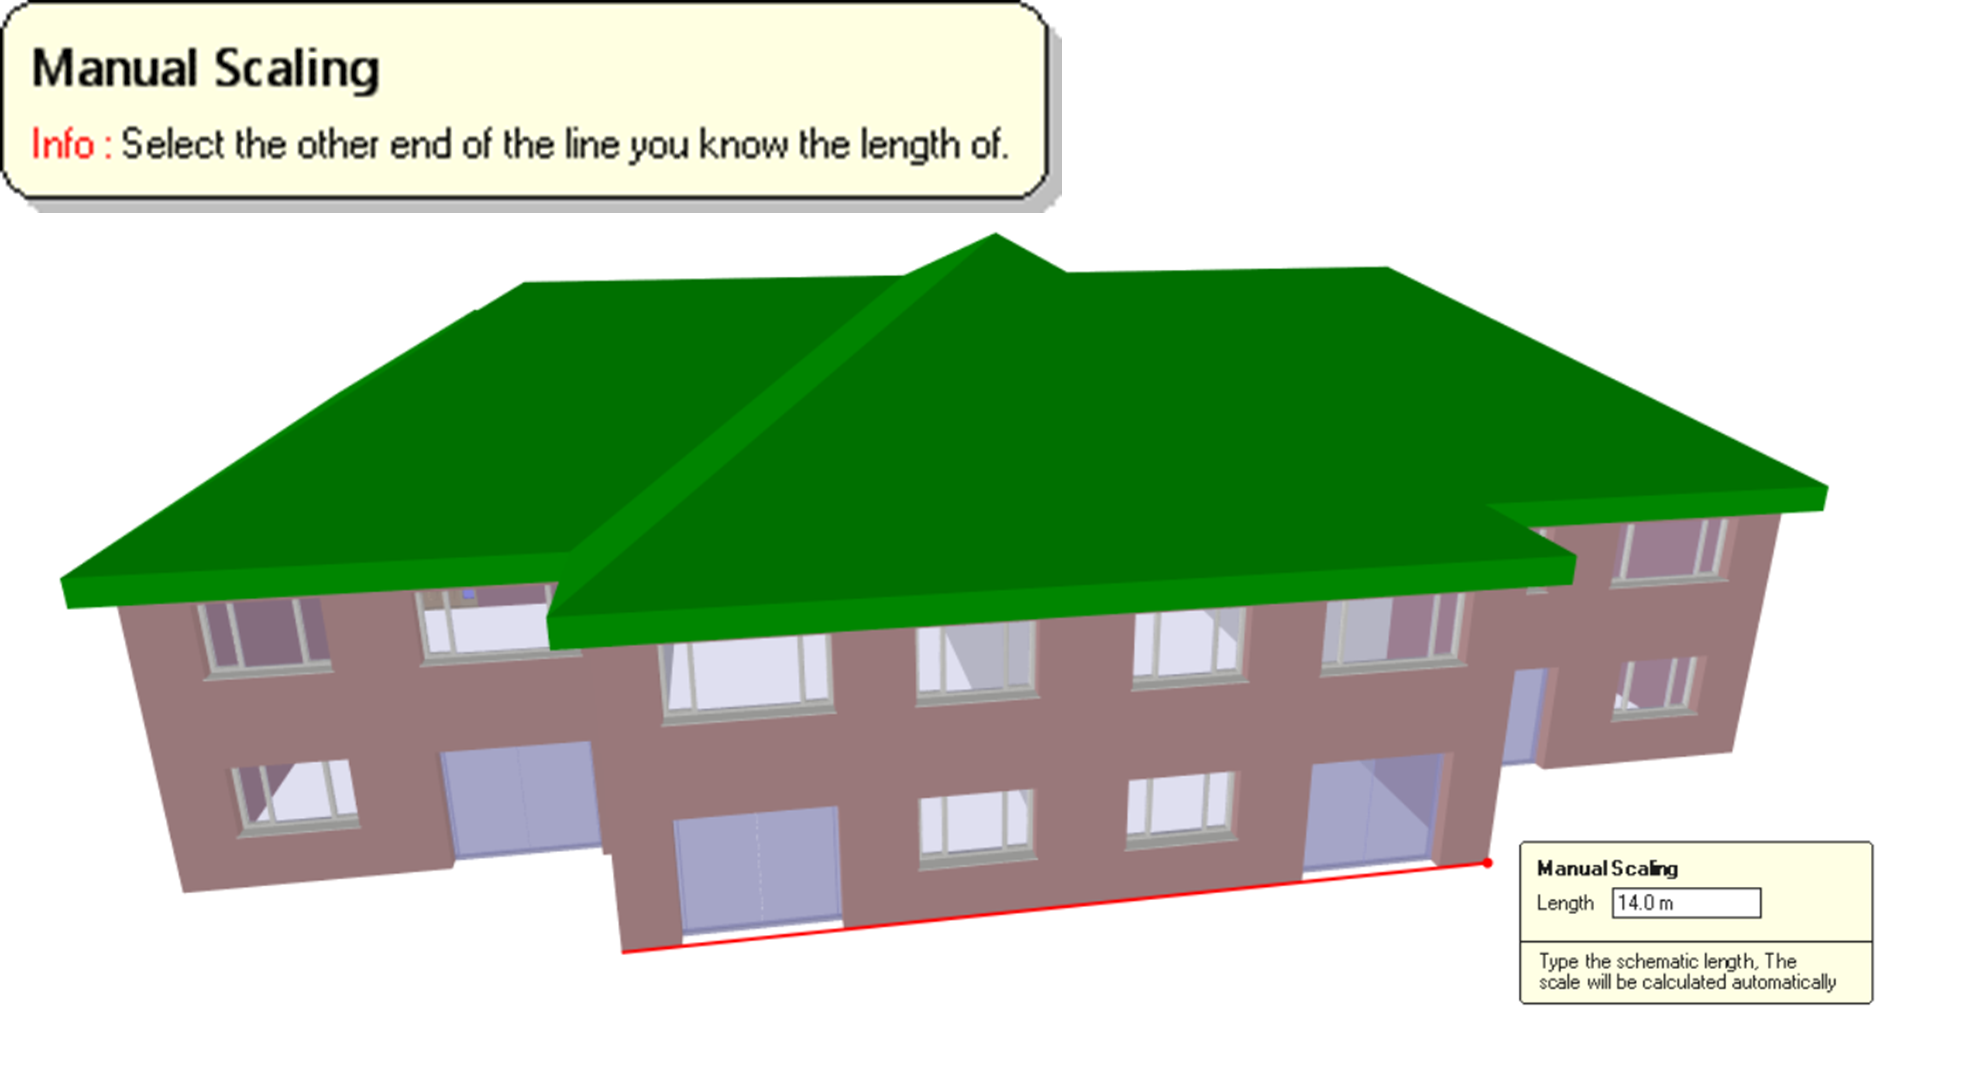
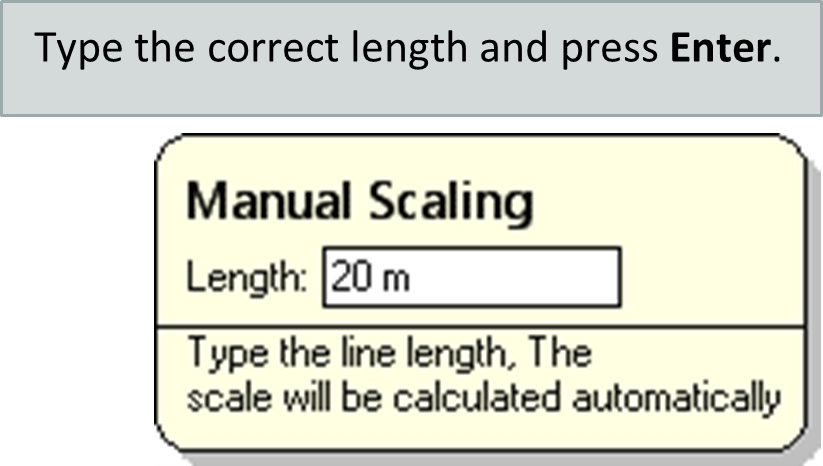
The whole site plan will be set to use the new scale.
-
Finished
You can then open Draw-plan and begin to get dimension takeoffs and draw scaffolding from the plan. For further information on tracing the site plan that you’ve imported, click here.
Nothing was imported. What went wrong?
If an error message was displayed, please read the message and act accordingly. The import file may be corrupt or an incompatible version for example.
If no error message was shown, but there is no site plan shown, the following issues may be the cause:
The IFC may be the wrong version;
Please check the IFC is a 2×3 version file.
You de-selected all IFC types;
A minimum of one IFC type must be selected prior to importing. If no IFC type is selected, no data will be imported.


