The company setup screen allows you to configure your company details, logo and depots.

The company setup screen allows you to configure your company details, logo and depots.

In the top right-hand corner of the “company details” section click the “edit details” button. This will open the “Edit company settings” dialog.

Here you can edit your company name, address, email and phone number.

At the bottom of the dialog box you can select your company logo by clicking the “Browse” button, this will open a file browser. Locate your desired logo image file and click open.
Then click the “Save” button. Your imported logo will now appear in all of your reports both manually generated and automatically sent to the client.

To add new or additional depots, click the “add depot” button in the top right of the depot section.

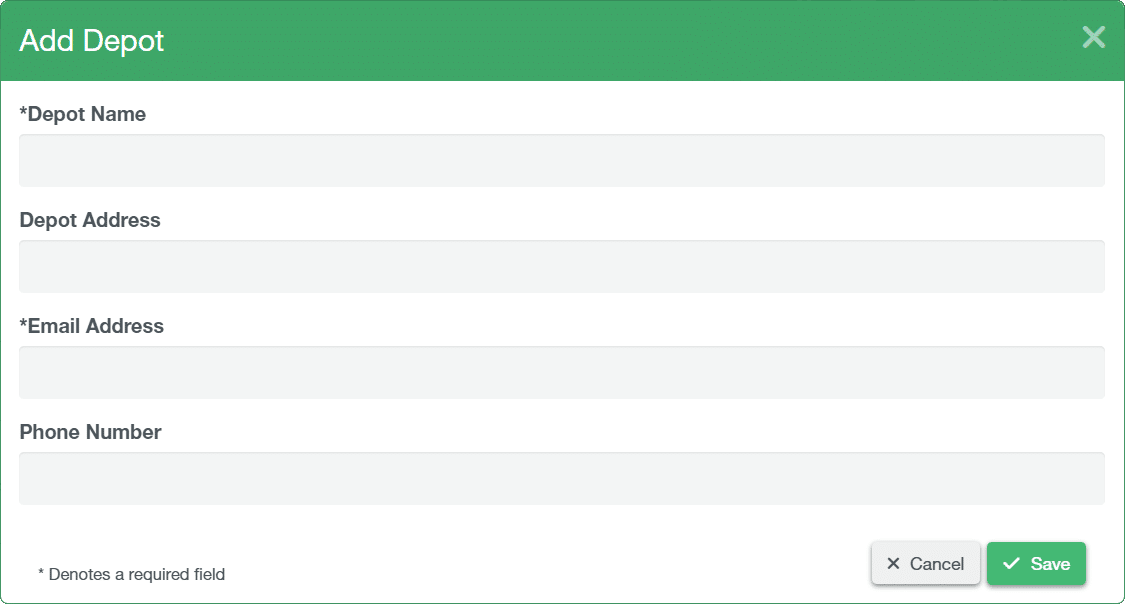
This will open the New Depot dialog.

Enter the Depot name, Address, Email and Contact Number. Once you have completed the required fields, click “Save” to save and close the dialog. Your new depot will now be available in the depot List and in the various drop-downs for adding sites/staff etc.
To edit an existing depot, click the “edit depot” icon located at the end of the depot’s row in the table.


This will then open the “Edit Depot” dialog. Here you can edit the depot details, once you have made your changes click “✓ Save” to save changes and close the dialog.

To delete a depot that is no longer required, click the “dustbin” icon adjacent to the “edit depot” icon.


You will receive a prompt to confirm you wish to delete the Depot.
Click “Yes delete the depot” and the depot will now be removed from your depot list and all associated drop-down menus.


