-
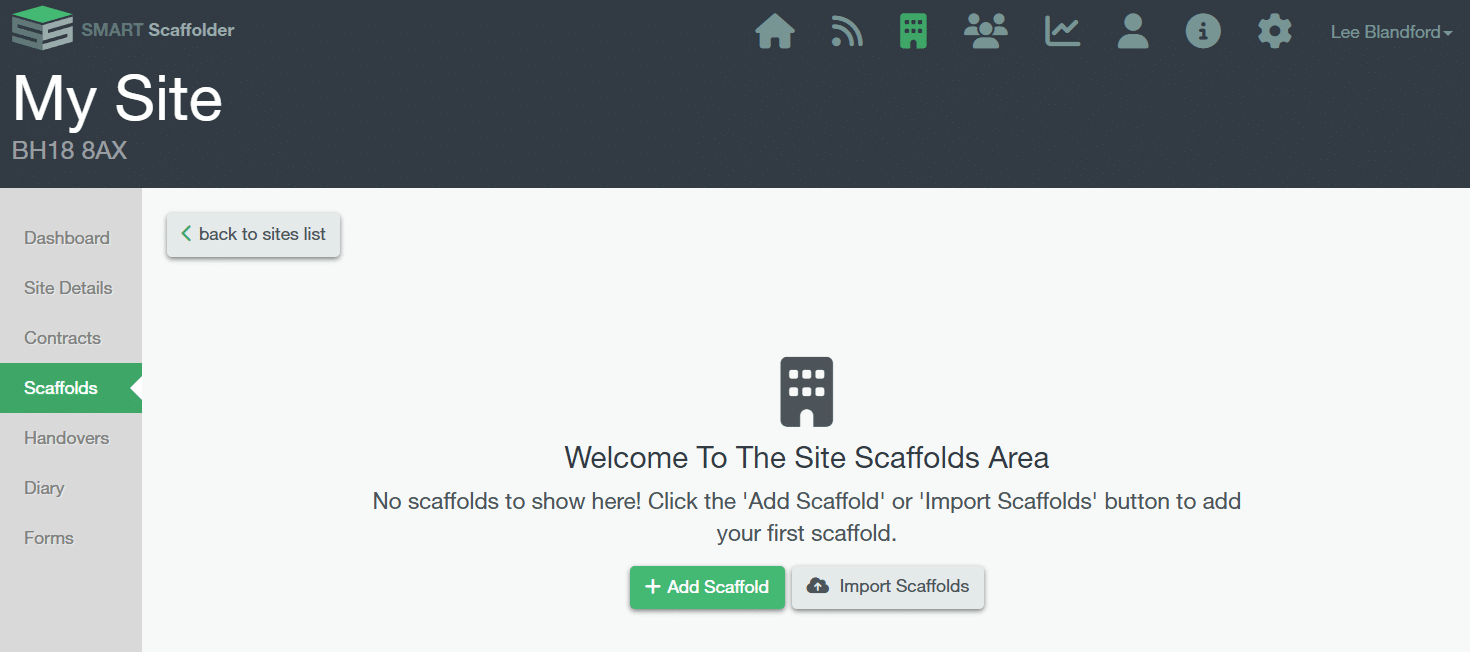
Create your Scaffold
To add a single scaffold to a site, go to the scaffold tabs on the left menu of the site screen.
-
Click on the Plus Button
If this is your first scaffold, then you’ll need to click on the Green Add Scaffold button at the centre. Otherwise, click on the Plus symbol in the top right-hand corner of the section. This will open the “Add Scaffold” dialog.

-
Fill in the Scaffold Details
On the first page of the “Add Scaffold” dialog you will need to enter the Scaffold name, Contract, Area, Next Inspection Date, and Hire Period, set the status of the scaffold and whether it’s affected by adverse weather. All options marked with an asterisk are mandatory. Once happy click next to proceed to the specification screen.

-
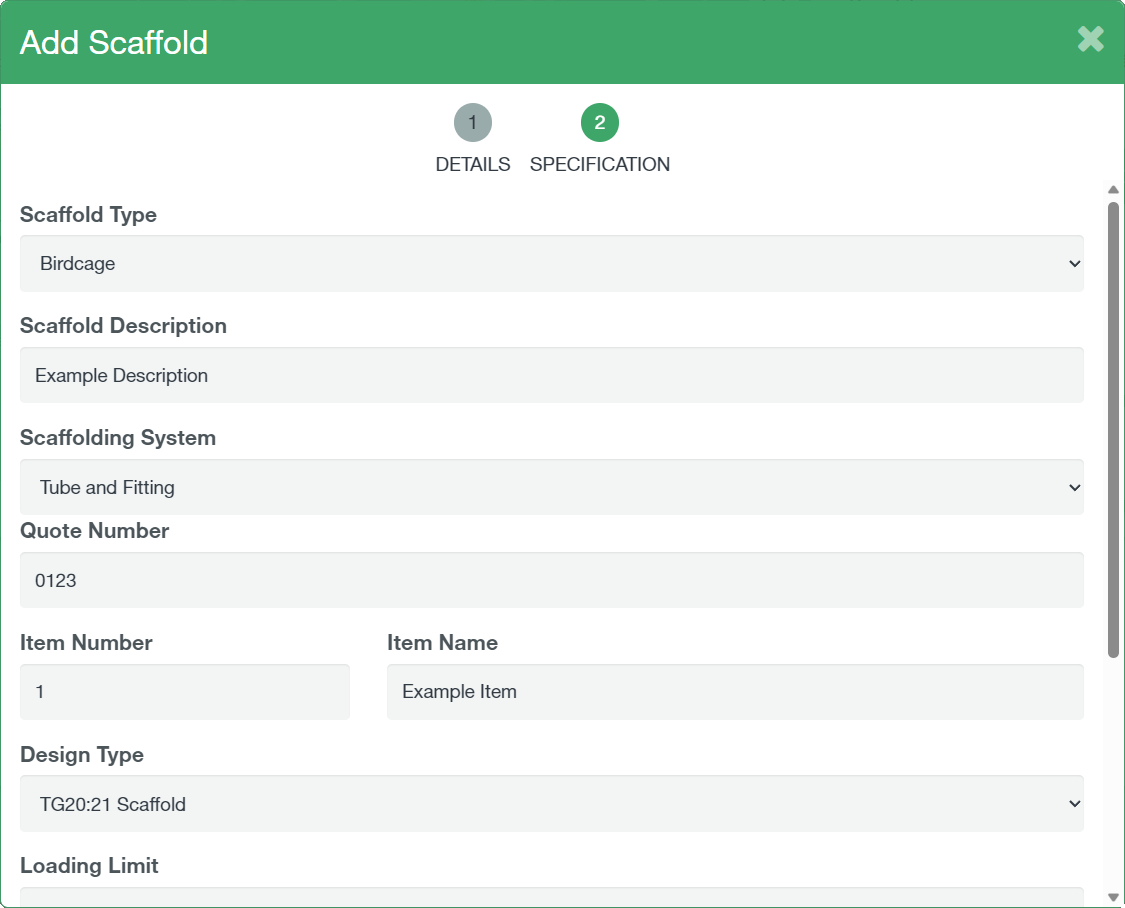
Complete the Specifications
Here you can enter the Scaffold type, scaffold description, assign the scaffold to a quote and item, design type, loading limit, method of tying and cladding type. Once completed click “✓ Save” to create the scaffold.
-
Scaffold has been added
The scaffold will now appear in the scaffold list in SMART Manager as well as in the app for any users assigned to the site. If you have set a next inspection date the scaffold will show as due for relevant users in the app.
SMART Manager
What’s New?
SMART Manager
-
Introduction to SMART Manager
Navigating SMART Manager
Dashboard
Staff
Sites
-
Adding a Site
Importing a site from SMART Estimator
Contracts and Customer Contacts
Areas
Assigning Staff to the Site
Scaffolds
-
Adding a scaffold
Batch Importing from CSV
Scaffold Details Screen
Editing Scaffolds
Off-hire or Dismantle scaffolds in SMART Manager
Scaffold Bulk Actions
SMART Handover Mobile App
SMART Inspector Mobile App
-
Navigating the SMART Inspector App
Home Screen
Sites
-
Adding a Site
Adding an Area
Adding a Scaffold
Editing a Scaffold / Scaffold Details Screen
Adding to the Scaffold Diary
Dismantling a Scaffold
-
Recording defects
Editing a Defect
Deleting a Defect
Signing and Submitting your Inspection
Issuing remedial action report
Generating an Unsafe Scaffold Report
SMART Forms Mobile App
Troubleshooting


