Recording the Defect procedure
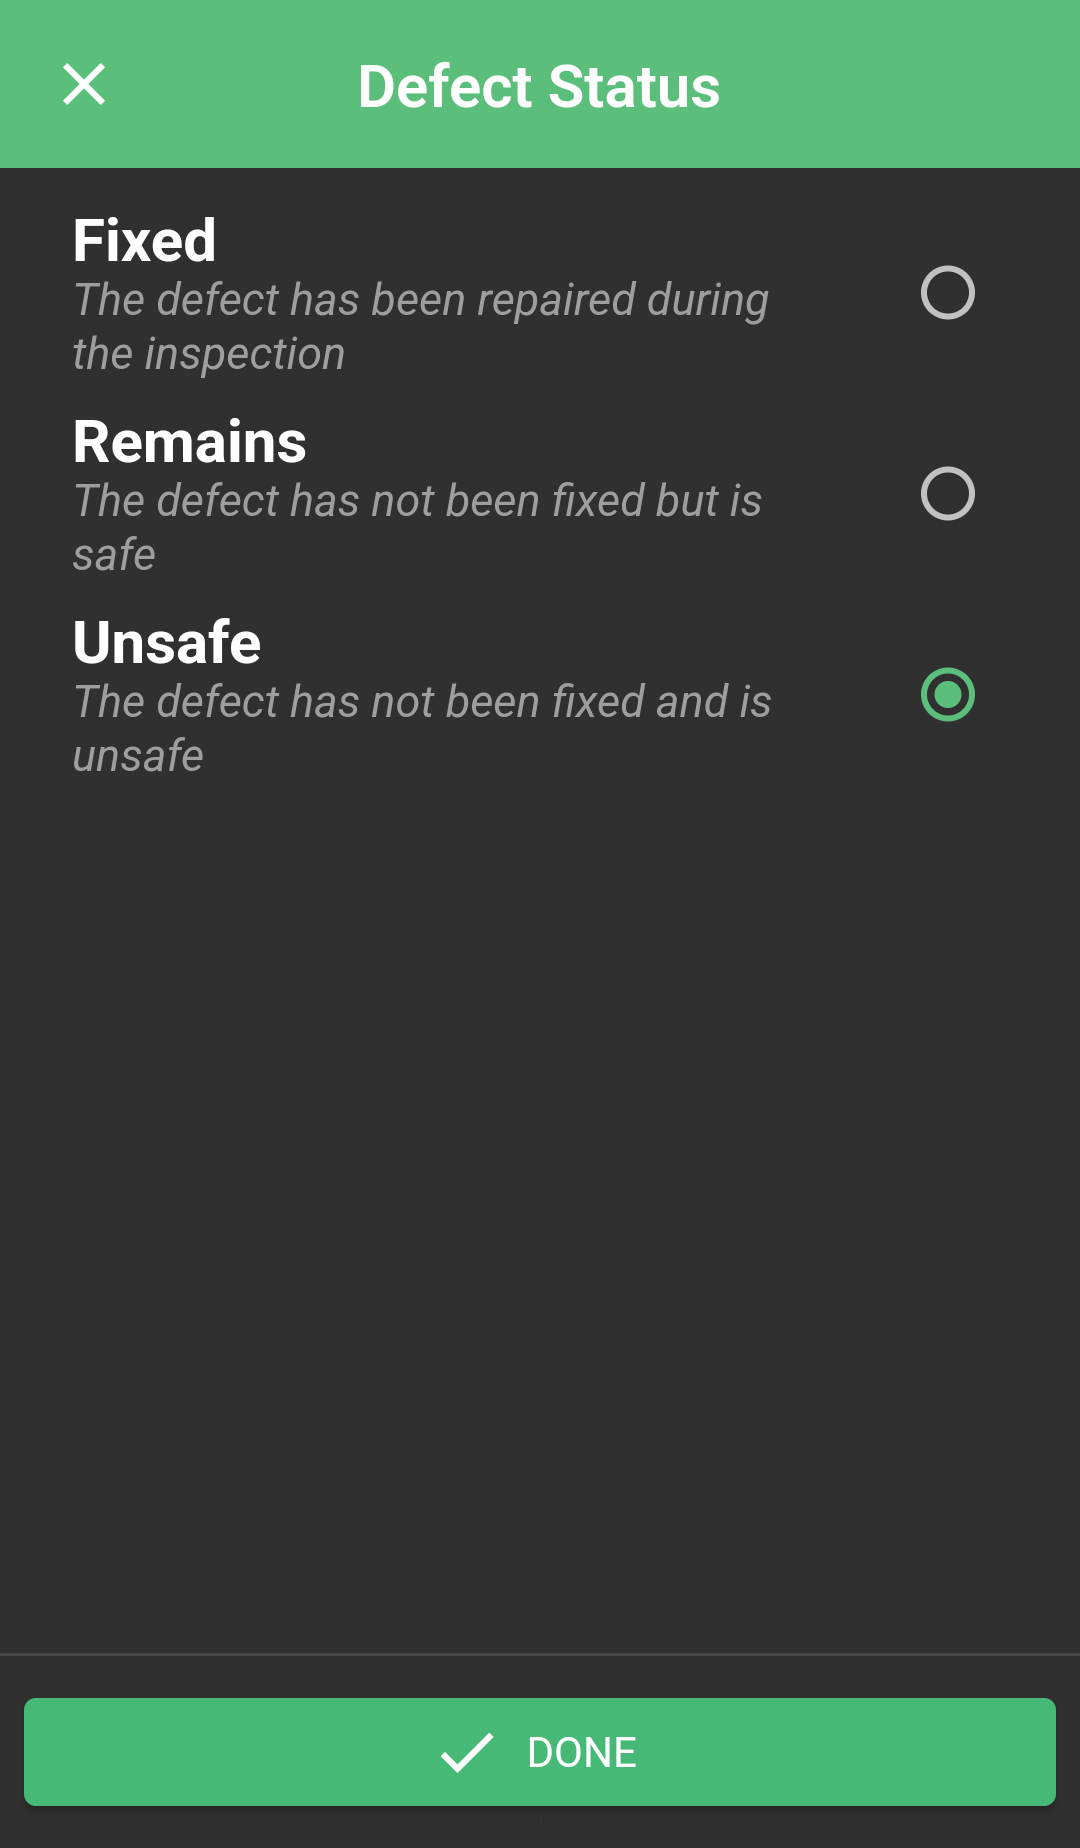
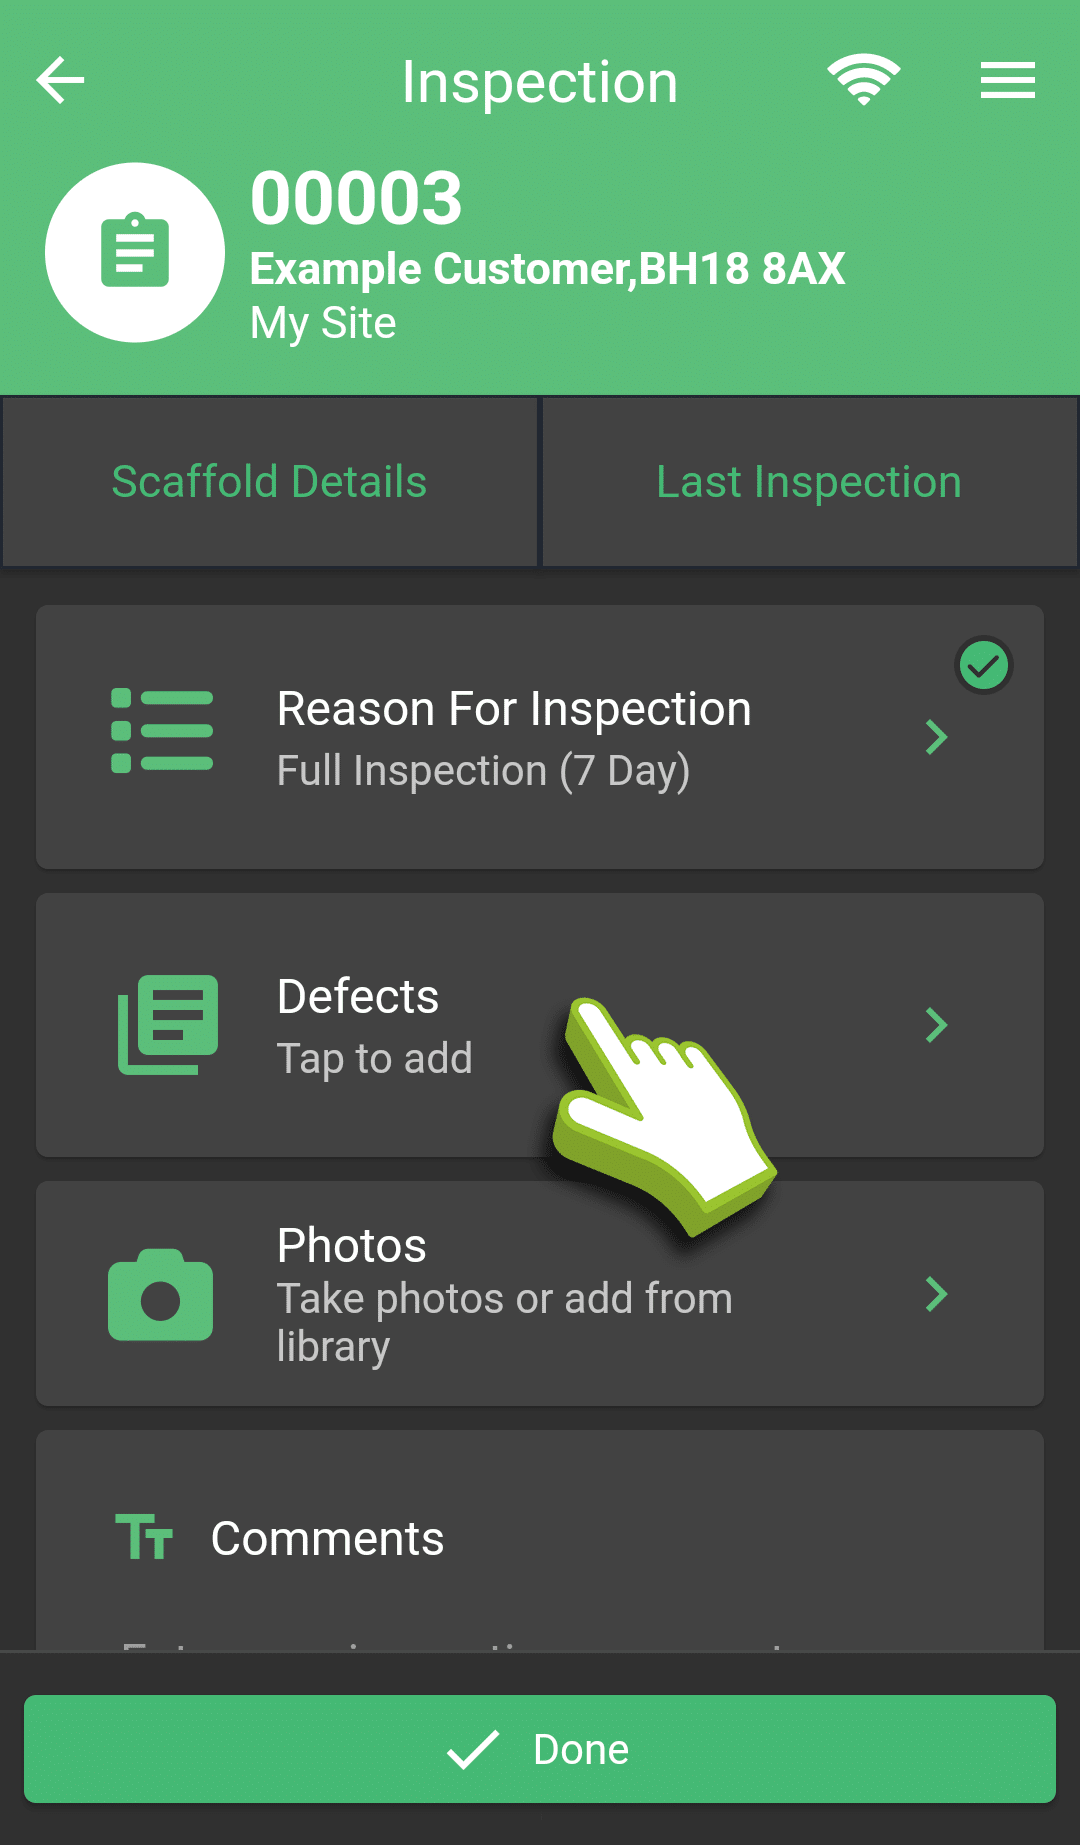
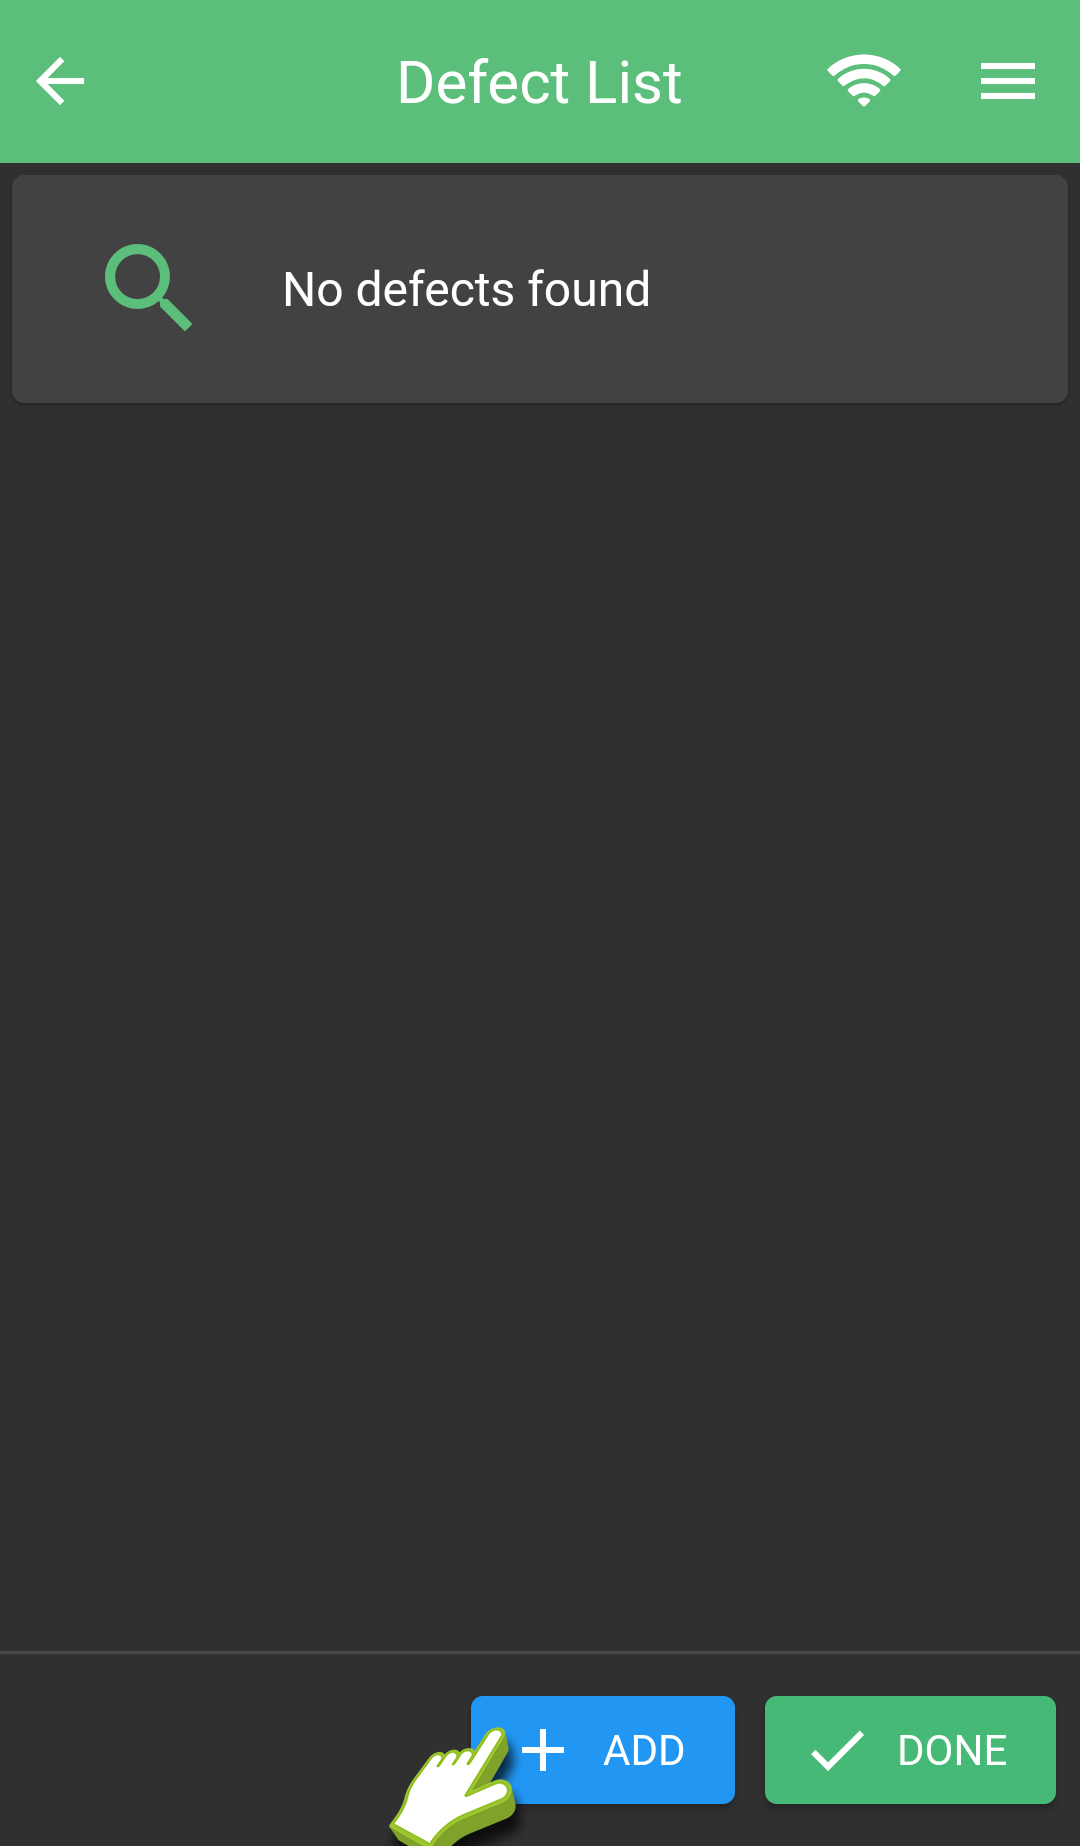
Click the Defect button in the inspection screen to open the defect list, then click add defect at the bottom of the screen. This opens the defect entry screen, ensure you fully complete all the boxes where the marker is highlighted orange, selecting defect type, attaching a photo of the defect and selecting a status.
You can configure the list of defect types visible in the app on SMART Manager, click here to see how.
Adding another Defect
Once you have completed your defect, click done to save the defect. You can return and edit the defect later if needed. You can now add another defect by clicking “Add” or return to the inspection screen by clicking “done”.
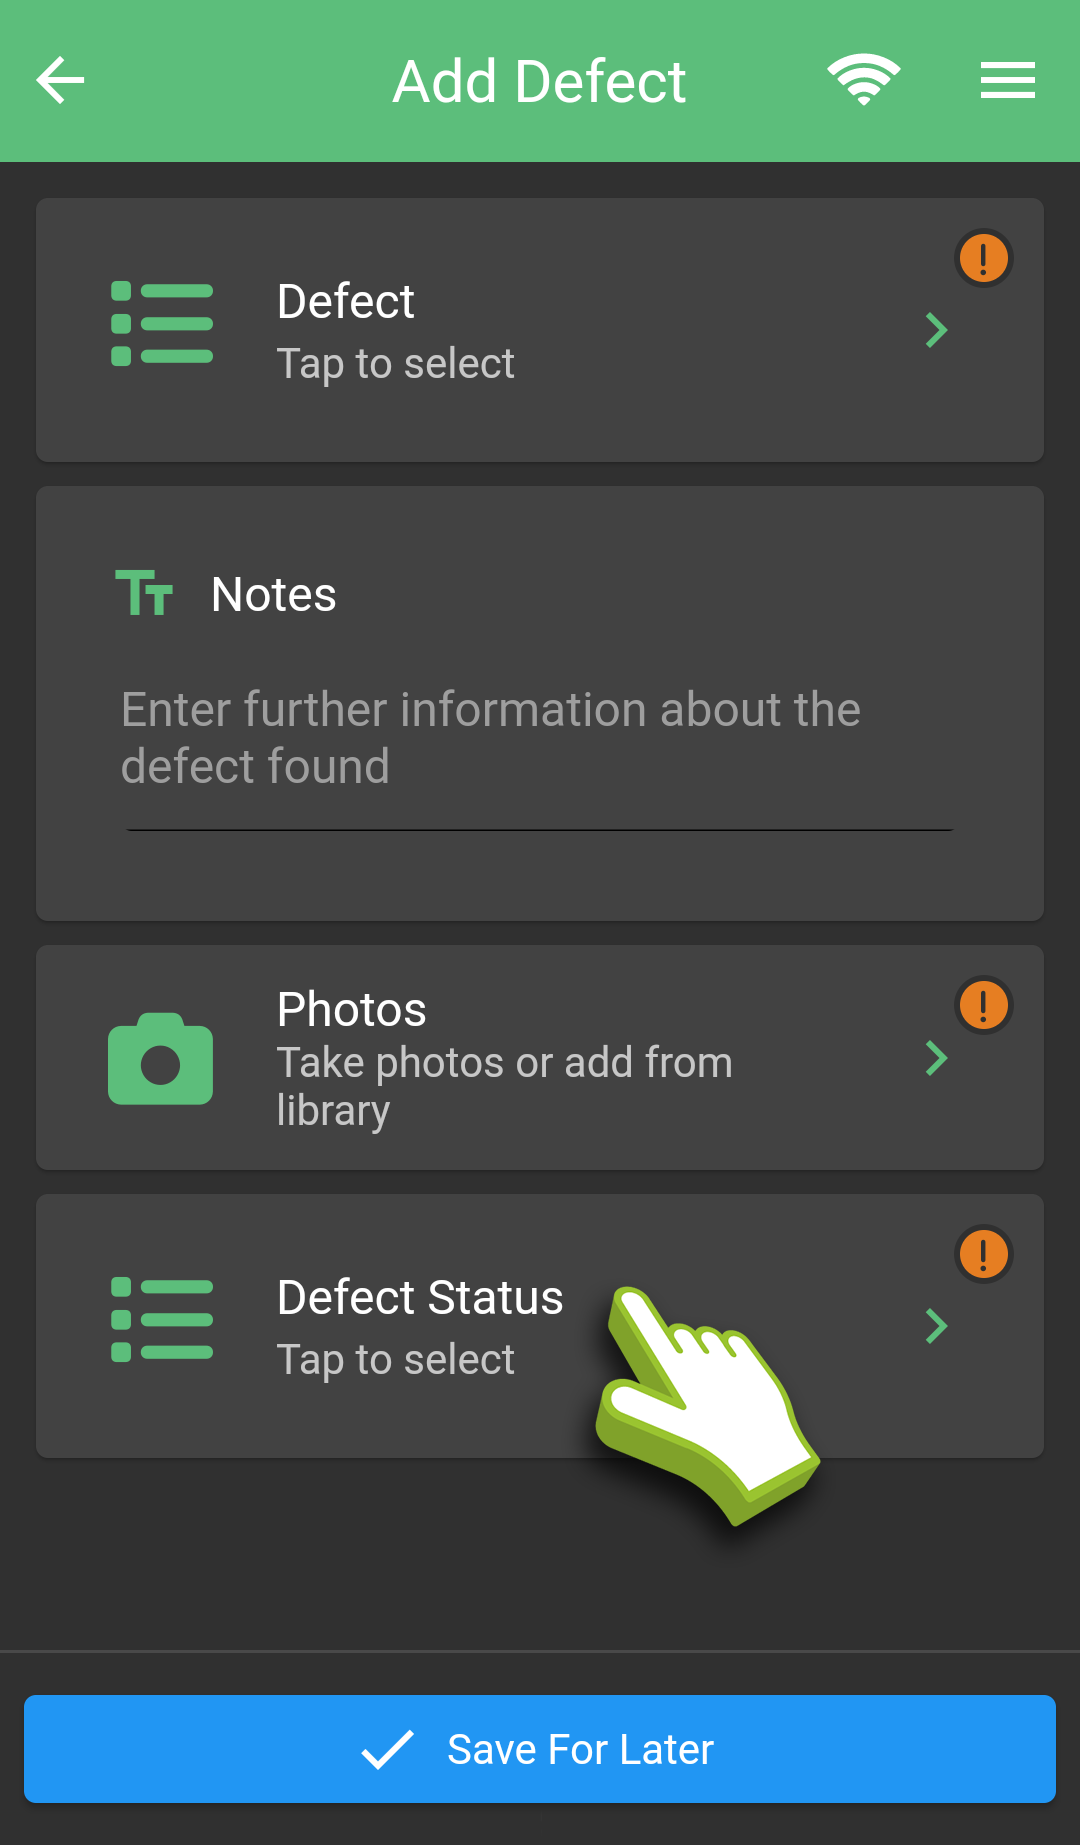
Defect Status Summary
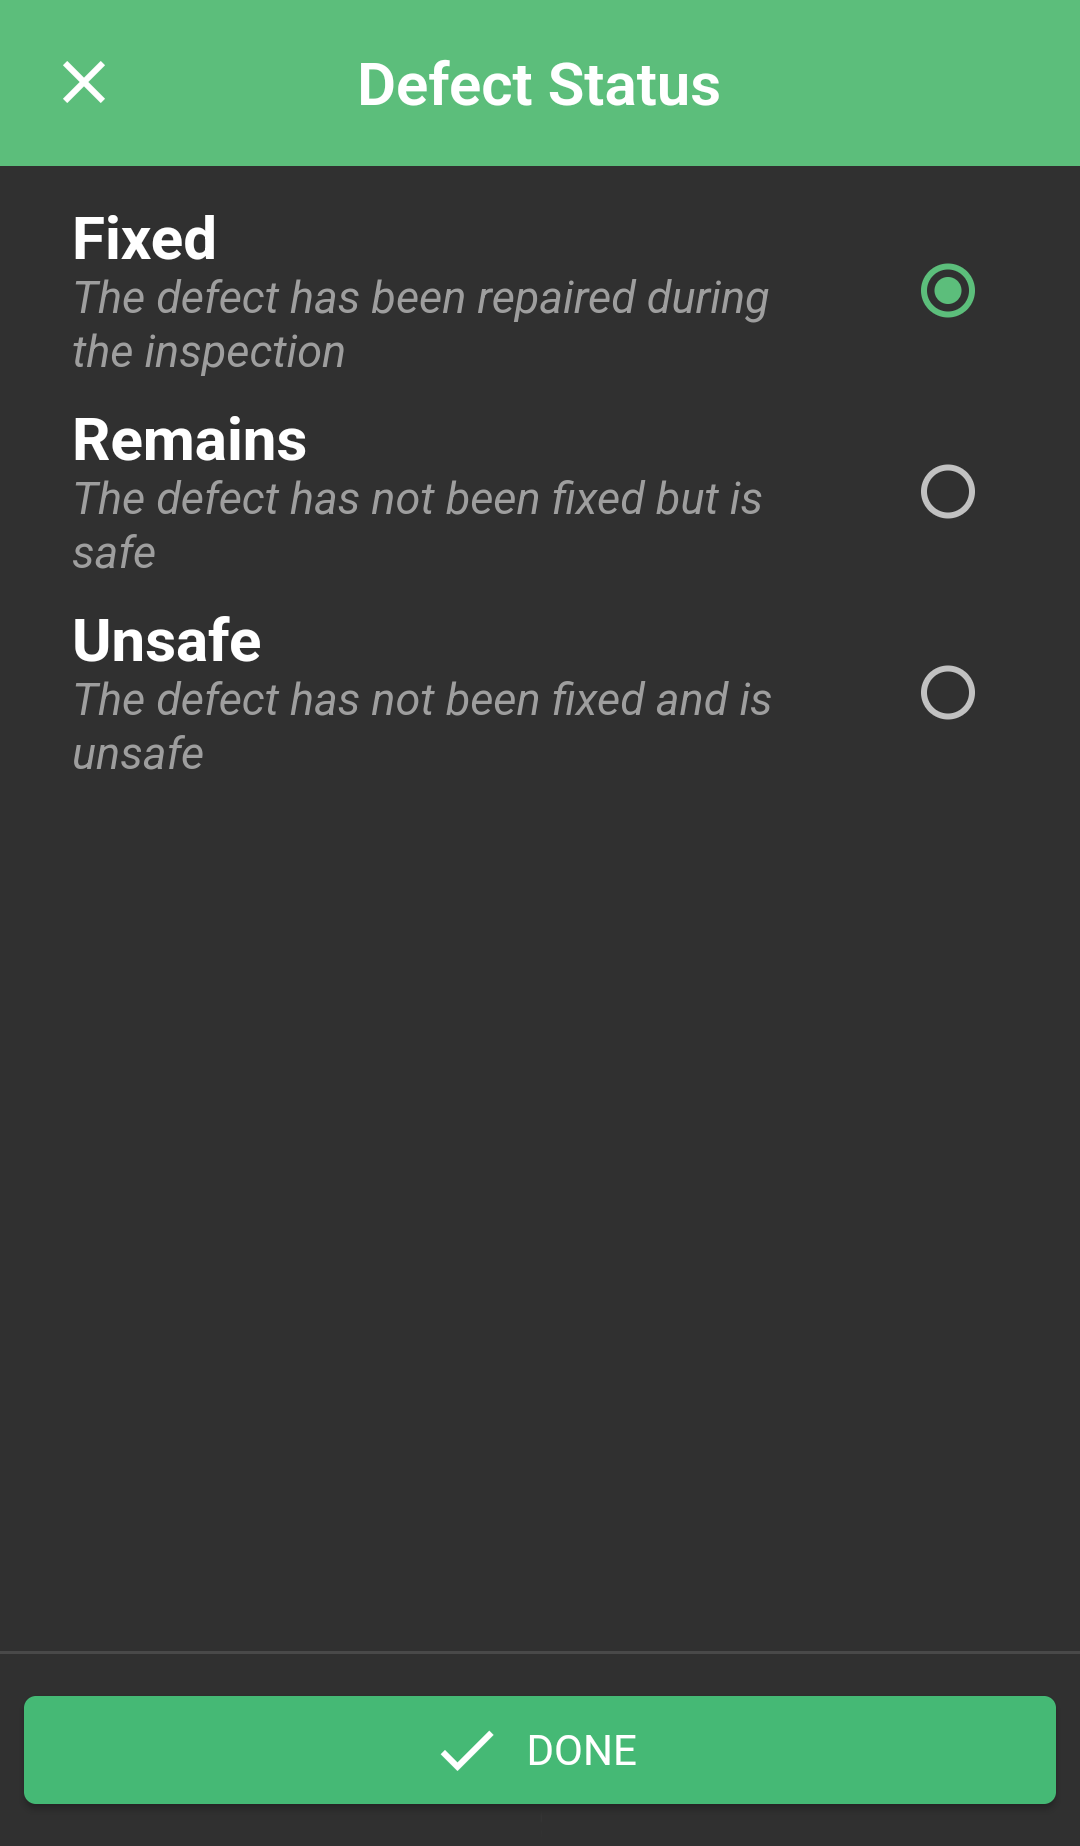
When adding a defect you must select a defect status, this will determine the outcome of the inspection and which follow up actions are required. See the status breakdowns and their follow up actions below.
Fixed:
This records the defect has been fixed by the inspector, after you submit the inspection, you will be asked to record which contact at the customer has been made aware of this.
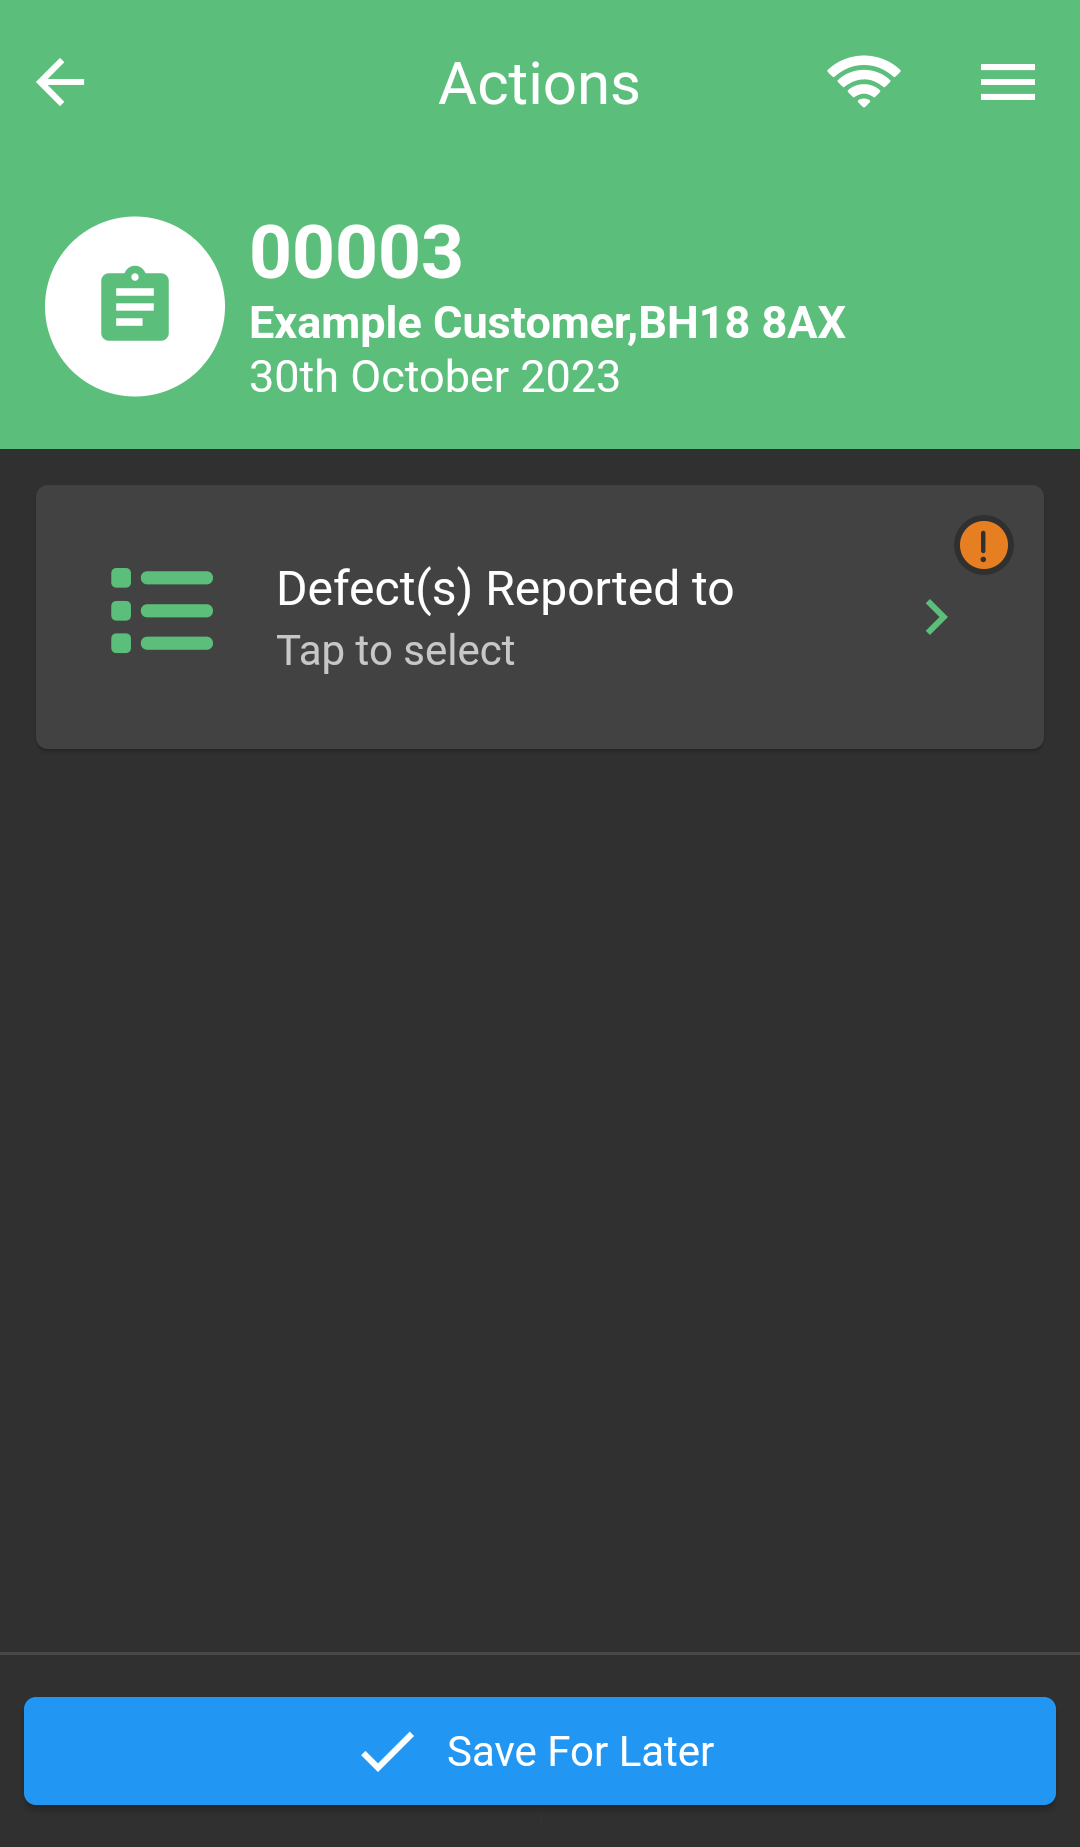
Remains:
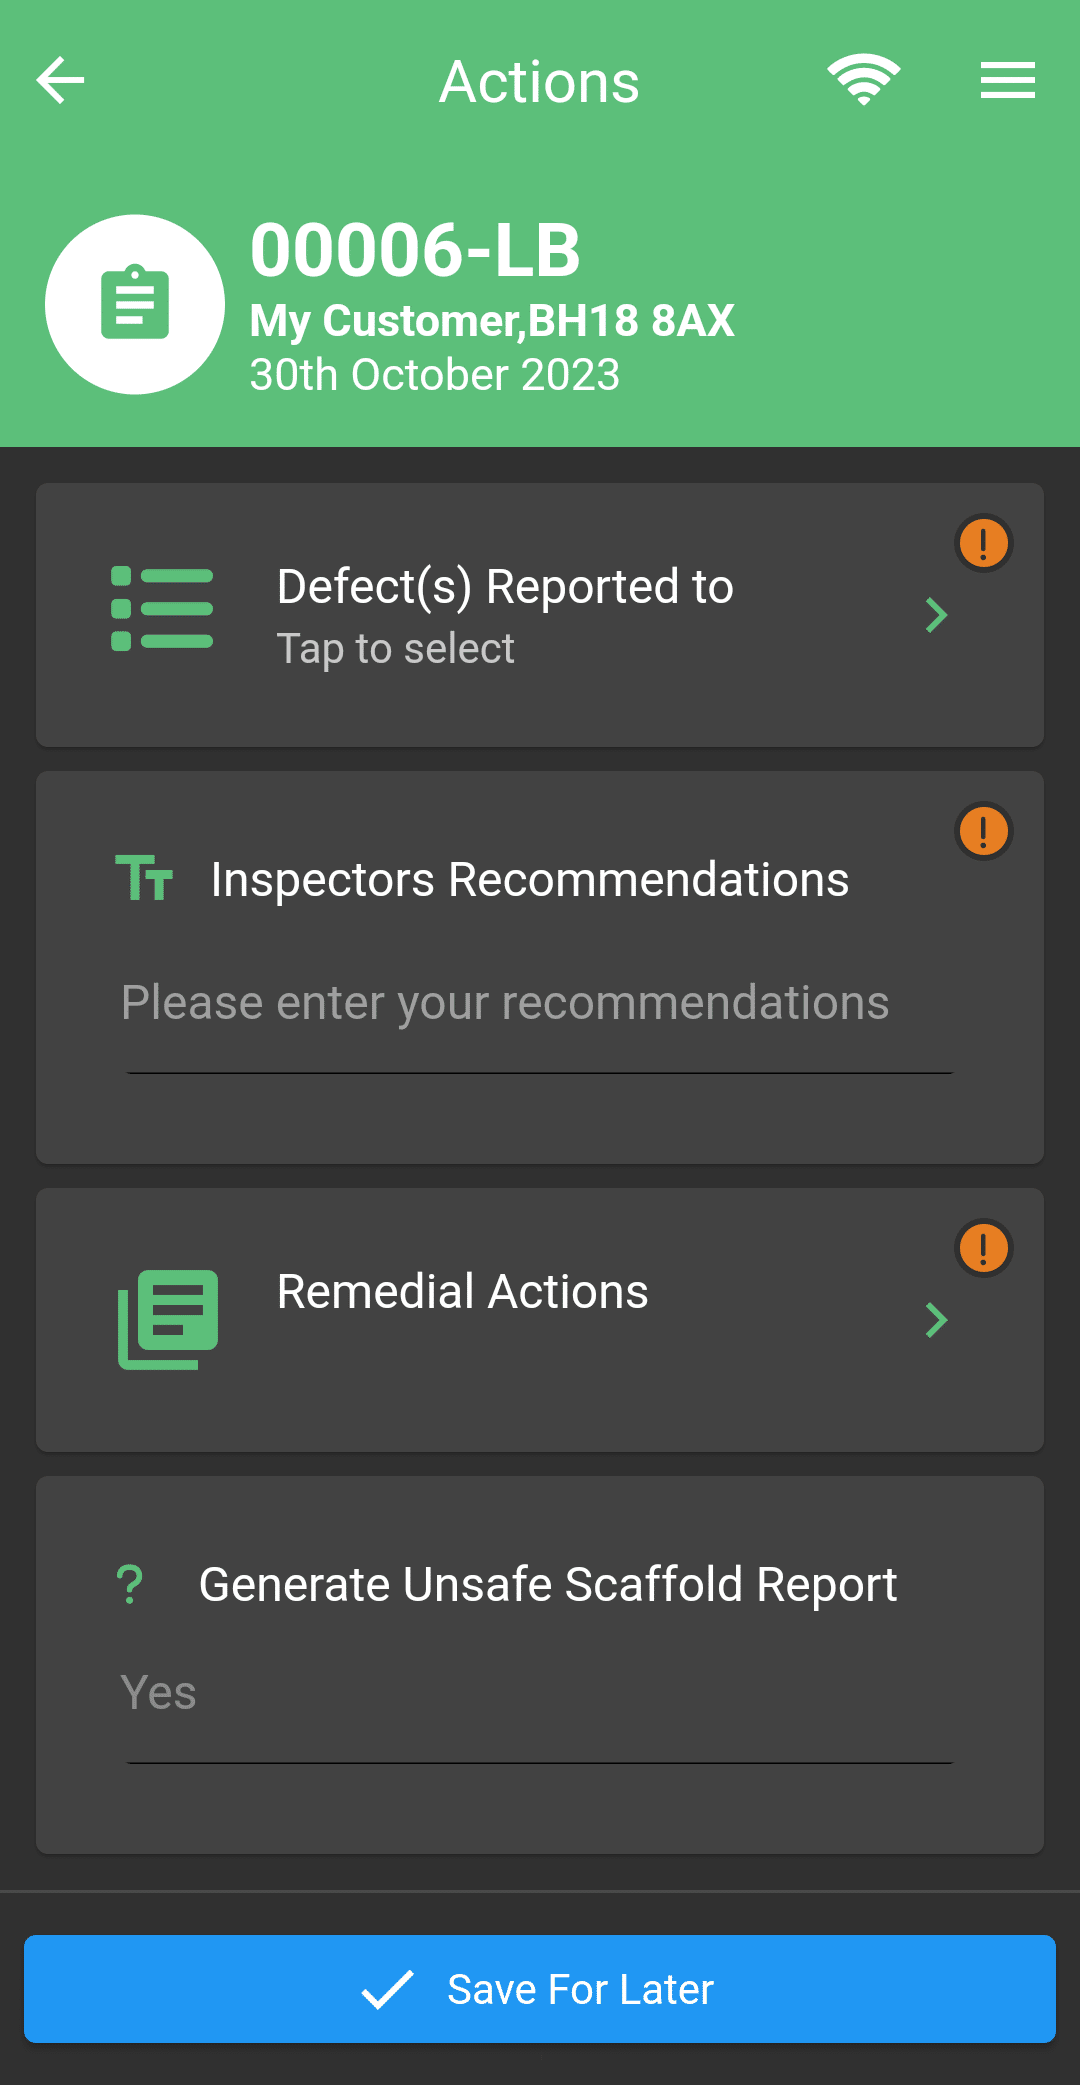
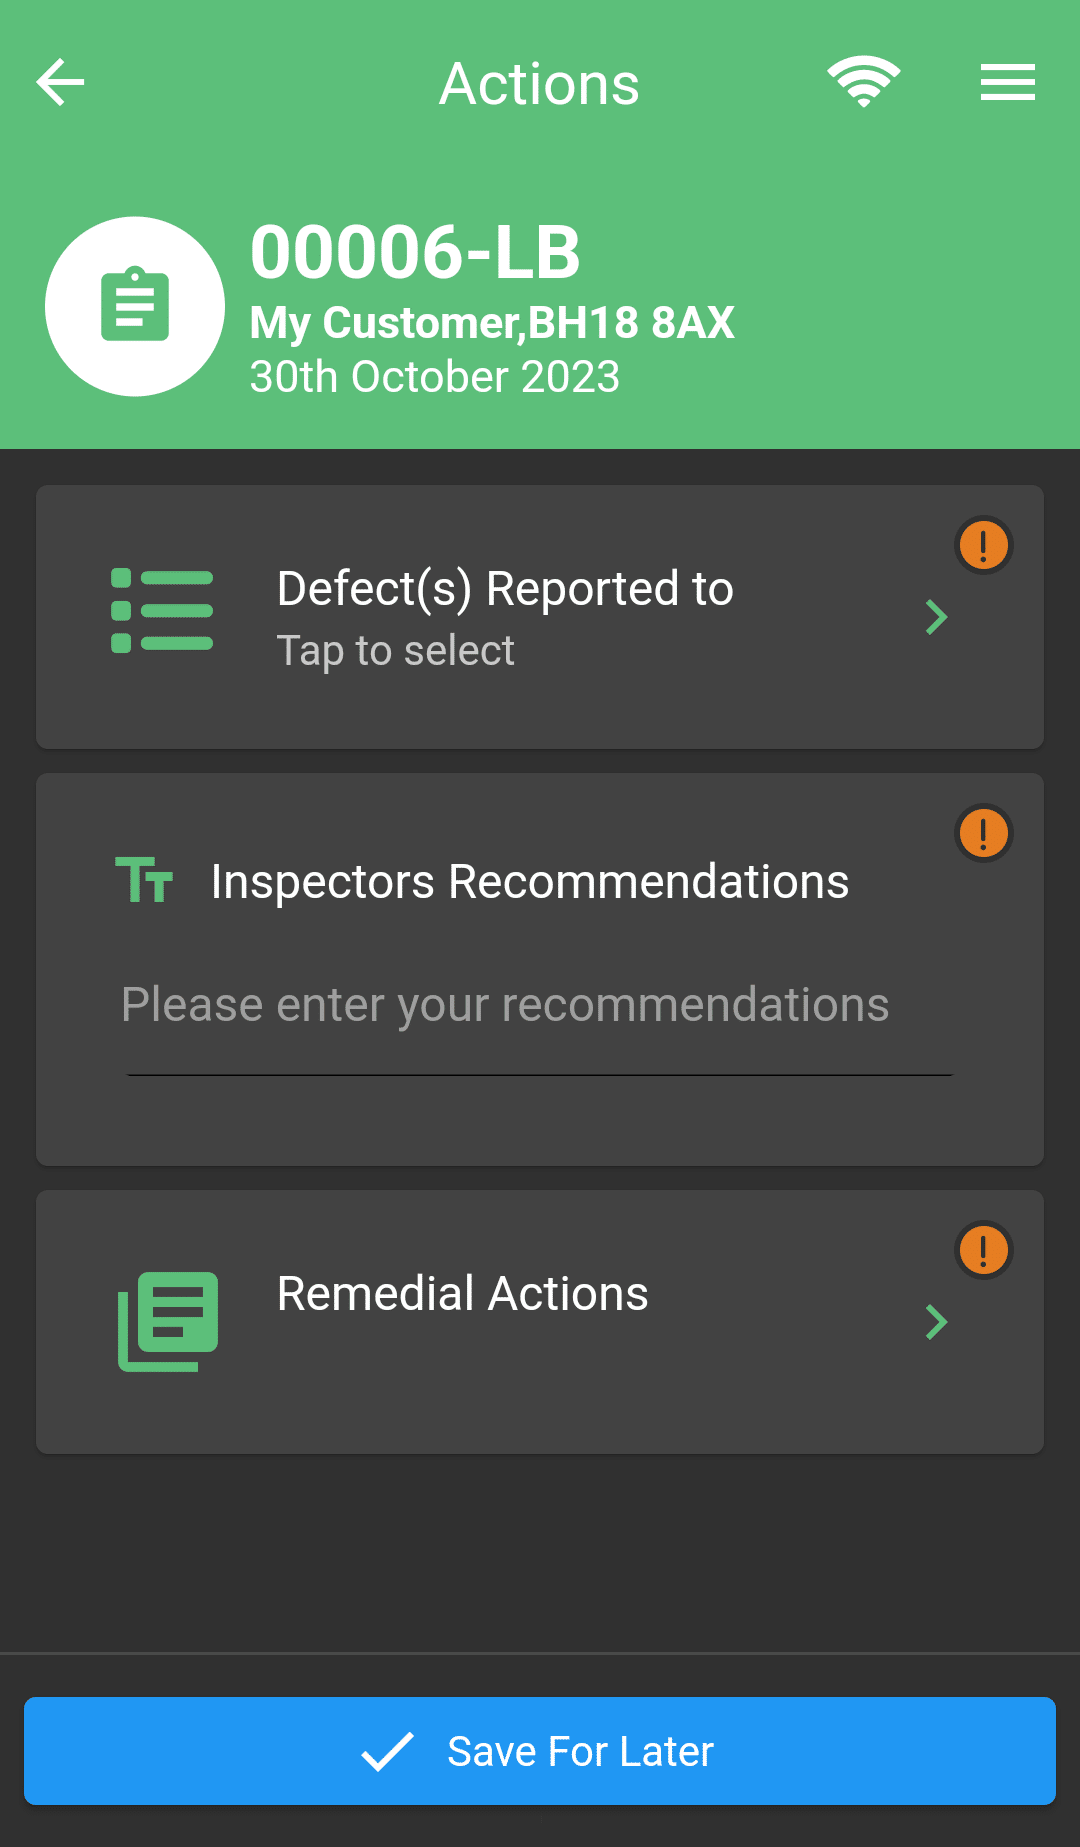
This status denotes that the defect is still present but doesn’t present a risk to users of the scaffold and the scaffold can remain in use. When you submit an inspection with a defect listed under this status you will be prompted to record the client contact it’s been reported to, your recommendations and complete a remedial action report.
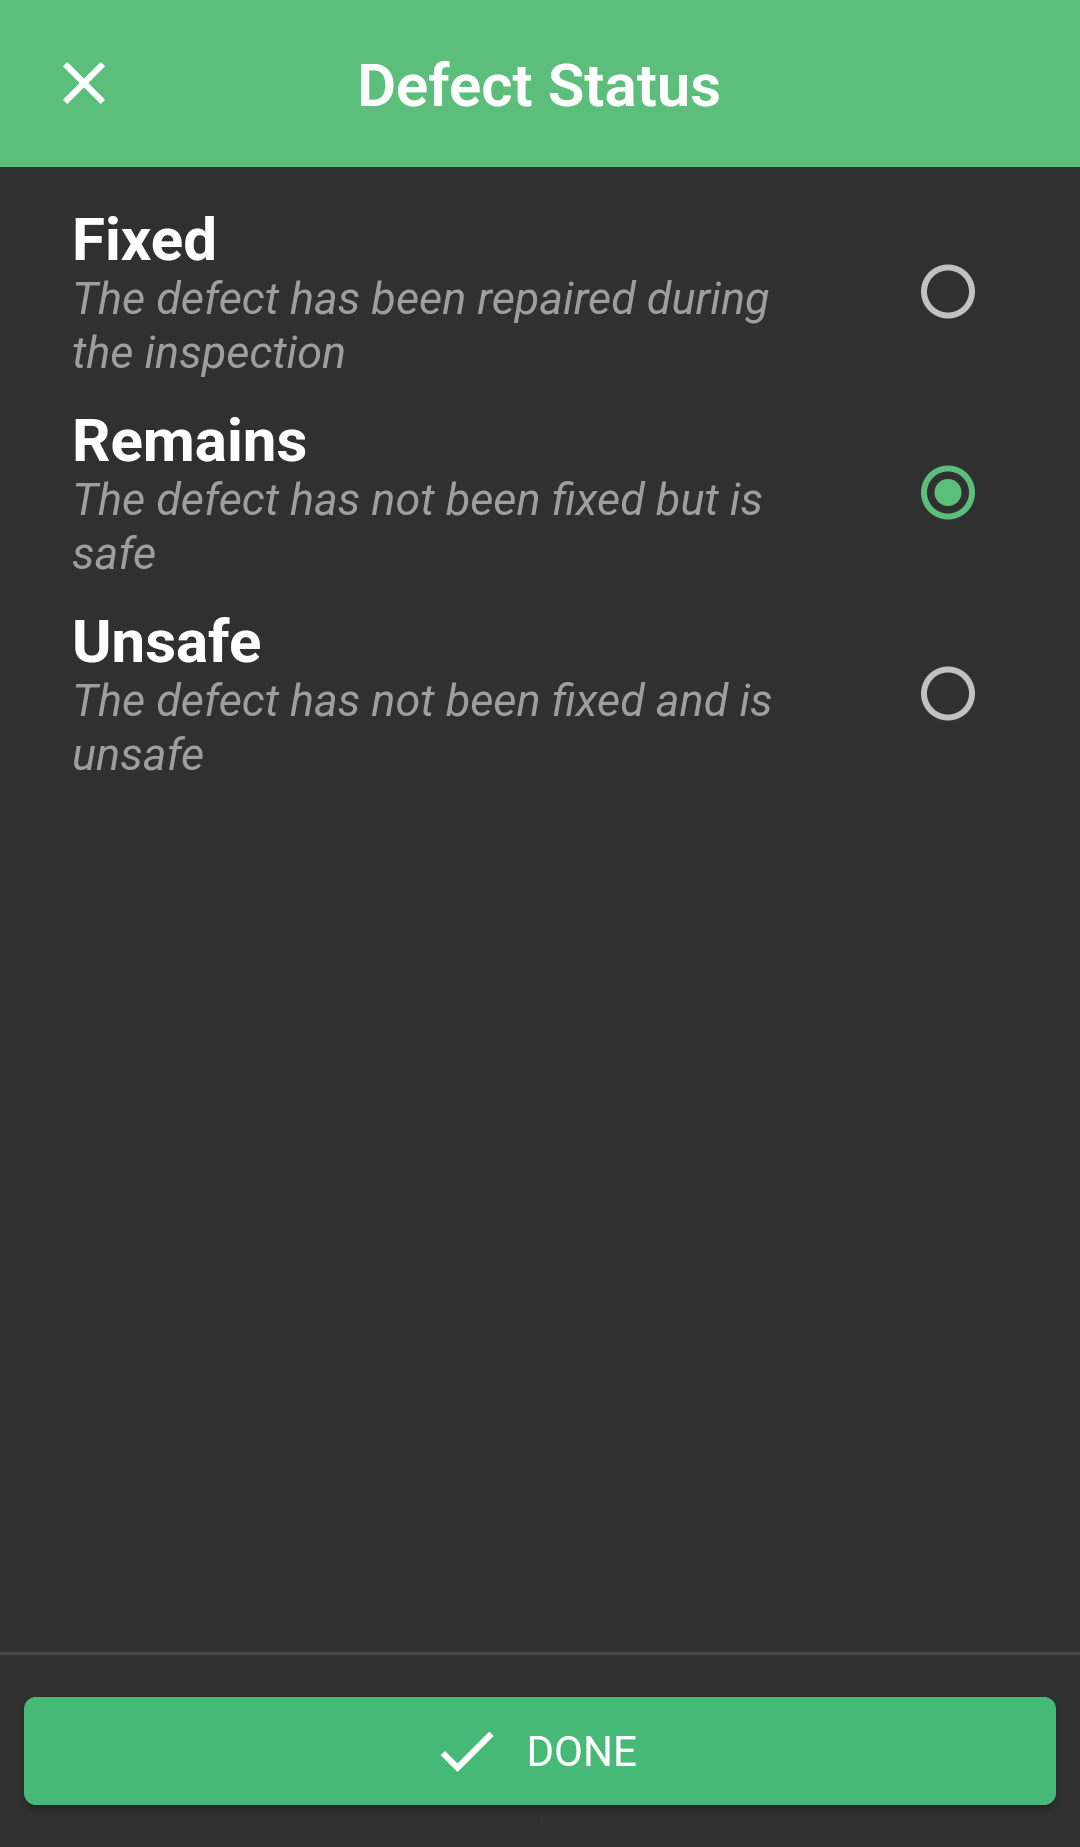
Unsafe:
When you record a defect with the status unsafe, you are failing the scaffold inspection and marking it as unsafe until the defect is rectified. For scaffold inspections with unsafe defects the signature screen will highlight Red and you will be required to record the client contact the defects have been reported to, your recommendations and complete a remedial action report. You will also be able to produce an unsafe scaffold report (unlike normal inspection reports these send immediately and require client sign off).
