-
Locate your Estimate then press Start
To import an estimate or a variation into an existing site, locate the estimate you want. If needed you can search by site address, quote number or description in the top search bar.
Click the Start button adjacent to the estimate. This will open the import wizard and extract the estimate data into a live site in SMART Manager.

Estimate status must be set to “Won”
An estimate status must be set to Won before you can create your site. This is to ensure the users of SMART Estimator don’t edit the Estimate after the contracts been agreed.
-
Site Details
The first screen will give you the choice to create a new site or import an existing site. Make sure the Select Existing option is selected. Below you will find a list of your current sites along with their respective addresses and depots. You can use the search bar to filter existing sites to find the site you wish to use. Click on the site you wish to import and it will be selected and marked with a Green Checkmark.
On the left-hand side of the wizard, there is a handy traffic light progress indicator. When you click the Next button at the bottom right of the screen, you will be taken to the next screen and the Site Details tab indicator will turn green.

-
Customer
On the left side of the screen, the customer details should be prefilled. If it’s a new customer you will be prompted to set and save their details. Set the Customer’s name and their Reference (should be prefilled automatically), and if necessary, the Customer’s address, Telephone number, Email address, and Website address can also be entered.

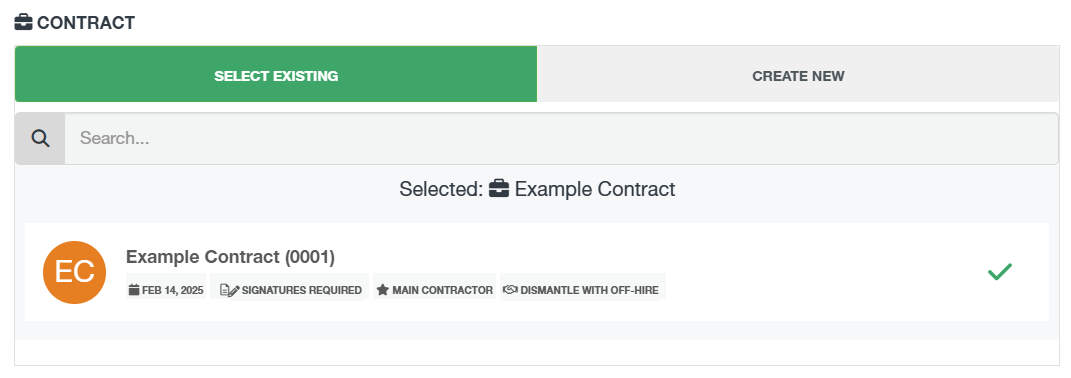
Select whether to add the new scaffold you’re importing to an existing contract or create a new one. It’s a good idea to add Variations to a new contract, even for an existing customer to make it clear which scaffolds are chargeable extras.
If you’re creating a new contract, then you must set the details of the new site’s contract (please note that the contract reference cannot be altered once scaffolds have been assigned to them). Optionally, you can also set the contract’s type and the description of the contract.
Lastly, complete the six-tick options at the bottom of the contract window as appropriate.
“Is the customer the main contractor?”
The main contractor will receive all the inspection and unsafe scaffold reports for the site, not just scaffolds assigned to their contract. You can only assign one main contractor per site.
“Allow handover/off-hire documents to be submitted without the customer signature?”
This will allow app users to bypass the mandatory customer signature when submitting handovers or off-hire certificates, by selecting the customer not present option in the signature section.
Signatures can be captured at a later date and acceptance forms can be uploaded to the handover using the C.O.V.I Feature (Confirmation of Verbal Instruction). Click here to find out more.
“Does the contract have an agreed schedule of rates?”
This will determine whether or not variation instructions need to be submitted to the Estimator for pricing before completing the variation certificate.
“Are you contracted to carry out inspections for this customer?”
This will determine whether the user is prompted to set a next inspection date for the recurring ‘7 day’ inspections when handing over scaffolds.
“Handover/Variation risk photos required?”
This will determine whether the handover and variation risk photos are mandatory or optional.
“Dismantle without off-hire?”
This will determine whether the software will allow users to mark scaffolds as dismantled without first completing an off-hire certificate.
-
Contacts
Ensure the contacts imported from SMART Estimator are correct and add any additional contacts as required using the Add Contact button in the top right corner of the box.
Fill out the form with the Contact name, Contact type, Email address (this must be correct as this will be used for sending handover and inspection reports) and Phone number. Once you’re happy with the contacts for the site click the Next button.
All sites require at least one contact.
If the contact is not set the site will not appear for staff members within the SMART Handover or SMART Inspection apps.
-
Scaffolds
In the next screen, you will be able to review the scaffolds that are being imported. If you wish, you can deselect scaffolds that you do not wish to import.
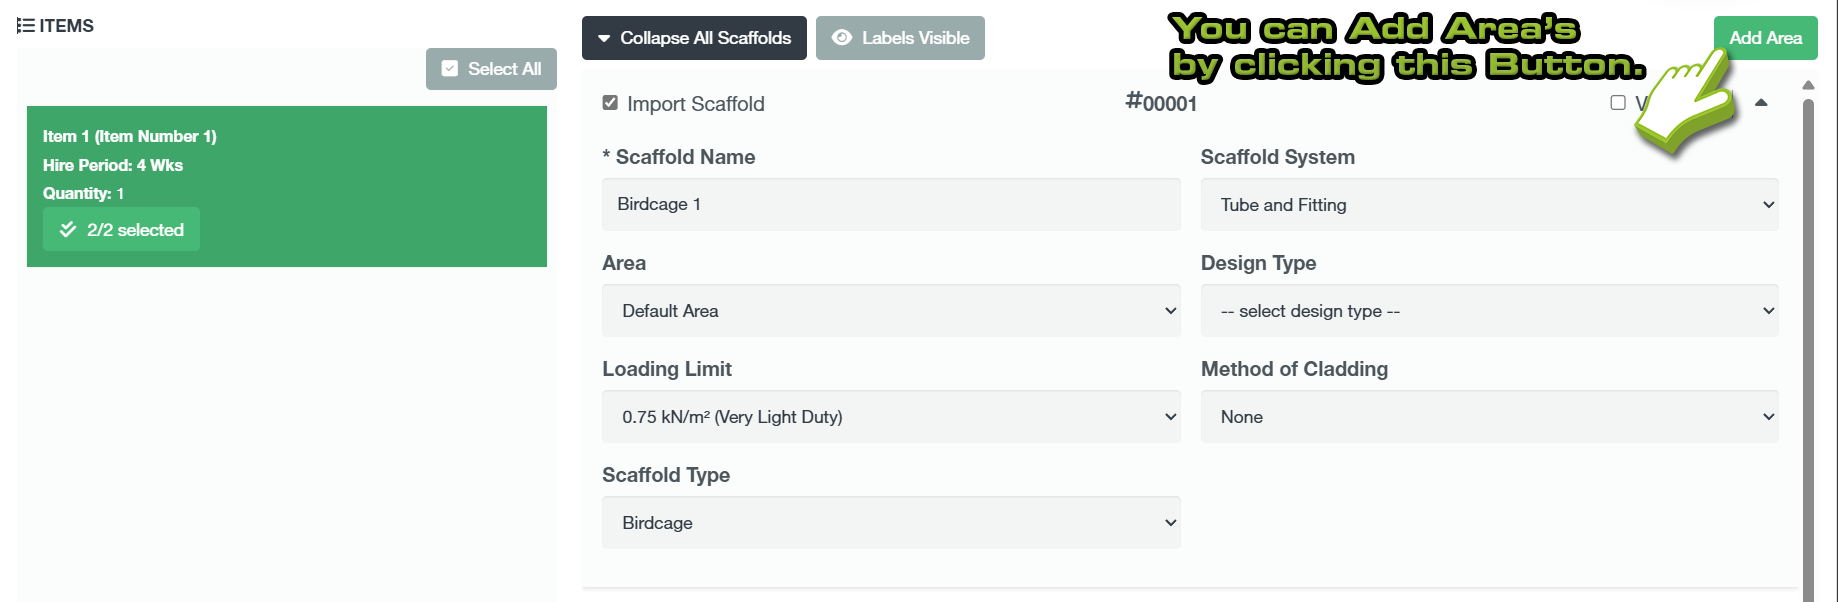
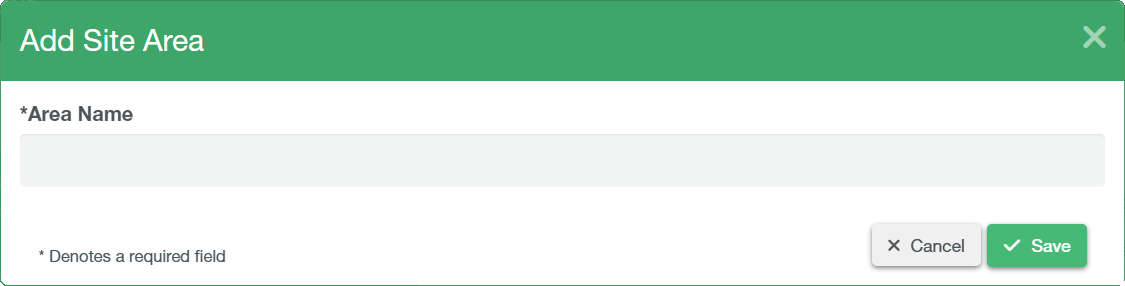
You can also select the area you would like to assign the scaffold to from the Area dropdown. If you wish to create a new area, use the Add Area button.
-
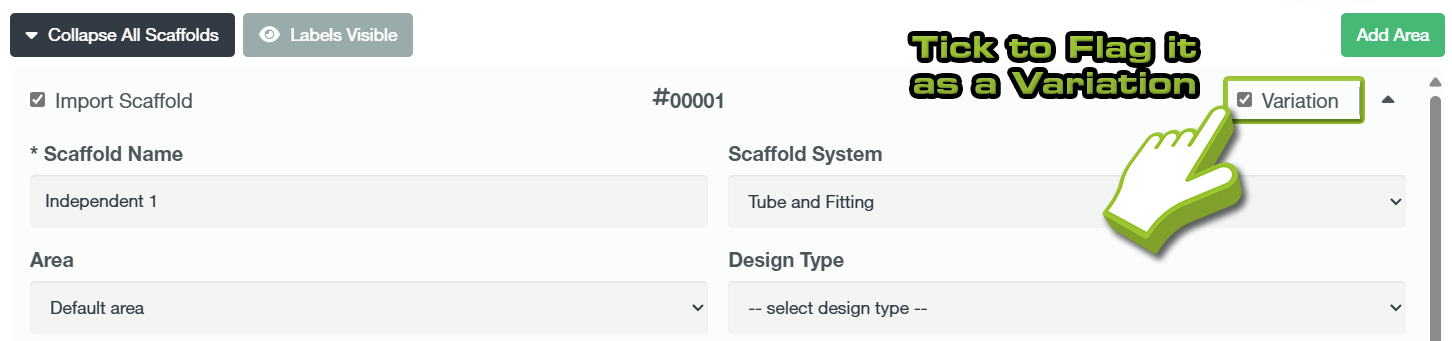
Variations
For scaffolds being imported into an existing site they will be flagged as variations. This is done so that it’s clear to App users which workflow to use when handing the scaffolds over. If you don’t wish the scaffolds to be tagged as variations make sure you untick them.
Once you’re happy click the Save button.